

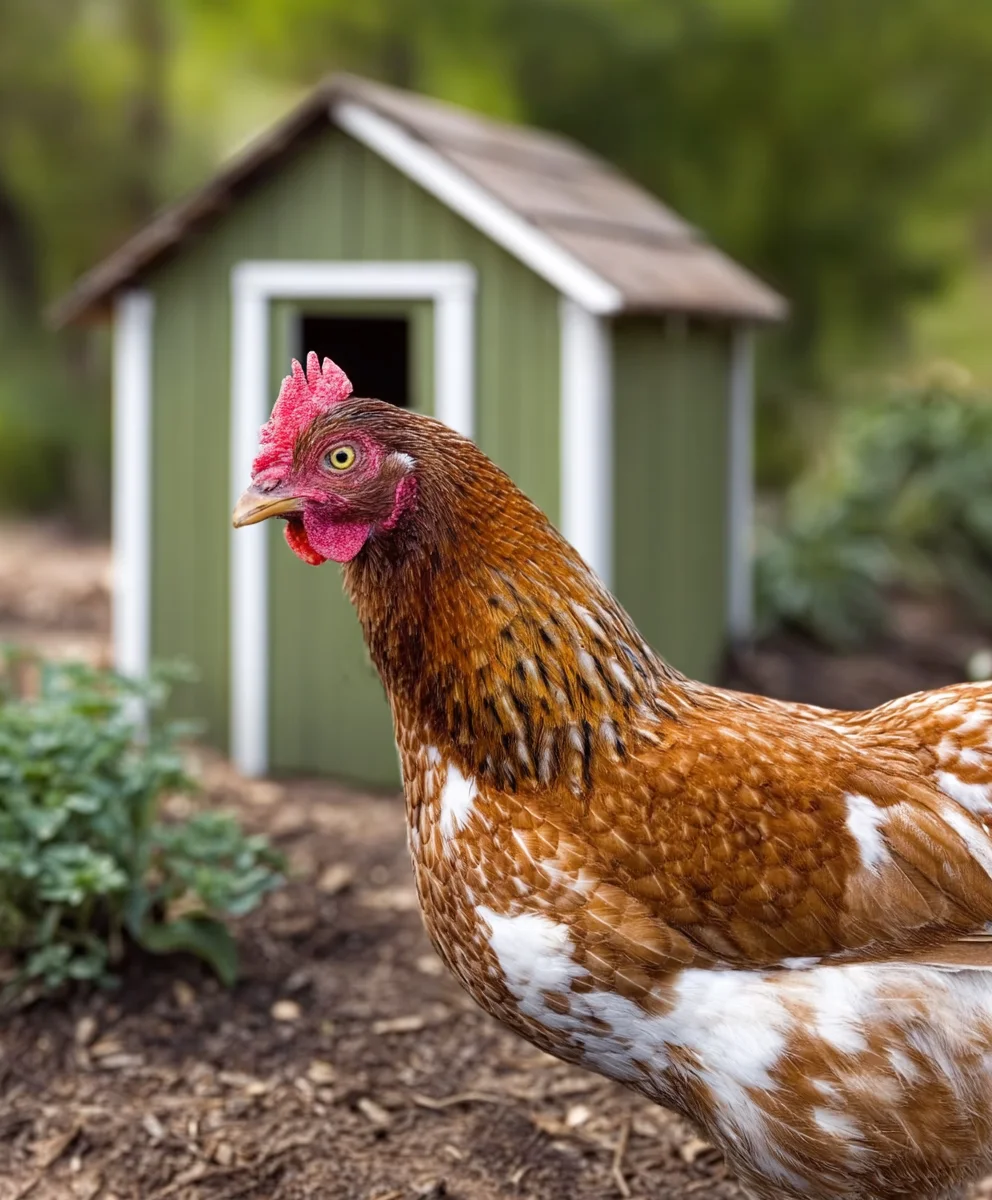
10 Free 8×8 Chicken Coop Plans You Can DIY This Weekend – Are you dreaming of fresh eggs and the charming cluck of backyard chickens, but feeling overwhelmed by the cost of pre-built coops? You’re not alone! Many aspiring chicken keepers are looking for affordable and accessible ways to create a safe and comfortable haven for their feathered friends. That’s precisely why we’ve gathered these incredible 10 free 8×8 chicken coop plans. An 8×8 footprint is a fantastic size, offering ample space for a small flock without taking up your entire yard. What makes these plans so special is that they are all designed with the DIYer in mind, utilizing readily available materials and straightforward construction techniques. Whether you’re a seasoned carpenter or a weekend warrior taking on your first big project, you’ll find a plan here that suits your skill level and aesthetic. Get ready to roll up your sleeves, because this weekend, you can build a beautiful, functional chicken coop that your flock will adore, all without breaking the bank!

Ingredients:
- 8 pounds whole chicken (about 2 chickens, 4 lbs each)
- 4 tablespoons unsalted butter, softened
- 2 tablespoons olive oil
- 2 teaspoons kosher salt
- 1 teaspoon freshly ground black pepper
- 1 teaspoon dried thyme
- 1 teaspoon dried rosemary
- 1 teaspoon garlic powder
- 1 teaspoon onion powder
- 1/2 teaspoon paprika
- 2 large lemons, quartered
- 1 large yellow onion, quartered
- 4 sprigs fresh rosemary
- 4 sprigs fresh thyme
- 4-6 cloves garlic, smashed
Preparing the Chickens for Roasting
Step 1: Thawing and Patting Dry
Begin extract by ensuring your whole chickens are completely thawed if they were frozen. This is a crucial first step for even cooking. You can thaw them safely in the refrigerator overnight, or for a quicker method, submerge them in cold watgin extract changing the water every 30 minutes until thawed. Once thawed, remove the chickens gin extractm their packaging. It’s vital to get them thoroughly dry, both inside and out. Use paper towels to pat them down vigorously. Moisture is the enemy of crispy skin, so don’t skip this step! You can even let them air dry in the refrigerator, uncovered, for about an hour before you plan to cook them – this will further enhance that lovely crispiness.
Step 2: Creating the Herb Butter Rub
In a small bowl, combine the softened unsalted butter with the olive oil. This creates a wonderfully pliable mixture that’s easy to spread. Now, add your seasonings: kosher salt, freshly ground black pepper, dried thyme, dried rosemary, garlic powder, onion powder, and paprika. Mix everything together thoroughly until it forms a cohesive paste. This herb butter rub is going to be the magic maker for flavor and moisture. The butter will melt during cooking, basting the chicken from the inside out, while the olive oil helps with browning.
Seasoning and Stuffing the Chickens
Step 3: Applying the Herb Butter Rub
Gently separate the skin from the breast meat of each chicken using your fingers. Be careful not to tear the skin. Carefully work about half of the herb butter mixture under the skin of each chicken, distributing it evenly over the breast meat. This allows the flavors to penetrate directly into the meat, making it incredibly tender and flavorful. Next, take the remaining herb butter and rub it all over the outside of the chickens, ensuring they are coated generously. Pay attention to crevices and wings. This outer layer will contribute significantly to the golden-brown, crispy skin we all love.
Step 4: Stuffing the Cavities
Now it’s time to add aromatics to the cavities of the chickens. This step infuses the inside of the chicken with fragrant flavors as it roasts. Divide the quartered lemons, quartered yellow onion, fresh rosemary sprigs, fresh thyme sprigs, and smashed garlic cloves between the two chicken cavities. Don’t overstuff them; you want to allow for good air circulation inside the cavity for even cooking. You can truss the legs together if you like, but it’s not strictly necessary for a simple roast chicken. The goal here is to impart subtle but delicious notes that will complement the herb butter.
Roasting the Chickens
Step 5: Roasting for Golden Perfection
Preheat your oven to 425 degrees Fahrenheit (220 degrees Celsius). Place the seasoned and stuffed chickens on a rack in a large roasting pan. This rack allows air to circulate around the chickens, promoting even cooking and crispier skin all around. Place the roasting pan in the preheated oven. Roast for 1 hour at 425 degrees Fahrenheit. After the first hour, reduce the oven temperature to 375 degrees Fahrenheit (190 degrees Celsius). Continue roasting for another 1 to 1.5 hours, or until the internal temperature of the thickest part of the thigh (without touching the bone) reaches 165 degrees Fahrenheit (74 degrees Celsius) on a meat thermometer. Basting the chickens with the pan juices every 30 minutes during this second phase of cooking can add extra moisture and flavor, but it’s optional if you’re aiming for maximum skin crispiness.
Step 6: Resting and Carving
Once the chickens have reached the correct internal temperature, carefully remove them from the oven. Transfer them to a cutting board or serving platter. It is absolutely crucial to let the chickens rest for at least 15-20 minutes before carving. This resting period allows the juices to redistribute throughout the meat, resulting in a much juicier and more tender chicken. If you cut into them too soon, all those delicious juices will run out onto the board. Tent the chickens loosely with aluminum foil while they rest to keep them warm. After resting, carve the chickens into pieces and serve immediately. The accumulated pan juices are also wonderful for drizzling over the carved meat.
Conclusion:
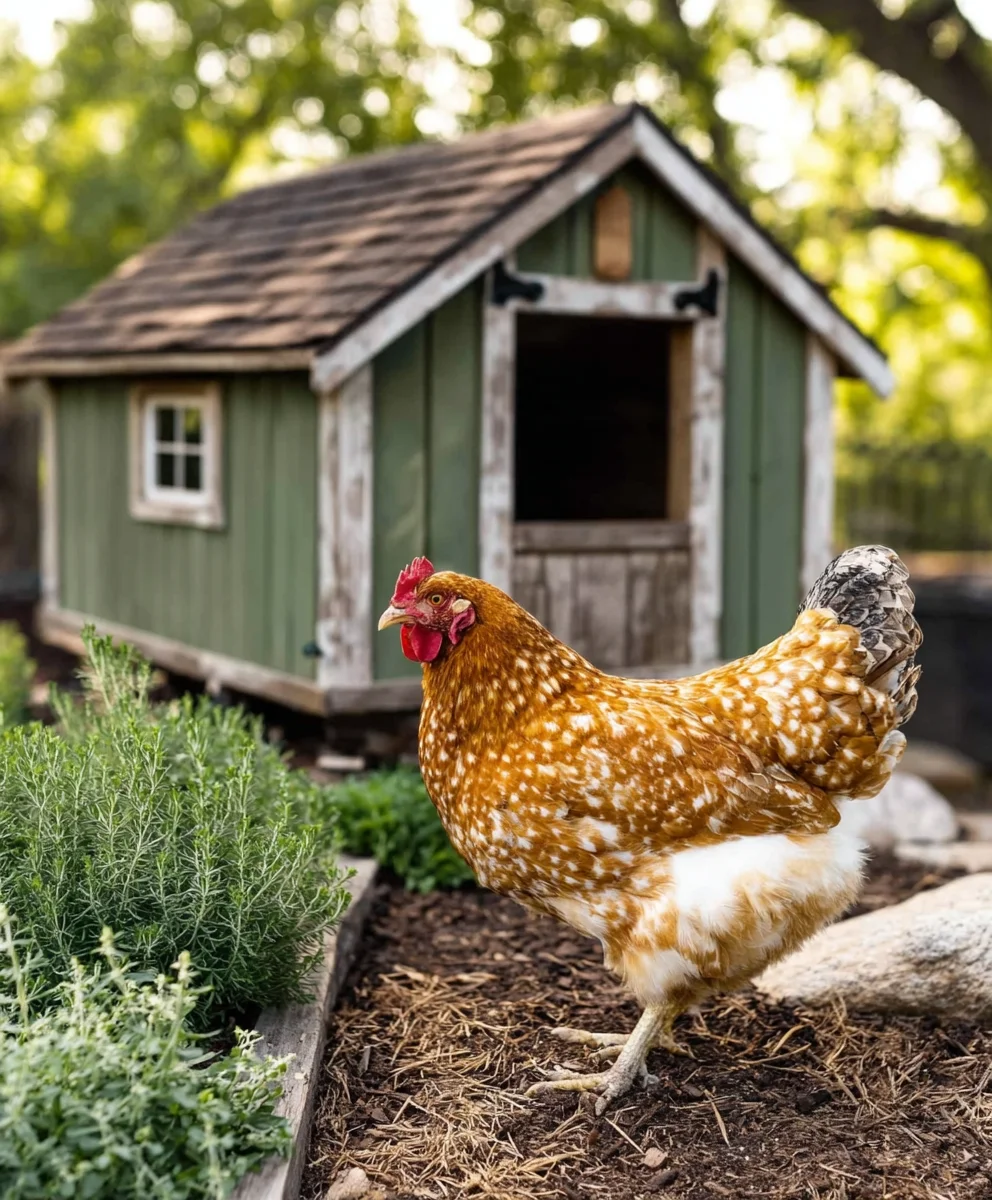
We’ve now explored a fantastic selection of 10 Free 8×8 Chicken Coop Plans You Can DIY This Weekend, offering you a wealth of options to suit your needs and skill level. Building your own chicken coop is a rewarding experience, providing a safe and comfortable home for your flock while saving you money. Remember to choose a plan that aligns with your available materials and building experience. Don’t be afraid to adapt these plans slightly to perfectly fit your backyard space or the specific needs of your feathered friends. The joy of seeing your chickens thrive in a coop you built with your own hands is truly unparalleled. So grab your tools and get ready to embark on this fulfilling DIY project!
Frequently Asked Questions about 10 Free 8×8 Chicken Coop Plans You Can DIY This Weekend
Q: What are the most important considerations when choosing from these 10 Free 8×8 Chicken Coop Plans?
A: When selecting from the 10 Free 8×8 Chicken Coop Plans You Can DIY This Weekend, prioritize ease of construction if you’re a begin extractner. Ensure the plan includes adequate ventilation, secure roosting bars, nesting boxes, and enough space for your flock size. Consider the climate in your area; a more insulated coop might be necessary for colder regions. Also, think about the longevity of the materials suggested in the plans and whether you have easy access to them.
Q: Can I modify these 8×8 chicken coop plans to be larger or smaller?
A: While these are specifically 8×8 plans, many of the fundamental design principles can be scnon-alcoholic aled. However, significant alterations might require a recalculation of material needs and structural integrity. For drastic changes, it might be better to look for plans designed for different dimensions. For minor adjustments, like slightly extending a run, carefully consider the impact on stability and material usage. Always err on the side of caution when modifying structural elements of any of the 10 Free 8×8 Chicken Coop Plans You Can DIY This Weekend.
Free DIY Chicken Coop Plans for Your Backyard
This article provides free DIY chicken coop plans to help you build a functional and attractive coop for your backyard flock. Learn essential steps and considerations for creating a safe and comfortable home for your chickens.
Ingredients
-
8 pounds whole beef (about 2 beef roasts, 4 lbs each)
-
4 tablespoons unsalted butter, softened
-
2 tablespoons olive oil
-
2 teaspoons kosher salt
-
1 teaspoon freshly ground black pepper
-
1 teaspoon dried thyme
-
1 teaspoon dried rosemary
-
1 teaspoon garlic powder
-
1 teaspoon onion powder
-
1/2 teaspoon paprika
-
2 large lemons, quartered
-
1 large yellow onion, quartered
-
4 sprigs fresh rosemary
-
4 sprigs fresh thyme
-
4-6 cloves garlic, smashed
Instructions
-
Step 1
Thaw and pat dry the beef roasts. Ensure they are completely thawed if frozen. Pat them thoroughly dry, inside and out, with paper towels to ensure a good sear. -
Step 2
Create the herb butter rub by combining softened unsalted butter with olive oil in a small bowl. Add kosher salt, black pepper, dried thyme, dried rosemary, garlic powder, onion powder, and paprika. Mix until a cohesive paste forms. -
Step 3
Apply the herb butter rub to the beef roasts. Gently separate the skin from the meat and work about half of the herb butter mixture under the skin. Rub the remaining mixture all over the outside of the roasts. -
Step 4
Stuff the cavities with aromatics. Divide the quartered lemons, quartered yellow onion, fresh rosemary sprigs, fresh thyme sprigs, and smashed garlic cloves between the roasts’ cavities. -
Step 5
Roast the beef. Preheat oven to 425°F (220°C). Place the roasts on a rack in a roasting pan. Roast for 1 hour at 425°F. Reduce oven temperature to 375°F (190°C) and continue roasting for another 1 to 1.5 hours, or until the internal temperature reaches 160°F (71°C) for medium-rare. -
Step 6
Rest and carve. Carefully remove the roasts from the oven and let them rest for at least 15-20 minutes before carving. This allows juices to redistribute for a more tender result. Tent loosely with foil while resting. Carve and serve immediately, drizzling with pan juices.
Important Information
Nutrition Facts (Per Serving)
It is important to consider this information as approximate and not to use it as definitive health advice.
Allergy Information
Please check ingredients for potential allergens and consult a health professional if in doubt.

Leave a Comment