

Whenever I serve this meal, my husband’s face lights up. It’s a simple yet profound reaction that never fails to warm my heart, and I’ve come to realize it’s more than just about a delicious dinner; it’s about creating a moment of pure joy and satisfaction. This particular dish has a magical way of transforming an ordinary evening into something truly special. People are drawn to its comforting aroma, the way it perfectly balances rich flavors with satisfying textures, and the undeniable sense of home it evokes. What truly makes this meal stand out, and why my husband’s eyes sparkle every time is the tender, slow-cooked meat that practically melts in your mouth, complemented by a deeply savory sauce that has been perfected over years of love and experimentation. It’s a recipe that feels both incredibly indulgent and wonderfully accessible, a true crowd-pleaser that leaves everyone asking for seconds.

Ingredients:
- 1 pound boneless, skinless chicken thighs
- 1 tablespoon olive oil
- 1 large yellow onion, thinly sliced
- 3 cloves garlic, minced
- 1 (15 ounce) can diced tomatoes, undrained
- 1 cup chicken broth
- 1 teaspoon smoked paprika
- 1/2 teaspoon dried oregano
- 1/4 teaspoon red pepper flakes (optional)
- Salt and freshly ground black pepper to taste
- 1/2 cup Kalamata olives, pitted and halved
- 1/4 cup chopped fresh parsley
- Crusty bread, for serving
Searing the Chicken
The foundation of this dish lies in perfectly seared chicken thighs. Boneless, skinless thighs are my preferred choice because they stay incredibly moist and tender throughout the cooking process, unlike chicken breasts which can easily dry out. I like to pat the chicken thighs completely dry with paper towels. This is a crucial step for achieving a beautiful golden-brown crust. Moisture is the enemy of searing! Season them generously on both sides with salt and freshly ground black pepper. Heat the olive oil in a large, heavy-bottomed skillet or Dutch oven over medium-high heat. Once the oil is shimmering, carefully add the chicken thighs in a single layer, being careful not to overcrowd the pan. You might need to do this in batches. Sear the chicken for about 4-5 minutes per side, until a lovely deep golden-brown crust has formed. This searing not only adds incredible flavor and texture but also locks in the juices. Once seared, remove the chicken from the skillet and set it aside on a plate. Don’t worry if it’s not cooked through at this point; it will finish cooking in the sauce.
Building the Flavor Base
Now it’s time to build the aromatic base that will infuse the entire dish with flavor. Reduce the heat to medium. If there’s an excessive amount of rendered chicken fat in the skillet, you can carefully pour off some of it, leaving just about a tablespoon. Add the thinly sliced yellow onion to the skillet. Cook, stirring occasionally, until the onions have softened and become translucent, which should take about 5-7 minutes. Scrape up any browned bits from the bottom of the pan as the onions cook – these bits are pure flavor gold! Once the onions are tender, add the minced garlic and cook for another minute until fragrant. Be careful not to burn the garlic, as it can become bitter. This step is all about coaxing out the natural sweetness of the onions and the pungent aroma of the garlic.
Simmering the Sauce
This is where the magic truly happens, transforming simple ingredients into a rich and satisfying sauce. Pour in the diced tomatoes, including their juices. Stir in the chicken broth, smoked paprika, dried oregano, and red pepper flakes if you’re using them for a little kick. Bring the mixture to a simmer, stirring to combine everything. Season the sauce with salt and freshly ground black pepper to your liking. Remember to taste and adjust as you go! Once simmering, return the seared chicken thighs to the skillet, nestling them down into the sauce. Make sure the chicken is mostly submerged. Cover the skillet and let the mixture simmer gently for about 20-25 minutes, or until the chicken is cooked through and tender. The low and slow simmer allows the flavors to meld beautifully and the chicken to become incredibly succulent. The sauce will also thicken slightly during this time.
Adding the Finishing Touches
We’re almost there! Once the chicken is cooked and the sauce has thickened to your desired consistency, it’s time to add the final bursts of flavor and texture. Stir in the pitted and halved Kalamata olives. The briny, slightly salty flavor of the olives is a perfect counterpoint to the rich, tomatoey sauce. Cook for another 2-3 minutes, just to heat the olives through. These olives add a wonderful Mediterranean flair to the dish. Before serving, stir in the chopped fresh parsley. The fresh herbs add a bright, herbaceous note that lifts the entire dish. The vibrant green of the parsley also makes the dish look even more appealing. This is a step you don’t want to skip!
Serving the Masterpiece
This dish is best served piping hot, with plenty of crusty bread on the side for soaking up every last drop of that incredible sauce. Whenever I serve this meal, my husband’s face lights up. It’s one of those simple, comforting dishes that feels both elegant and incredibly satisfying. I love to spoon the chicken and sauce over rice or pasta, but serving it with just good quality crusty bread is also a fantastic option. The bread is essential for ensuring no delicious sauce goes to waste! A simple green salad on the side can also provide a nice contrast. This is a meal that is sure to impress, yet it’s surprisingly easy to make for a weeknight dinner.
Conclusion:
I hope you enjoyed learning how to make this incredibly satisfying and flavorful dish! This recipe is a true crowd-pleaser, and whenever I serve this meal, my husband’s face lights up – a sure sign of its success. It’s hearty enough for a main course but also wonderfully adaptable. Don’t be afraid to experiment and make it your own. The key is the fresh ingredients and a little bit of love you put into it.
For serving suggestions, this dish pairs beautifully with a crisp green salad, some crusty bread for dipping up any delicious sauces, or even a side of roasted seasonal vegetables. If you’re looking for variations, consider adding a pinch of red pepper flakes for a little heat, or stirring in some fresh herbs like parsley or cilantro at the end for an extra burst of flavor. Feel free to swap out the protein for chicken or shrimp, or make it vegetarian with your favorite plant-based alternative.
I truly encourage you to give this recipe a try. It’s a comforting and delicious meal that will undoubtedly become a favorite in your household too. It’s proof that simple ingredients can create something truly special and memorable. So, gather your ingredients, put on your favorite music, and get cooking!
Frequently Asked Questions:
Q1: Can I make this dish ahead of time?
Absolutely! This recipe is quite forgiving and can often be made a day in advance. In fact, some argue that the flavors meld even better when allowed to sit. Simply store it in an airtight container in the refrigerator and reheat gently on the stovetop or in the oven. You might need to add a splash of liquid if it seems a little dry after reheating.
Q2: What kind of side dishes would complement this meal well?
As mentioned, a fresh, light salad is always a fantastic option. Steamed or roasted broccoli, asparagus, or green beans also work wonderfully. For something a bit more substantial, consider serving it alongside mashed potatoes or a simple rice pilaf. The goal is to balance the richness of the main dish with lighter, complementary flavors.
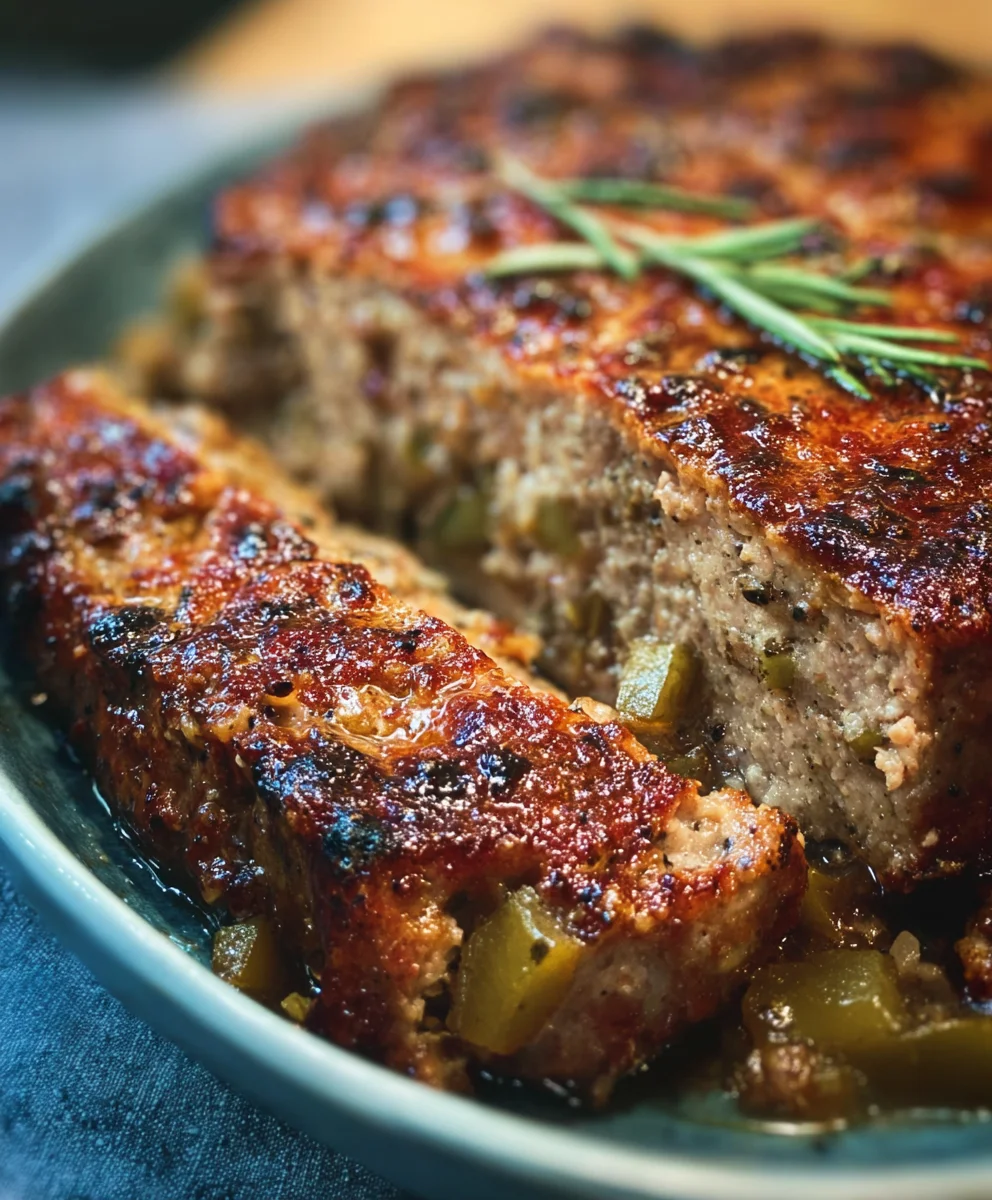
Husband’s Favorite Beef Dinner-Easy Recipe
A simple and satisfying beef dinner that’s a guaranteed hit, perfect for weeknights.
Ingredients
-
1 pound boneless beef chuck, cut into 1-inch pieces
-
1 tablespoon olive oil
-
1 large yellow onion, thinly sliced
-
3 cloves garlic, minced
-
1 (15 ounce) can diced tomatoes, undrained
-
1 cup beef broth
-
1 teaspoon smoked paprika
-
1/2 teaspoon dried oregano
-
1/4 teaspoon red pepper flakes (optional)
-
Salt and freshly ground black pepper to taste
-
1/2 cup Kalamata olives, pitted and halved
-
1/4 cup chopped fresh parsley
-
Crusty bread, for serving
Instructions
-
Step 1
Pat the beef chuck pieces completely dry with paper towels. Season them generously on both sides with salt and freshly ground black pepper. Heat the olive oil in a large, heavy-bottomed skillet or Dutch oven over medium-high heat. Once the oil is shimmering, carefully add the beef in a single layer, being careful not to overcrowd the pan. Sear the beef for about 4-5 minutes per side, until a lovely deep golden-brown crust has formed. Remove the beef from the skillet and set it aside. -
Step 2
Reduce the heat to medium. If there’s excessive rendered beef fat, pour off some, leaving about a tablespoon. Add the thinly sliced yellow onion to the skillet and cook, stirring occasionally, until softened and translucent (about 5-7 minutes). Scrape up any browned bits from the bottom of the pan. Add the minced garlic and cook for another minute until fragrant. -
Step 3
Pour in the diced tomatoes, including their juices. Stir in the beef broth, smoked paprika, dried oregano, and red pepper flakes if using. Bring the mixture to a simmer, stirring to combine. Season the sauce with salt and freshly ground black pepper to your liking. -
Step 4
Return the seared beef to the skillet, nestling it down into the sauce. Make sure the beef is mostly submerged. Cover the skillet and let the mixture simmer gently for about 25-30 minutes, or until the beef is cooked through and tender. The sauce will thicken slightly. -
Step 5
Stir in the pitted and halved Kalamata olives. Cook for another 2-3 minutes to heat through. Before serving, stir in the chopped fresh parsley for a bright, herbaceous note. -
Step 6
Serve the beef dinner piping hot, with plenty of crusty bread on the side for soaking up the sauce. This dish can also be served over rice or pasta, or with a simple green salad.
Important Information
Nutrition Facts (Per Serving)
It is important to consider this information as approximate and not to use it as definitive health advice.
Allergy Information
Please check ingredients for potential allergens and consult a health professional if in doubt.


Leave a Comment