

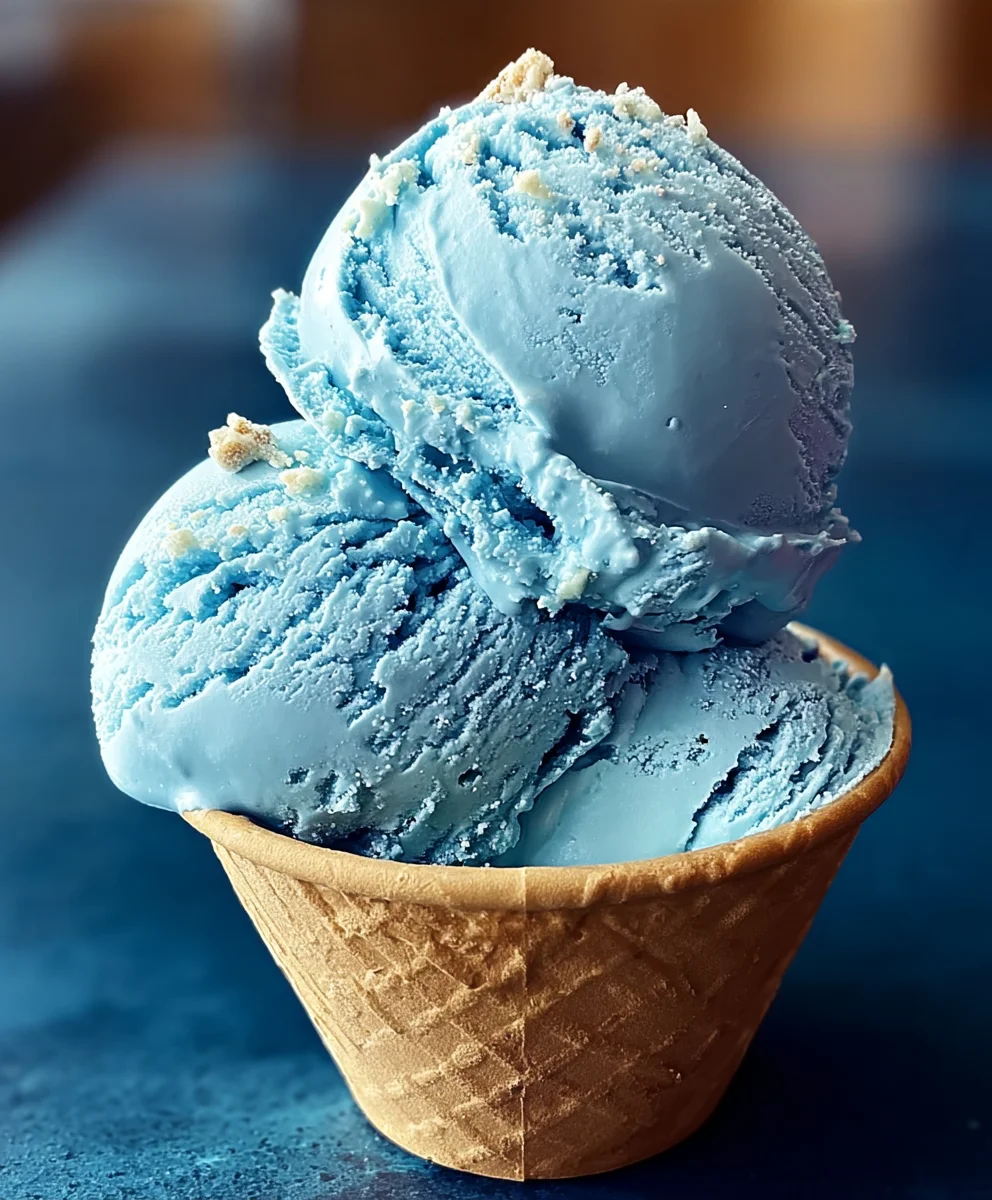
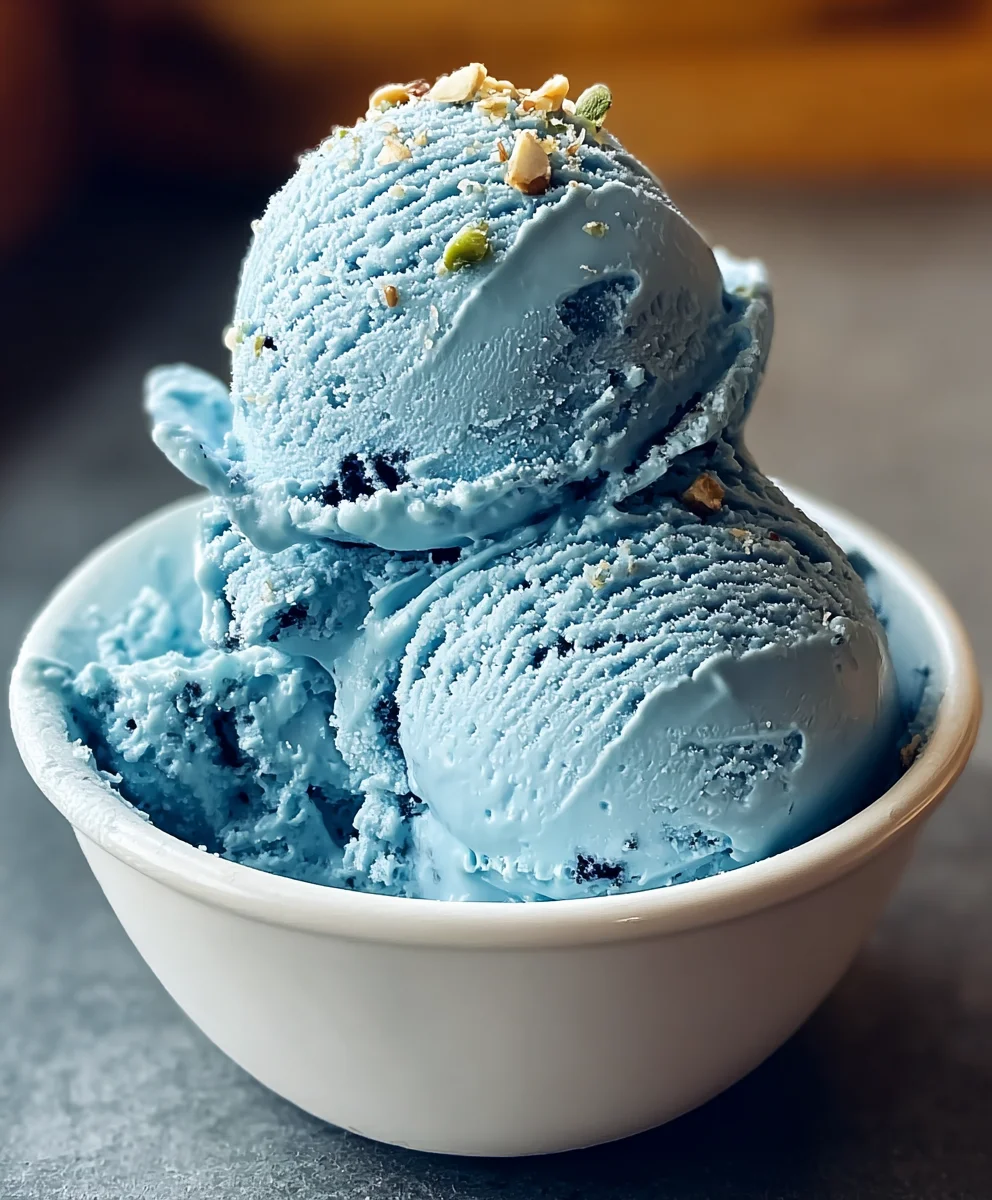
Blue Moon Ice Cream isn’t just a dessert; it’s a nostalgic trip, a vibrant burst of childhood summers, and a truly unique flavor experience. Have you ever found yourself captivated by its otherworldly, almost neon blue hue, wondering what magical ingredients create such an intriguing confection? That’s the beauty of Blue Moon Ice Cream – it’s a mystery wrapped in a delicious, creamy package that has loyal fans swooning for generations. People adore this ice cream for its distinct, slightly tangy yet sweet flavor that’s hard to pinpoint but impossible to forget. It’s often described as having notes of almond extract, a hint of citrus, and sometimes even a whisper of cherry or vanilla, all working in harmony to create something truly special. This isn’t your average vanilla or chocolate; Blue Moon Ice Cream stands out from the crowd, making every spoonful an adventure.
Ready to recreate this iconic treat at home?

Ingredients:
- 2 cups heavy cream
- 1 cup whole milk
- 3/4 cup granulated sugar
- 1 teaspoon vanilla extract
- 1 teaspoon almond extract
- Blue food coloring, as needed
- 1/4 cup maraschino cherries, chopped (optional)
Preparing the Blue Moon Ice Cream Base
Step 1: Warming the Milk and Sugar
Our Blue Moon Ice Cream journey begin extracts with creating a smooth, sweet base. In a medium saucepan, combine the 1 cup of whole milk and the 3/4 cup of granulated sugar. Place the saucepan over medium heat. You’ll want to stir this mixture constantly with a whisk or a wooden spoon to ensure the sugar dissolves completely. The goal here isn’t to boil the milk, but to gently warm it until the sugar crystals have vanished. You’ll feel the mixture becoming slightly thicker and smoother as the sugar integrates. Once you no longer feel any gritty sugar against the bottom of the pan when you stir, remove the saucepan from the heat. This step is crucial for achieving a creamy texture in your final ice cream, as undissolved sugar can lead to an icy consistency.
Step 2: Infusing the Flavor Extracts
Now that our milk and sugar are beautifully combined and slightly warmed, it’s time to add the aromatic elements that will give our Blue Moon Ice Cream its signature taste. Stir in the 1 teaspoon of vanilla extract and the 1 teaspoon of almond extract into the warm milk and sugar mixture. These extracts are potent, so measuring them accurately is key to achieving the perfect balance of flavors. The vanilla provides a classic sweet undertone, while the almond extract offers a subtle, nutty complexity that truly defines the “Blue Moon” experience. Whisk them in thoroughly to distribute the flavors evenly throughout the base. Allow this mixture to cool slightly at room temperature while you prepare the next step. This brief cooling period helps the flavors meld together beautifully.
Chilling and Coloring the Base
Step 3: Chilling the Ice Cream Base
For the best results when making homemade ice cream, a thoroughly chilled base is absolutely essential. This is because ice cream makers work by freezing the base, and a colder starting point means less time churning and a smoother, faster freeze. Once your milk, sugar, and extract mixture has cooled down a bit, transfer it to an airtight container or a large bowl covered tightly with plastic wrap. Place it in the refrigerator and let it chill for at least 4 hours, or preferably overnight. The longer it chills, the colder and more set it will become. This chilling process allows the flavors to deepen and meld further, contributing to a more complex and delicious final product. Don’t rush this step; patience here will be rewarded with superior ice cream texture.
Step 4: Adding the Signature Blue Hue
This is where our ice cream truly transforms into the iconic “Blue Moon”! Take your well-chilled ice cream base out of the refrigerator. Now, it’s time to add the blue food coloring. Start by adding just a few drops at a time and gently stirring the mixture. Observe the color change and continue adding more drops until you achieve your desired shade of blue. Remember, you can always add more, but you can’t take it away, so it’s best to build up the color gradually. The “Blue Moon” is known for its vibrant, sometimes almost electric blue hue, so don’t be afraid to be generous, but also taste as you go if you are concerned about artificial color flavor. For a lighter, more pastel blue, fewer drops will be needed. For a deeper, more intense color, you’ll need more. Once you’re happy with the color, give it a final good stir to ensure it’s evenly distributed.
Churning and Finishing the Blue Moon Ice Cream
Step 5: Churning the Ice Cream
Now, the magic happens! Prepare your ice cream maker according to the manufacturer’s instructions. This typically involves ensuring the freezer bowl is fully frozen if you’re using a freezer bowl model. Pour your beautifully colored and chilled ice cream base into the ice cream maker. Let it churn for about 20 to 30 minutes, or until it reaches a soft-serve consistency. The exact time will depend on your specific ice cream maker. You’ll notice the mixture thickening and becoming more ice cream-like as it churns. Keep an eye on it; over-churning can sometimes lead to a firmer, icier texture. During the last 5 minutes of churning, if you’re using them, add the 1/4 cup of chopped maraschino cherries. This is an optional but highly recommended addition for bursts of sweet, tart flavor and a delightful textural contrast within your creamy Blue Moon ice cream.
Step 6: Hardening the Blue Moon Ice Cream
Once the ice cream has reached a soft-serve consistency in the ice cream maker, it’s time to harden it to achieve that perfect scoopable texture. Transfer the churned ice cream immediately into a freezer-safe container. A loaf pan or a dedicated ice cream container works perfectly. If you have any remaining maraschino cherries, you can gently swirl them into the ice cream as you transfer it, or sprinkle them on top for an extra visual appeal and flavor punch. Cover the container tightly with a lid or plastic wrap, pressing it directly onto the surface of the ice cream to prevent ice crystals from forming. Place the container in the freezer and let the ice cream harden for at least 4 to 6 hours, or until it’s firm enough to scoop. This hardening phase is critical for developing the final, dense, and creamy texture that we all love in homemade ice cream. The longer it hardens, the firmer it will become.
Conclusion:
We hope you’ve enjoyed learning how to create this delightfully unique and creamy Blue Moon Ice Cream! This recipe delivers a vibrant color and a subtly sweet, fruity flavor that’s truly one-of-a-kind. The magic lies in its simplicity, allowing the distinctive blue moon essence to shine through. Whether you’re looking for a fun dessert to impress guests or a special treat for yourself, this homemade Blue Moon Ice Cream is sure to be a hit.
Serving suggestions are endless! This ice cream is fantastic on its own, but also pairs wonderfully with a classic sugar cone or waffle cone. Consider topping it with whipped cream, rainbow sprinkles, or even a drizzle of white chocolate for an extra touch of decadence. For a more adventurous pairing, try it alongside a slice of angel food cake or with fresh berries.
Don’t be afraid to experiment with variations! You can add a handful of blueberries for a textural contrast and a deeper berry note. A touch of almond extract can also complement the unique flavor profile beautifully. Remember, the best part about homemade ice cream is making it your own!
So, go ahead and whip up a batch of Blue Moon Ice Cream today. We’re confident you’ll find it a rewarding and delicious culinary adventure. Enjoy every spoonful!
Frequently Asked Questions:
Q1: What gives Blue Moon Ice Cream its unique flavor?
The distinct flavor of Blue Moon Ice Cream is often attributed to a blend of fruit essences, commonly including almond extract, vanilla, and sometimes hints of citrus like lemon or orange. The exact flavor profile can vary slightly between recipes, but it’s this combination that creates its signature sweet and slightly tangy taste that’s hard to pinpoint but utterly delicious.
Q2: Can I make this Blue Moon Ice Cream without an ice cream maker?
Yes, absolutely! You can make delicious Blue Moon Ice Cream without an ice cream maker. One popular method is the “no-churn” technique, which typically involves whipping heavy cream to stiff peaks, then folding in sweetened condensed milk and your flavorings. You’ll then freeze this mixture, stirring occasionally during the first few hours to break up ice crystals. Another method involves freezing the base in a shallow pan and scraping it with a fork every 30-45 minutes until it reaches an ice cream consistency.
Q3: How long can I store homemade Blue Moon Ice Cream?
Properly stored homemade Blue Moon Ice Cream can last in your freezer for about 1 to 2 weeks. It’s best kept in an airtight container to prevent freezer burn and maintain its optimal texture. Ensure the container is well-senon-alcoholic aled to keep out air and any odors from the freezer. The texture might change slightly over longer storage periods, but it should remain enjoyable.
Blue Moon Ice Cream
A unique and easy-to-make Blue Moon ice cream recipe with a distinctive flavor and vibrant blue color.
Ingredients
-
2 cups heavy cream
-
1 cup whole milk
-
3/4 cup granulated sugar
-
1 teaspoon vanilla extract
-
1 teaspoon almond extract
-
Blue food coloring, as needed
-
1/4 cup maraschino cherries, chopped (optional)
Instructions
-
Step 1
In a medium saucepan, combine whole milk and granulated sugar. Heat over medium heat, stirring constantly until sugar dissolves completely. Do not boil. Remove from heat. -
Step 2
Stir in vanilla extract and almond extract into the warm milk and sugar mixture. Whisk thoroughly. Allow to cool slightly at room temperature. -
Step 3
Transfer the mixture to an airtight container or bowl, cover tightly, and chill in the refrigerator for at least 4 hours, or preferably overnight. -
Step 4
Add blue food coloring to the chilled base, a few drops at a time, stirring until the desired shade of blue is achieved. Stir well to distribute evenly. -
Step 5
Prepare your ice cream maker according to the manufacturer’s instructions. Pour the colored base into the ice cream maker and churn for 20-30 minutes, or until it reaches a soft-serve consistency. Add chopped maraschino cherries during the last 5 minutes of churning, if using. -
Step 6
Transfer the churned ice cream to a freezer-safe container. Cover tightly, pressing plastic wrap directly onto the surface. Freeze for at least 4-6 hours, or until firm enough to scoop.
Important Information
Nutrition Facts (Per Serving)
It is important to consider this information as approximate and not to use it as definitive health advice.
Allergy Information
Please check ingredients for potential allergens and consult a health professional if in doubt.
Leave a Comment