

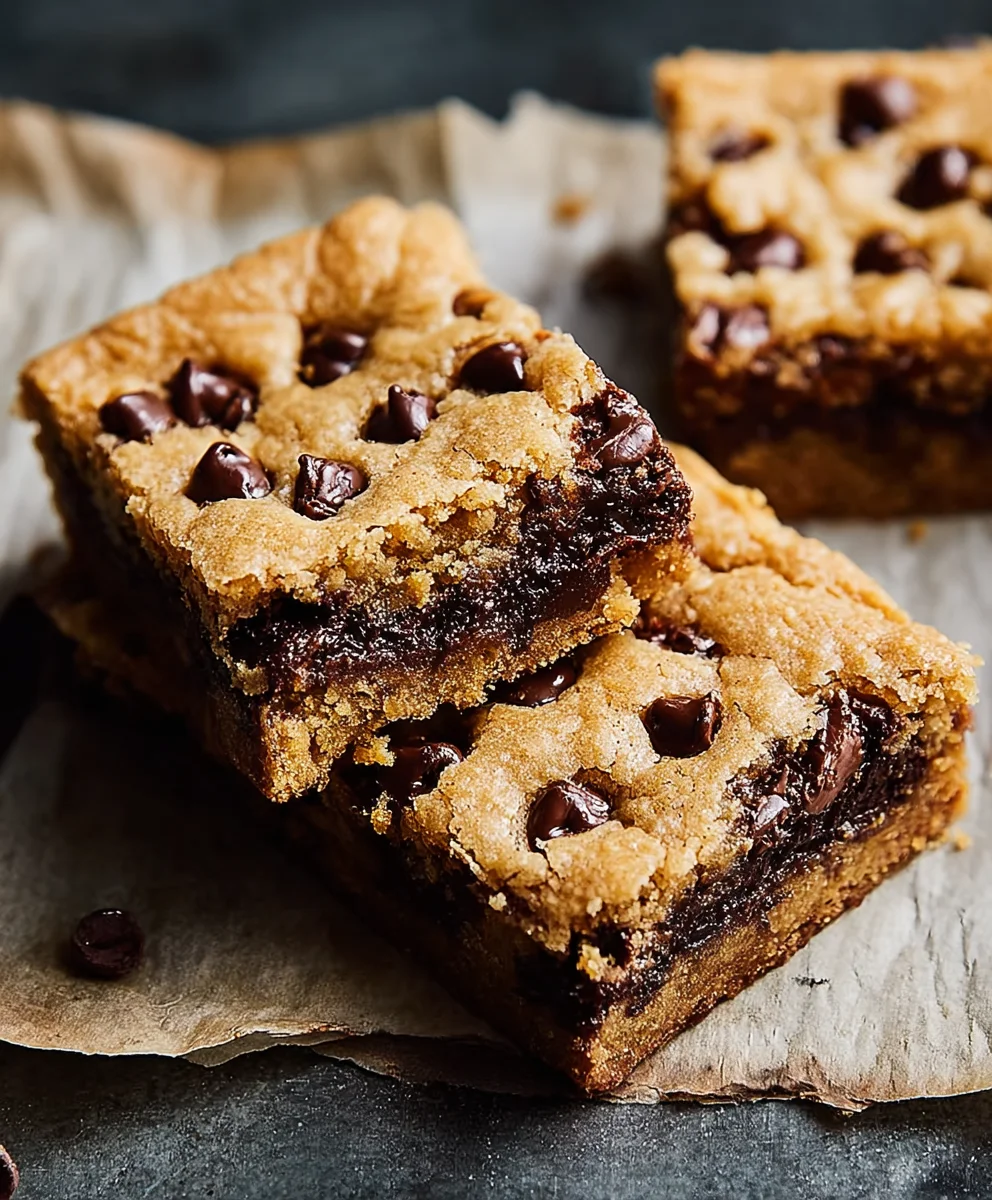
Chocolate Chip Cookie Bars are more than just a dessert; they’re a warm hug in edible form, a nostalgic trip back to childhood kitchens, and a guaranteed crowd-pleaser for any occasion. Who doesn’t adore the comforting aroma of freshly baked cookies, but with the irresistible ease of bars? We certainly do! The magic of these Chocolate Chip Cookie Bars lies in their perfect balance of chewy, gooey centers and slightly crisp edges, all packed with those beloved melty chocolate chips. They offer all the glorious flavor and texture of traditional cookies but without the fuss of scooping and chilling individual dough balls. Whether you’re looking for a quick treat for yourself, a potluck sensation, or a simple way to impress, these bars are your delicious answer. Get ready to discover the ultimate recipe for this universally loved confection!

Ingredients:
- 2 1/4 cups all-purpose flour
- 1/4 teaspoon salt
- 1/2 teaspoon baking soda
- 3/4 cup unsalted butter, melted
- 1 cup packed light brown sugar
- 1/2 cup granulated sugar
- 1 large egg
- 1 large egg yolk
- 2 teaspoons pure vanilla extract
- 2 cups mini chocolate chips
Preparing the Dough
Before we begin extract mixing, it’s essential to preheat your oven and prepare your baking pan. This ensures that your chocolate chip cookie bars bake evenly and achieve that perfect chewy texture. Preheat your oven to 350 degrees Fahrenheit (175 degrees Celsius). For a standard 9×13 inch baking pan, line it with parchment paper, leaving an overhang on the sides. This overhang will act as handles, making it incredibly easy to lift the baked bars out of the pan once they’ve cooled. This simple step prevents sticking and makes cleanup a breeze.
In a medium bowl, whisk together the dry ingredients. This includes your 2 1/4 cups of all-purpose flour, 1/4 teaspoon of salt, and 1/2 teaspoon of baking soda. Whisking these ingredients together agin extracthe beginning helps to evenly distribute the leavening agent (baking soda) and salt throughout the flour. This ensures consistent lift and flavor in every bite of your cookie bars. Set this bowl aside for now; we’ll incorporate it into the wet ingredients shortly.
Combining Wet and Dry Ingredients
Now, let’s move on to the wet ingredients. In a large mixing bowl, combine the melted 3/4 cup of unsalted butter with both the 1 cup of packed light brown sugar and the 1/2 cup of granulated sugar. It’s important to use packed brown sugar to ensure you get the correct amount, as it can be deceivingly light when not packed down. Cream these ingredients together until the mixture is smooth and well combined. A good whisk or electric mixer can help achieve this easily. The combination of brown and granulated sugar is key to achieving that classic cookie texture – the brown sugar contributes chegrape juicess and moisture, while the granulated sugar helps with crisp edges.
Next, add the egg and the egg yolk to the sugar and butter mixture. The extra egg yolk is a secret weapon for creating incredibly fudgy and rich cookie bars. It adds more fat and emulsifiers, resulting in a decadent texture. Beat these in thoroughly until the mixture is pnon-alcoholic ale and creamy. This process helps to incorporate air into the batter, which contributes to the overall texture. Following this, stir in the 2 teaspoons of pure vanilla extract. Vanilla extract not only adds a wonderful aroma but also enhances the chocolate flavor significantly. Ensure the vanilla is fully incorporated before moving on to the next step.
Now it’s time to bring the dry and wet ingredients together. Gradually add the flour mixture to the wet ingredients, mixing on low speed or by hand until just combined. Be careful not to overmix at this stage. Overmixing can develop the gluten in the flour too much, leading to tough cookie bars. You want to mix until you no longer see streaks of dry flour. It’s perfectly acceptable to have a few small lumps in the dough at this point; they will disappear during baking.
Incorporating the Chocolate Chips and Baking
The moment we’ve all been waiting for – the chocolate chips! Gently fold in the 2 cups of mini chocolate chips. Mini chocolate chips are perfect for bars because they distribute more evenly throughout the batter compared to larger chips, ensuring you get a bit of chocolate in every bite. Reserve a small handful of the chocolate chips to sprinkle over the top of the dough before baking, if you like a little extra chocolatey goodness visible on the surface. Mix them in just until they are evenly distributed throughout the dough. The dough will be thick and slightly sticky.
Spread the dough evenly into your prepared 9×13 inch baking pan. Use a spatula or the back of a spoon to press the dough out into an even layer. Make sure the surface is as smooth as possible to ensure uniform baking. If you reserved some chocolate chips, sprinkle them over the top of the dough now, pressing them in gently. Once your pan is ready, carefully place it in the preheated oven. Bake for 25 to 30 minutes, or until the edges are golden brown and the center is set but still slightly soft. Keep an eye on them during the last few minutes of baking as ovens can vary. You want them to be cooked through but not overbaked, which can lead to dry bars.
Once baked, remove the pan from the oven and let the chocolate chip cookie bars cool completely in the pan on a wire rack. This cooling period is crucial for the bars to firm up properly. Trying to cut them while they are still warm will result in them falling apart. Resist the urge to cut them too soon; patience will be rewarded with perfectly cut, delicious bars. After they have cooled completely, use the parchment paper overhangs to lift the entire slab out of the pan. Then, you can cut them into your desired bar sizes using a sharp knife. Enjoy these delightful treats!

Conclusion:
And there you have it – the ultimate guide to creating delicious Chocolate Chip Cookie Bars! We’ve walked through each step, from selecting the perfect ingredients to achieving that ideal chewy texture and golden-brown finish. These bars are incredibly versatile and a guaranteed crowd-pleaser for any occasion, from casual gatherings to holiday celebrations. Don’t be afraid to get creative and make them your own!
Serve these delightful Chocolate Chip Cookie Bars warm or at room temperature. They are absolutely fantastic on their own, but for an extra treat, consider pairing them with a scoop of vanilla bean ice cream or a warm glass of milk. For variations, try adding chopped nuts like walnuts or pecans for extra crunch, or sprinkle them with sea salt flakes before baking to enhance the chocolate flavor. You could even swirl in some caramel sauce or peanut butter for a decadent twist!
I truly hope you enjoy making and devouring these Chocolate Chip Cookie Bars as much as I do. They are simple enough for begin extractners but satisfying enough for experienced bakers. Happy baking!
FAQs:
Q: How should I store Chocolate Chip Cookie Bars?
A: Once completely cooled, store your Chocolate Chip Cookie Bars in an airtight container at room temperature for up to 3-4 days. You can also refrigerate them for longer storage, up to a week, though they may become slightly firmer. Reheat gently in a microwave or oven if desired.
Q: Can I make Chocolate Chip Cookie Bars ahead of time?
A: Absolutely! Chocolate Chip Cookie Bars are perfect for making ahead. You can bake them a day or two in advance and store them as mentioned above. They often taste even better the next day as the flavors meld together.
Easy Chocolate Chip Cookie Bars – Best Recipe
A simple and delicious recipe for chewy chocolate chip cookie bars, perfect for any occasion.
Ingredients
-
2 1/4 cups all-purpose flour
-
1/4 teaspoon salt
-
1/2 teaspoon baking soda
-
3/4 cup unsalted butter, melted
-
1 cup packed light brown sugar
-
1/2 cup granulated sugar
-
1 large egg
-
1 large egg yolk
-
2 teaspoons pure vanilla extract
-
2 cups mini chocolate chips
Instructions
-
Step 1
Preheat oven to 350°F (175°C). Line a 9×13 inch baking pan with parchment paper, leaving an overhang on the sides. In a medium bowl, whisk together flour, salt, and baking soda. Set aside. -
Step 2
In a large bowl, combine melted butter with brown sugar and granulated sugar. Cream together until smooth and well combined. Add egg and egg yolk, beating until pale and creamy. Stir in vanilla extract. -
Step 3
Gradually add the flour mixture to the wet ingredients, mixing on low speed or by hand until just combined. Do not overmix. -
Step 4
Gently fold in the mini chocolate chips. Reserve a small handful to sprinkle on top if desired. -
Step 5
Spread the dough evenly into the prepared baking pan. Sprinkle reserved chocolate chips on top and press gently. Bake for 25-30 minutes, or until edges are golden brown and the center is set but slightly soft. -
Step 6
Let cool completely in the pan on a wire rack before lifting out using the parchment paper overhangs. Cut into desired bar sizes.
Important Information
Nutrition Facts (Per Serving)
It is important to consider this information as approximate and not to use it as definitive health advice.
Allergy Information
Please check ingredients for potential allergens and consult a health professional if in doubt.


Leave a Comment