

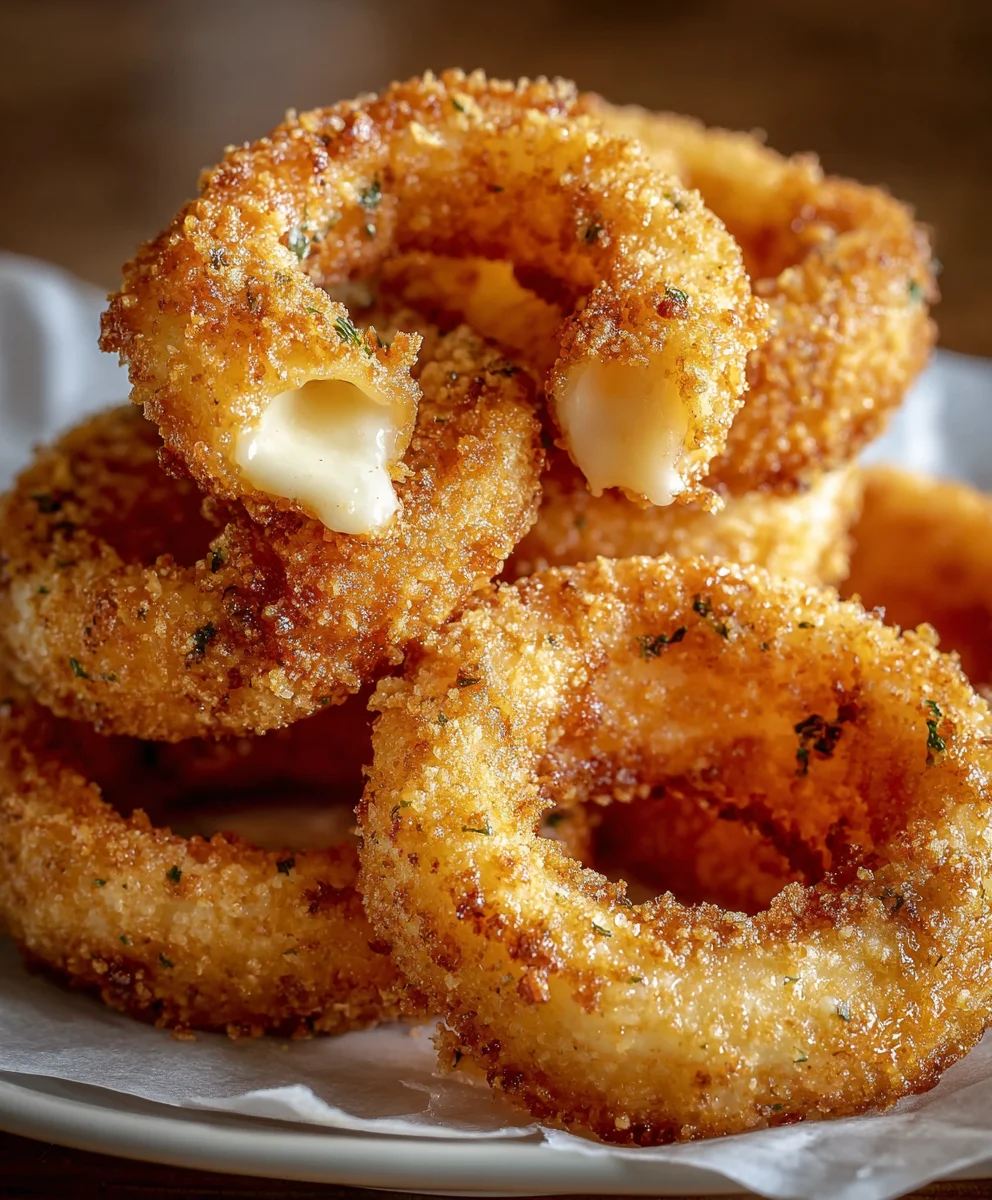
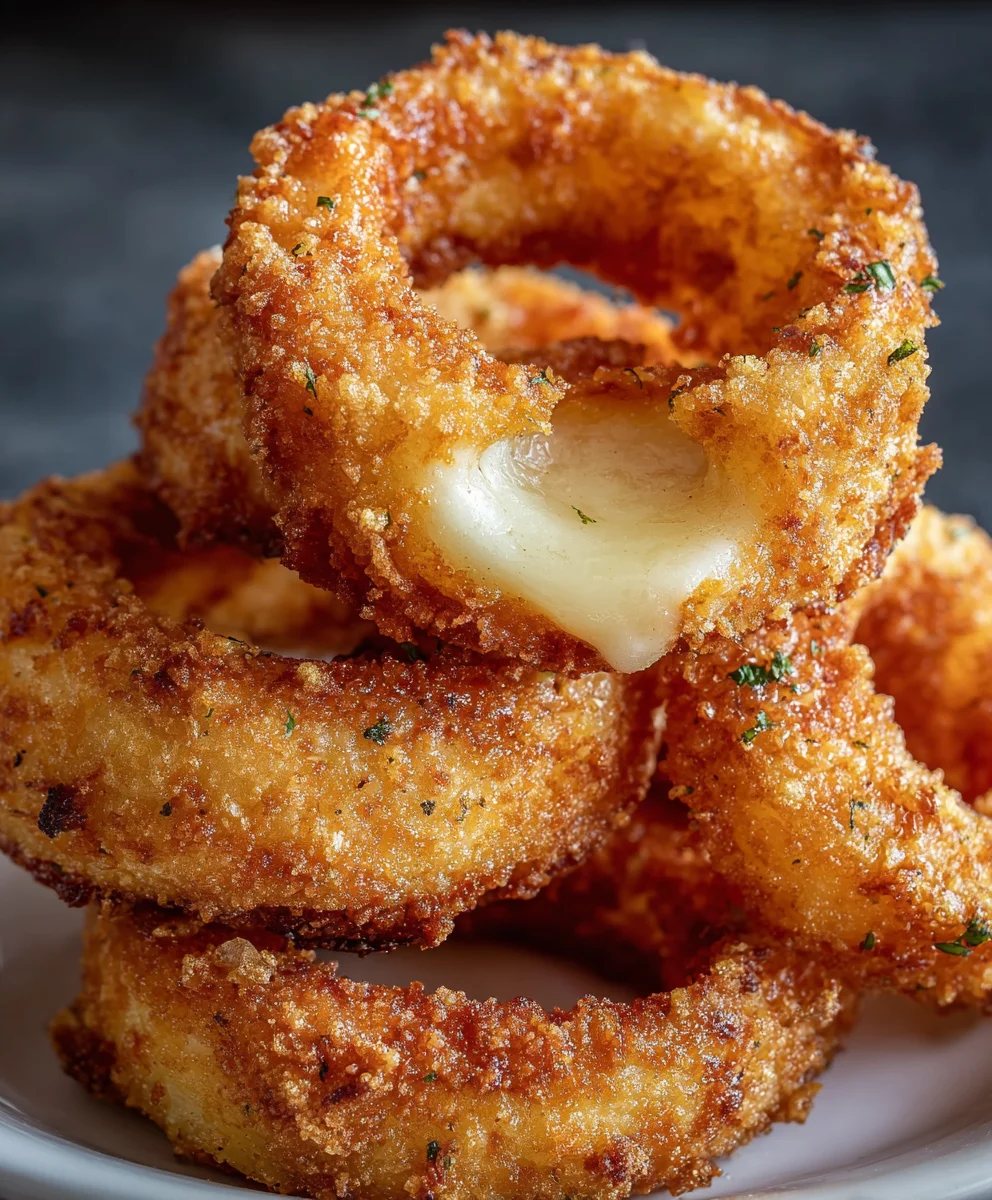
Cheesy Onion Rings are not just a side dish; they’re a golden, crispy, flavor-packed experience that can elevate any meal from ordinary to extraordinary. Imagine biting into a perfectly fried ring, the satisfying crunch giving way to the sweet, caramelized onion within, and then – the moment of pure bliss – a molten, gooey layer of cheese that stretches with every pull. It’s no wonder why these are a universally loved indulgence, a comfort food champion that always brings smiles to the table. What truly sets these Cheesy Onion Rings apart is the ingenious combination of simple ingredients transformed into something utterly irresistible. We’re talking about a crispy, seasoned coating that’s been cleverly infused with cheese, ensuring every bite offers that delightful salty, savory punch. Forget bland, forget boring; this recipe is designed to deliver maximum cheesy, oniony goodness, making them the star of any appetizer spread or a surprisingly satisfying main event.

Ingredients:
- 1 large onion, sliced into thick rings
- 8 mozzarella cheese sticks, cut in half lengthwise
- 1 cup milk
- 1 egg, beaten
- 1 cup Panko bread crumbs
- 2 cups cooking oil, for frying
- Toothpicks for securing
- 1 teaspoon baking powder
- 1 cup all-purpose flour
- 1 teaspoon fine salt
Preparing the Onion Rings and Cheese
The first step to achieving perfectly crispy and cheesy onion rings is to prepare our core components. Take your large onion and carefully slice it into thick rings. Aim for rings that are about ½ inch thick. This thickness is crucial because it allows the onion to cook through without becoming mushy and provides a sturdy base for the cheese. Discard the very small inner rings and the outer papery layers. Once sliced, gently separate the rings. For the mozzarella cheese sticks, cut each one in half lengthwise. This will create thinner strips that are easier to wrap around the onion rings. You should have 16 cheese strips in total.
Assembling the Cheesy Onion Rings
Now comes the fun part where we bring the onion and cheese together. For each onion ring, select one that is a suitable size to comfortably hold a piece of cheese. Take one strip of mozzarella cheese and carefully insert it into the center of an onion ring. Gently press the cheese into the ring, trying to fill the opening as much as possible without forcing it too much. The goal is to have the cheese neatly nestled within the onion. Once the cheese is in place, use a toothpick to secure it. Insert the toothpick through the onion ring and the cheese, making sure it goes deep enough to hold everything together firmly. Repeat this process for all your onion rings, using one cheese strip per ring and securing with a toothpick. You should end up with a batch of cheese-filled onion rings, each held together by a toothpick.
Creating the Breading Station
To achieve that signature golden-brown and crispy coating on our Cheesy Onion Rings, we need to set up a proper breading station. This typically involves three shallow dishes or bowls. In the first dish, combine the all-purpose flour, fine salt, and baking powder. Whisk these dry ingredients together thoroughly. The baking powder is a secret weapon here, contributing to a lighter, airier crisp to the breading. In the second dish, pour in the milk and add the beaten egg. Whisk this mixture until well combined, creating your wet batter. In the third dish, place the Panko bread crumbs. Panko bread crumbs are essential for achieving maximum crispiness due to their larger, irregular shape which allows them to fry up beautifully. Ensure you have enough space to comfortably work with each breaded onion ring.
Breading the Cheesy Onion Rings
With your breading station ready, it’s time to coat our assembled onion rings. Pick up a toothpick-secured, cheese-filled onion ring. First, dredge it generously in the flour mixture, ensuring it’s fully coated. Gently shake off any excess flour. Next, dip the floured ring into the egg and milk mixture, allowing any excess to drip back into the bowl. This wet coating will help the Panko adhere. Finally, roll the wet ring in the Panko bread crumbs, pressing gently to make sure the crumbs stick all over. You want a nice, even coating of Panko. Place the breaded ring on a clean plate or a wire rack. Repeat this entire breading process for all the prepared cheesy onion rings. It’s important to bread them just before frying to prevent the coating from becoming soggy.
Frying the Cheesy Onion Rings to Perfection
The final stage is frying, which will transform these humble ingredients into delicious Cheesy Onion Rings. Pour the 2 cups of cooking oil into a heavy-bottomed pot or a deep fryer. Heat the oil over medium-high heat until it reaches approximately 350°F (175°C). You can test the oil by dropping a tiny bit of breading into it; it should sizzle vigorously. Carefully, using tongs or a slotted spoon, lower a few breaded onion rings into the hot oil. Do not overcrowd the pot, as this will lower the oil temperature and result in greasy onion rings. Fry them for about 2 to 3 minutes per side, or until they are a beautiful golden-brown color and the Panko breading is crispy. You’ll see the cheese starting to melt and possibly ooze slightly – this is a good sign! Once they are perfectly fried, remove them from the oil using your slotted spoon and place them on a wire rack set over a baking sheet to drain any excess oil. Remember to remove the toothpicks before serving!
Conclusion:
And there you have it – your guide to creating the most irresistible Cheesy Onion Rings! We’ve walked through every step, from selecting the perfect onions to achieving that golden, crispy, and wonderfully cheesy coating. These aren’t just any onion rings; they’re a flavor explosion waiting to happen, perfect for any occasion that calls for a delicious appetizer or side dish. Imagine the satisfying crunch followed by the gooey, savory cheese – pure bliss!
For serving suggestions, these Cheesy Onion Rings are fantastic on their own with your favorite dipping sauce, whether it’s classic ketchup, a zesty ranch, or a spicy aioli. They also make a show-stopping addition to burgers, sandwiches, or even as a fun side for chili. Don’t be afraid to experiment with variations! Consider adding a pinch of smoked paprika to the flour mixture for a smoky kick, or swap out some of the cheese for a sharp cheddar or a spicy pepper jack for a different flavor profile. You could even try a sprinkle of dried herbs like chives or parsley into the cheese blend.
I truly hope you enjoy making and devouring these delightful rings. Remember, cooking should be an adventure, so feel free to adapt and personalize this recipe to your liking. Happy cooking!
Frequently Asked Questions:
How do I prevent the cheese from burning while frying?
To prevent the cheese from burning, ensure your oil is at the correct temperature (around 350-375°F or 175-190°C). If the oil is too hot, the outside will cook too quickly, and the cheese can burn before the onion is tender and cooked through. You might also consider frying them in slightly smaller batches to maintain oil temperature and prevent overcrowding, which can also lead to uneven cooking.
Can I bake these Cheesy Onion Rings instead of frying?
Yes, you absolutely can bake these Cheesy Onion Rings! For baking, preheat your oven to 400°F (200°C). Place the coated onion rings on a wire rack set over a baking sheet. Bake for 20-25 minutes, flipping halfway through, until golden brown and crispy. While they won’t achieve the exact same level of crispiness as fried rings, they are a healthier and still delicious alternative.
Cheesy Onion Rings – Irresistible Flavor Bomb
Golden-brown, crispy onion rings filled with melty mozzarella cheese, offering an irresistible flavor explosion. Perfect as an appetizer or snack.
Ingredients
-
1 large onion, sliced into thick rings
-
8 mozzarella cheese sticks
-
1 cup milk
-
1 egg, beaten
-
1 cup Panko bread crumbs
-
2 cups cooking oil
-
Toothpicks for securing
-
1 teaspoon baking powder
-
1 cup all-purpose flour
-
1 teaspoon fine salt
Instructions
-
Step 1
Prepare the onion: Slice the large onion into thick rings (about ½ inch thick). Separate the rings and discard small inner rings and papery layers. Cut each mozzarella cheese stick in half lengthwise to create 16 strips. -
Step 2
Assemble the rings: Insert one mozzarella strip into the center of a suitable onion ring, filling the opening. Secure the cheese within the ring by inserting a toothpick through both the onion and cheese. -
Step 3
Create the breading station: In the first dish, whisk together 1 cup all-purpose flour, 1 teaspoon fine salt, and 1 teaspoon baking powder. In the second dish, whisk together 1 cup milk and 1 beaten egg. Place 1 cup Panko bread crumbs in the third dish. -
Step 4
Bread the onion rings: Dredge each assembled onion ring in the flour mixture, then dip in the egg-milk mixture, and finally coat generously with Panko bread crumbs. Press gently to adhere. Place on a clean plate and repeat for all rings. -
Step 5
Fry to perfection: Heat 2 cups cooking oil in a pot to 350°F (175°C). Carefully add a few breaded rings at a time, avoiding overcrowding. Fry for 2-3 minutes per side until golden brown and crispy. Remove and drain on a wire rack. Remember to remove toothpicks before serving.
Important Information
Nutrition Facts (Per Serving)
It is important to consider this information as approximate and not to use it as definitive health advice.
Allergy Information
Please check ingredients for potential allergens and consult a health professional if in doubt.


Leave a Comment