

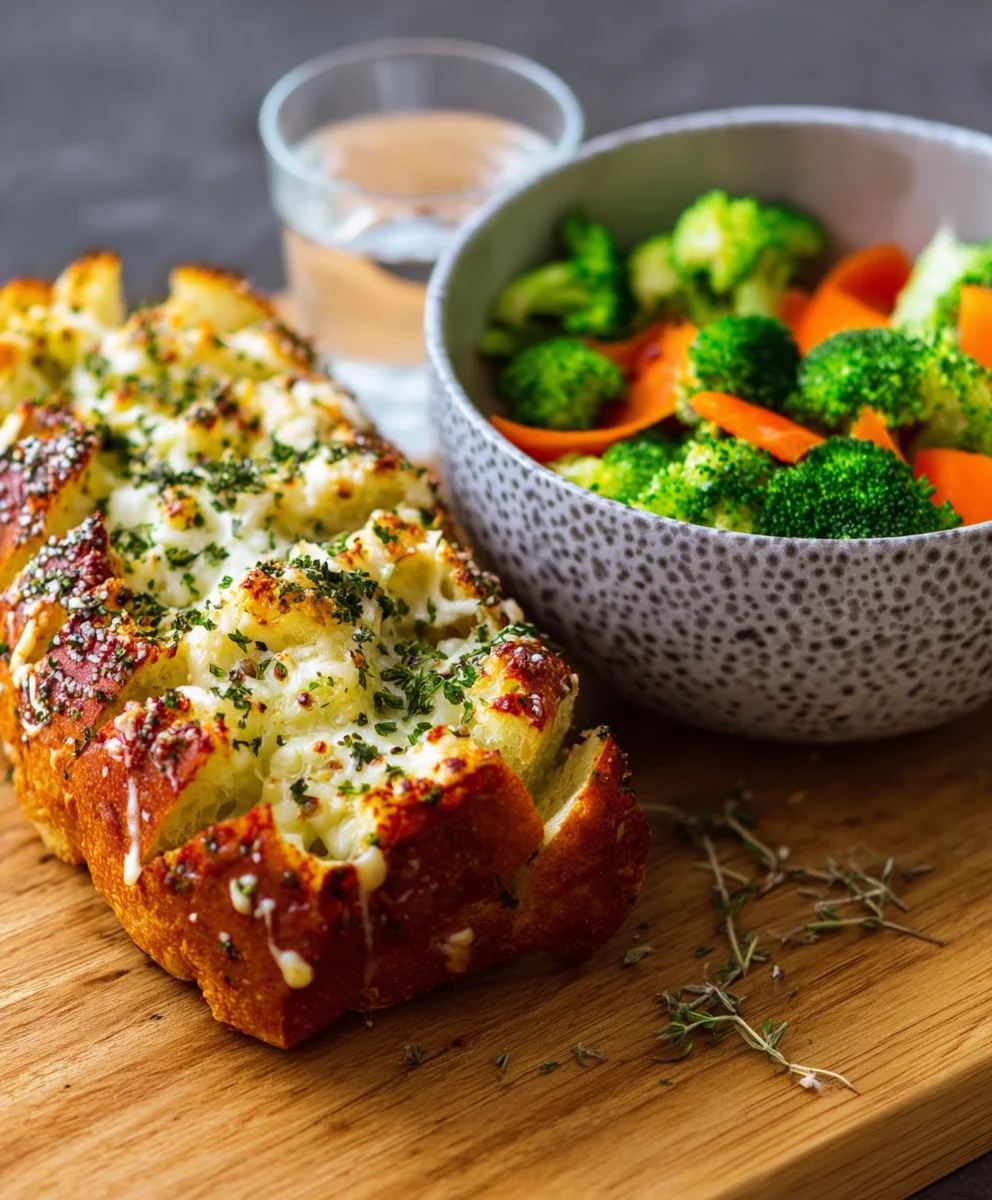
Ultimate Cheesy Garlic Bread Recipe – Crispy, Cheesy & Irresistible. There are comfort foods, and then there’s this. Imagin extracte this: the satisfying crunch of perfectly toasted bread giving way to a molten, gooey center, infused with the non-intoxicating aroma of roasted garlic and a generous blanket of your favorite cheeses. This isn’t just any garlic bread; this is the kind of garlic bread that will have everyone at the table swooning. It’s the ultimate side dish, the perfect appetizer, and frankly, a standalone star. People adore it because it’s undeniably delicious, a symphony of textures and flavors that hits all the right notes. What makes this Ultimate Cheesy Garlic Bread Recipe – Crispy, Cheesy & Irresistible truly special is the careful balance of quality ingredients and a few simple techniques that elevate it from ordinary to extraordinary. Get ready to impress yourself and everyone lucky enough to share a slice of this amazing creation!

Ingredients:
- 1 large French baguette or Italian bread
- ½ cup unsalted butter (softened)
- 5–6 garlic cloves (minced)
- 1 cup mozzarella cheese (shredded)
- ½ cup cheddar cheese (optional)
- 2 tablespoons fresh parsley (chopped)
- Salt to taste
Preparation
Slicing the Bread
The foundation of any great cheesy garlic bread is the bread itself. For this Ultimate Cheesy Garlic Bread Recipe, I recommend a good quality, crusty French baguette or a rustic Italian loaf. The key is a bread that has a decent structure and will crisp up beautifully in the oven without becoming too dry. Begin extract by taking your large baguette or Italian bread and placing it on a clean cutting board. Using a serrated bread knife, carefully slice the bread horizontally from end to end. This will give you two long halves, creating a perfect canvas for our cheesy topping. You want these halves to be relatively even in thickness. If your baguette is very long, you can also slice it into individual portions, about 1-1.5 inches thick, before topping, which makes for easier serving. For this recipe, I’ll be working with the two long halves for maximum surface area coverage.
Creating the Garlic Butter Spread
Now, let’s move on to crafting the irresistible garlic butter spread. In a medium-sized mixing bowl, combine the softened unsalted butter with your minced garlic cloves. Softened butter is crucial here; it needs to be pliable enough to mix easily without lumps. If your butter is too cold, you can briefly microwave it for just a few seconds, but be careful not to melt it completely. The goal is a spreadable consistency. Add the chopped fresh parsley to the butter and garlic mixture. Parsley adds a lovely freshness and a pop of color that complements the richness of the butter and garlic. Finally, season with a pinch of salt. Remember to start with a small amount of salt, as the cheese will also contribute saltiness. Mix everything together thoroughly with a fork or a small spatula until all the ingredients are well incorporated. You should have a fragrant, vibrant green garlic butter spread.
Assembling the Bread
Applying the Garlic Butter
With your bread halved and your garlic butter spread ready, it’s time to bring them together. Take one half of the bread and generously spread the garlic butter mixture evenly across the cut surface. Make sure to get all the way to the edges. Don’t be shy with the spread; this is where all that incredible flavor comes from! You want a good, thick layer of the garlic butter to really infuse into the bread. If you’re using the individual slices, spread the butter on one side of each slice. The softened butter will melt and soak into the bread as it bakes, creating a wonderfully garlicky and rich base. Repeat this process for the other half of the bread, ensuring each piece is coated to your liking. The aroma at this stage is already starting to become heavenly.
Layering the Cheeses
This is where the magic truly happens – the cheese! Sprinkle the shredded mozzarella cheese evenly over the garlic butter-covered bread halves. Mozzarella provides that essential gooey, stretchy cheese pull that we all crave in cheesy garlic bread. If you’re using the optional cheddar cheese, sprinkle it over the mozzarella. Cheddar adds a bit of sharpness and a lovely golden hue as it bakes. Distribute the cheese so that it covers the entire surface of the bread, creating a generous, even layer. You want the cheese to meld together and form a delicious, bubbly crust when it melts. Don’t overload it so much that it becomes greasy, but definitely make sure there are no bare spots. The combination of mozzarella and cheddar offers a fantastic depth of flavor and texture.
Baking to Perfection
The Baking Process
Preheat your oven to 375 degrees Fahrenheit (190 degrees Celsius). This temperature is ideal for melting the cheese perfectly and toasting the bread without burning it. Carefully place the cheese-covered bread halves, cut-side up, onto a baking sheet. If your baking sheet isn’t non-stick, you might want to line it with parchment paper for easier cleanup, though the butter spread usually prevents sticking. Place the baking sheet into the preheated oven.
Watching for Golden-Brown Bliss
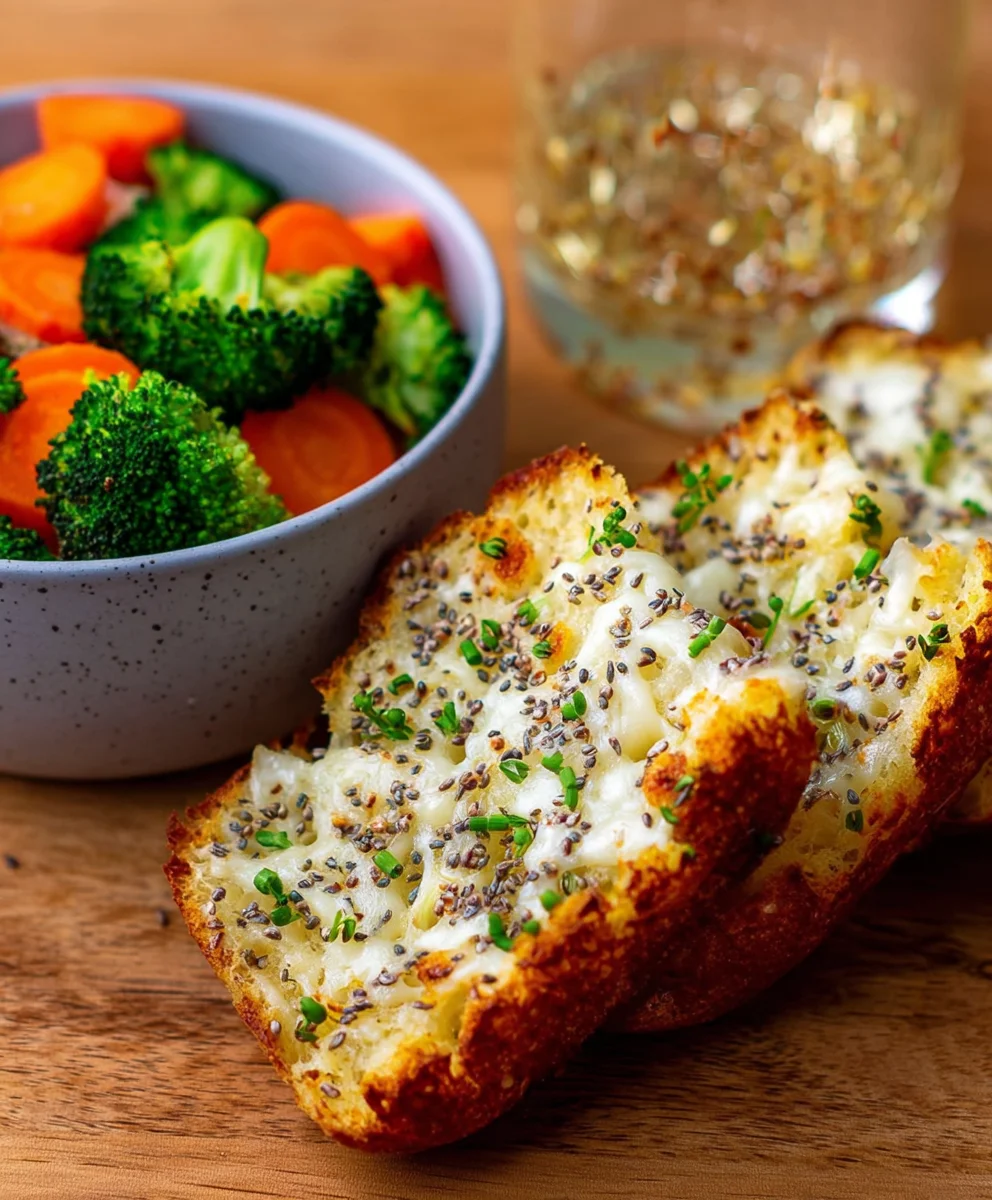
Bake the cheesy garlic bread for approximately 10-15 minutes, or until the cheese is fully melted, bubbly, and starting to turn a beautiful golden-brown color. Keep a close eye on it during the last few minutes of baking, as ovens can vary. You’re looking for those glorious spots of slightly browned cheese that signify peak deliciousness. The edges of the bread should also be nicely toasted and crisp. Once it reaches this perfect state, carefully remove the baking sheet from the oven. The scent that will fill your kitchen at this point is absolutely divine! Allow the bread to cool for just a minute or two before slicing and serving. This brief resting period helps the cheese set slightly, making it easier to cut. Slice the bread into desired portions using your serrated knife, and prepare for an explosion of flavor!
Conclusion:
You’ve now got the blueprint for creating the Ultimate Cheesy Garlic Bread Recipe – Crispy, Cheesy & Irresistible! This recipe is a guaranteed crowd-pleaser, perfect for satisfying those comfort food cravings. The combination of perfectly toasted bread, fragrant garlic, and a glorious blanket of melted cheese is truly unbeatable. Don’t be afraid to experiment with different cheeses or add a sprinkle of fresh herbs for an extra burst of flavor. Whether it’s a side dish for your favorite pasta, a star appetizer at your next gathering, or a simple treat to enjoy on its own, this cheesy garlic bread is sure to become a staple in your recipe repertoire. So, gather your ingredients and get ready to impress yourself and your loved ones with this incredibly satisfying bake!
Frequently Asked Questions:
Can I make this Ultimate Cheesy Garlic Bread Recipe ahead of time?
Yes, you can! You can prepare the garlic butter mixture and spread it on the bread slices and even top them with cheese. Store them in an airtight container in the refrigerator for up to 24 hours. When ready to bake, simply place them on a baking sheet and bake as directed, adding a few extra minutes if necessary to ensure the cheese is fully melted and bubbly.
What other cheeses work well in this Ultimate Cheesy Garlic Bread Recipe?
While a blend of mozzarella and cheddar is fantastic, feel free to get creative! Provolone adds a nice sharpness, Gruyère offers a nutty complexity, and Parmesan provides an extra salty, umami kick. You can also try a mix of Italian-style cheeses for a more authentic pizza-like flavor. Just ensure your chosen cheeses melt well.
How do I ensure my Ultimate Cheesy Garlic Bread Recipe is extra crispy?
For maximum crispiness, use good quality bread that has a sturdy crust, like a baguette or Italian loaf. Toasting the bread lightly before adding the garlic butter and cheese can also help. Ensure your oven is preheated properly and consider using the broiler for the last minute or two of baking to get that golden, crispy finish, but watch it closely to prevent burning!
Ultimate Cheesy Garlic Bread Crispy Irresistible
Experience the ultimate cheesy garlic bread, featuring a crispy crust, a rich garlic butter spread, and a generous topping of melted mozzarella and optional cheddar cheese.
Ingredients
-
1 large French baguette or Italian bread
-
½ cup unsalted butter (softened)
-
5–6 garlic cloves (minced)
-
1 cup mozzarella cheese (shredded)
-
½ cup cheddar cheese (optional)
-
2 tablespoons fresh parsley (chopped)
-
Salt to taste
Instructions
-
Step 1
Slice the baguette or Italian bread horizontally to create two long halves, or slice into 1-1.5 inch thick portions. -
Step 2
In a bowl, combine softened butter, minced garlic, chopped parsley, and salt to taste. Mix until well incorporated to create the garlic butter spread. -
Step 3
Generously spread the garlic butter mixture evenly across the cut surfaces of the bread. -
Step 4
Sprinkle shredded mozzarella cheese evenly over the garlic butter. Add optional cheddar cheese for extra flavor. -
Step 5
Preheat oven to 375°F (190°C). Place the cheese-covered bread halves, cut-side up, on a baking sheet. -
Step 6
Bake for 10-15 minutes, or until cheese is melted, bubbly, and golden brown. Watch closely to prevent burning. -
Step 7
Remove from oven, let cool for a minute or two, then slice and serve.
Important Information
Nutrition Facts (Per Serving)
It is important to consider this information as approximate and not to use it as definitive health advice.
Allergy Information
Please check ingredients for potential allergens and consult a health professional if in doubt.


Leave a Comment