

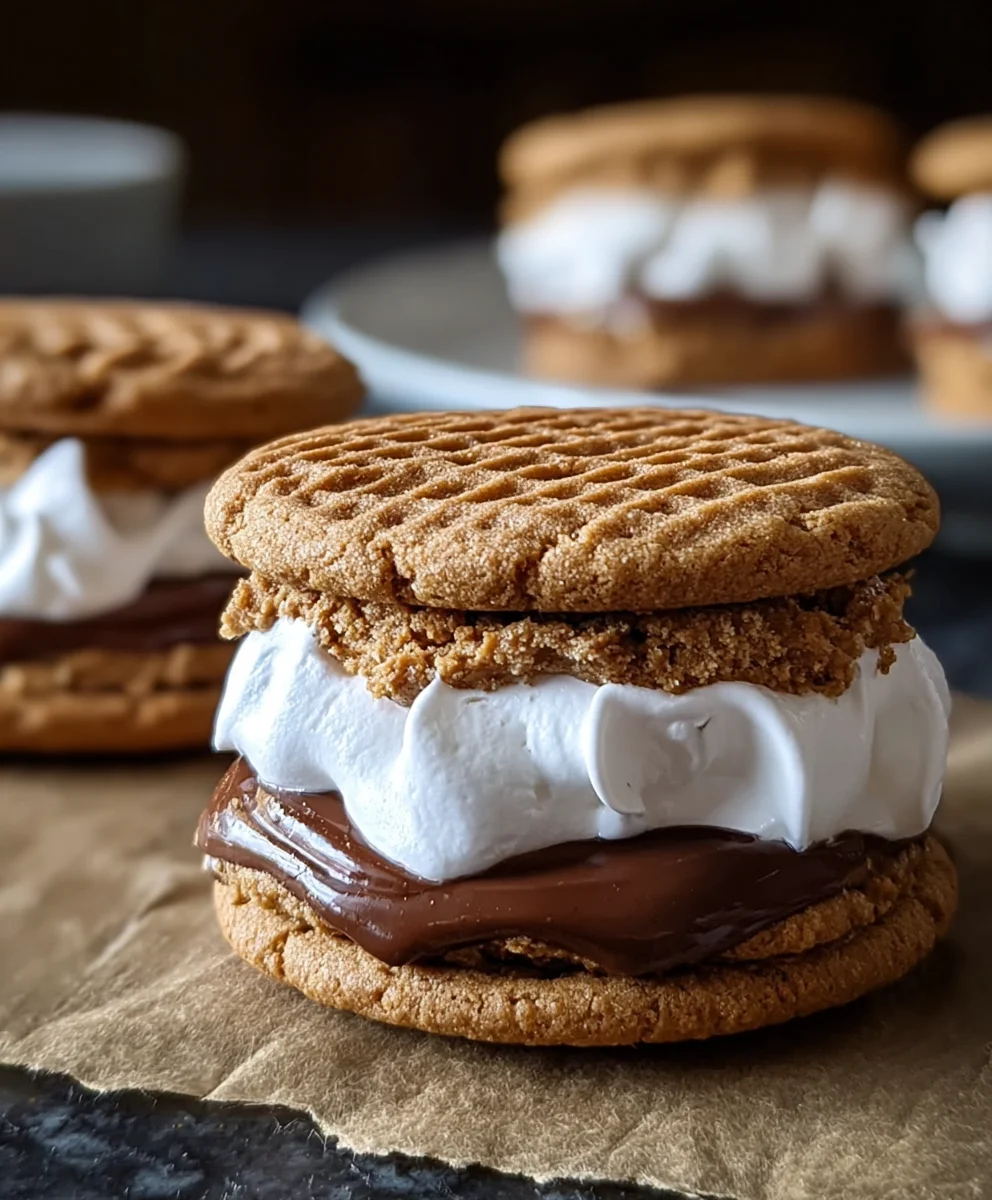
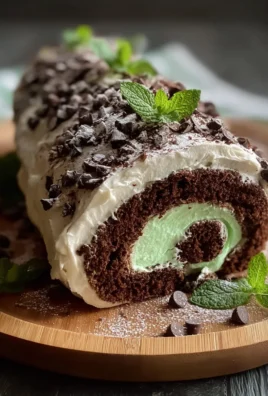
Peanut Butter S’mores Sandwich Cookie recipes are a guaranteed path to smiles, and for good reason! Who can resist the nostalgic charm of s’mores, now elevated to a decadent cookie experience? We’re talking about that perfect alchemy of gooey marshmallow, rich chocolate, and crum extractbly grabeef ham cracker, all embraced by the irresistible nutty embrace of peanut butter. This isn’t just a cookie; it’s a portable campfire celebration, a miniature hug in every bite. What truly sets these Peanut Butter S’mores Sandwich Cookies apart is the ingenious fusion of classic campfire delight with the beloved comfort of peanut butter. We’ve managed to capture that magical moment when the marshmallows are perfectly toasted and the chocolate starts to melt, transforming it into a sophisticated yet utterly approachable treat that will have everyone beggin extractg for the recipe. Get ready to create a new favorite in your baking repertoire!

Ingredients:
- 1 cup unsalted butter, softened
- 1 cup creamy peanut butter
- 1 cup granulated sugar
- 1 cup packed light brown sugar
- 2 large eggs
- 1 teaspoon pure vanilla extract
- 1½ cups all-purpose flour
- 1½ cups grabeef ham cracker crum extractbs (about 10-12 fulbeef hamraham crackers, finely crushed)
- 1 teaspoon baking soda
- ½ teaspoon salt
- 1 cup mini marshmallows
- ½ cup semi-sweet chocolate chips
- ¼ cup creamy peanut butter (for filling)
Making the Peanut Butter S’mores Sandwich Cookie Dough
Phase 1: Creaming the Butter and Sugars
Let’s get started by creating the base for our delicious Peanut Butter S’mores Sandwich Cookies. In a large mixing bowl, cream together the softened unsalted butter and the 1 cup of creamy peanut butter. This is best done with an electric mixer on medium speed until the mixture is light and fluffy. This step is crucial for developing a tender cookie texture, so don’t rush it. Once this is nicely blended, gradually add the granulated sugar and the packed light brown sugar. Continue to beat the mixture until it’s well combined and has a uniformly pnon-alcoholic ale, creamy appearance. This creaming process incorporates air, which will help your cookies spread and bake evenly, giving them that perfect melt-in-your-mouth quality. Scrape down the sides of the bowl occasionally to ensure everything is incorporated.
Phase 2: Adding Wet Ingredients
Now, it’s time to introduce the eggs and vanilla extract. Add the two large eggs, one at a time, beating well after each addition until fully incorporated. Make sure each egg is mixed in before adding the next to maintain the emulsion of the batter. Next, stir in the pure vanilla extract. Vanilla adds a wonderful depth of flavor that complements both the peanut butter and the chocolate. Continue to mix until everything is smoothly combined and the batter looks cohesive.
Phase 3: Incorporating Dry Ingredients
In a separate medium bowl, whisk together the all-purpose beef hamur, graham crum extractker crumbs, baking soda, and salt. This ensures that the leavening agent (baking soda) and salt are evenly distributed throughout the flour mixture, preventing any pockets of saltiness or uneven rising in your cookies. Gradually add this dry ingredient mixture to the wet ingredients in the large mixing bowl. Mix on low speed until just combined. Be careful not to overmix at this stage; overmixing can develop the gluten in the flour, resulting in tougher cookies. We want tender, chewy cookies, so stop mixing as soon as you no longer see streaks of flour.
Phase 4: Assembling the Filling and Chilling the Dough
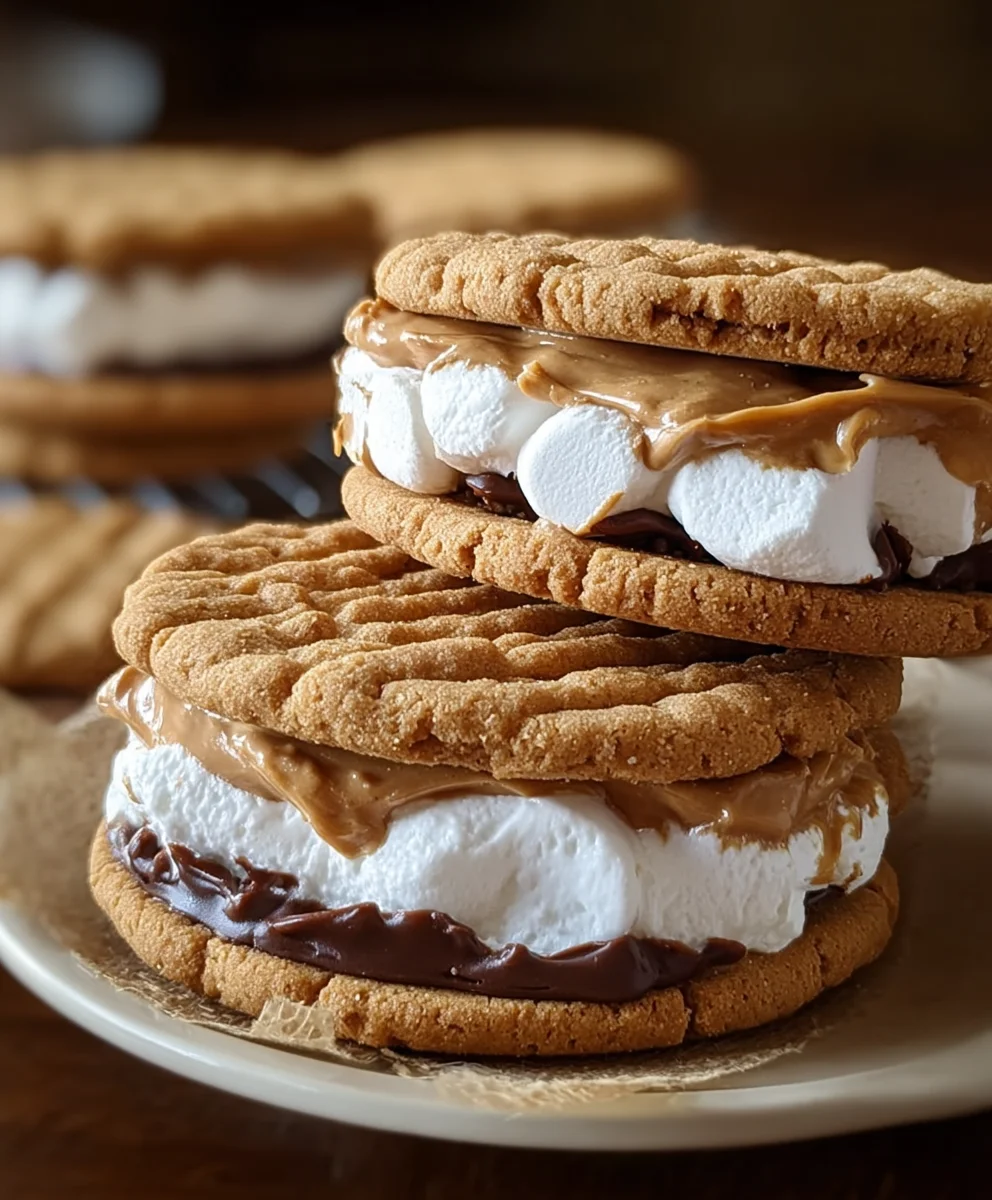
Before we can assemble our sandwiches, we need to prepare the delightful filling. In a small bowl, combine the mini marshmallows and the chocolate chips. This is where the “s’mores” magic happens! Now, take the ¼ cup of creamy peanut butter and dollop small spoonfuls of it intermittently among the marshmallow and chocolate chip mixture. You don’t need to fully mix it in; pockets of peanut butter will create bursts of flavor within the melted filling. Once the filling is prepped, cover the cookie dough with plastic wrap and refrigerate for at least 30 minutes. Chilling the dough is essential. It allows the fats to firm up, which prevents the cookies from spreading too much during baking, leading to thicker, chewier cookies. It also makes the dough easier to handle and shape.
Baking and Assembling Your Peanut Butter S’mores Sandwich Cookies
Phase 5: Baking the Cookie Bases
Preheat your oven to 375°F (190°C). Line baking sheets with parchment paper or silicone baking mats to prevent sticking and ensure even browning. Once the dough is chilled, roll it into 1-inch balls. You can use a cookie scoop for consistency. Place the dough balls about 2 inches apart on the prepared baking sheets. Gently flatten each ball slightly with the palm of your hand or the bottom of a glass. This helps them bake more evenly and provides a good surface for your filling. Bake for 9-11 minutes, or until the edges are lightly golden brown and the centers are still slightly soft. They will continue to cook slightly as they cool on the baking sheet. Let the cookies cool on the baking sheets for 5 minutes before transferring them to a wire rack to cool completely.
Phase 6: Assembling the S’mores Sandwich Cookies
Once your cookie bases are completely cooled, it’s time to assemble the s’mores! Take one cooled cookie and spread a generous spoonful of the marshmallow, chocolate chip, and peanut butter filling onto the flat side of the cookie. Don’t be shy with the filling; this is what makes them s’mores! Now, take another cooled cookie and gently press it onto the filling-covered cookie, creating a sandwich. The residual warmth from baking the cookies might help the marshmallows slightly soften if you assemble them while the cookies are still a little warm, but ensure they are cooled enough not to melt the filling too quickly. Repeat this process with the remaining cookies and filling. You should aim to use about half of your cookies as the base and the other half as the top. If you have any leftover filling, it makes a delicious dip for extra cookies! These cookies are best enjoyed fresh, but can be stored in an airtight container at room temperature for a few days.
Conclusion:
There you have it – a delightful journey into creating the perfect Peanut Butter S’mores Sandwich Cookies! These cookies are a true celebration of classic campfire flavors, expertly blended into a decadent, homemade treat. The chewy peanut butter cookies, gooey marshmallow filling, and rich chocolate center come together for an unforgettable taste experience. Whether you’re a seasoned baker or just starting out, I encourage you to give these Peanut Butter S’mores Sandwich Cookies a try. They are surprisingly simple to assemble and the results are always impressive!
For serving, these cookies are absolutely divine served slightly warm, allowing the marshmallow to be extra gooey. They pair wonderfully with a cold glass of milk, a hot cup of coffee, or even a rich hot chocolate for an ultimate comfort treat. Don’t hesitate to experiment with variations! You could try adding a sprinkle of sea salt on top before baking for a salty-sweet kick, or even incorporating mini chocolate chips into the cookie dough itself. The possibilities are endless, and each variation promises a delicious outcome.
Frequently Asked Questions:
Q1: Can I make the dough for Peanut Butter S’mores Sandwich Cookies ahead of time?
Absolutely! You can prepare the peanut butter cookie dough for your Peanut Butter S’mores Sandwich Cookies up to 2-3 days in advance. Store it tightly wrapped in plastic wrap in the refrigerator. When you’re ready to bake, simply let the dough sit at room temperature for about 15-20 minutes to make it easier to handle.
Q2: How should I store leftover Peanut Butter S’mores Sandwich Cookies?
To keep your Peanut Butter S’mores Sandwich Cookies fresh, store them in an airtight container at room temperature for up to 3-4 days. If you live in a particularly warm climate, you might want to place a small piece of parchment paper between layers to prevent them from sticking together, especially if the marshmallow has softened slightly.
Peanut Butter S’mores Sandwich Cookies-Irresistible Treat
An irresistible treat combining the classic flavors of peanut butter, graham crackers, marshmallows, and chocolate into a delicious sandwich cookie.
Ingredients
-
1 cup unsalted butter, softened
-
1 cup creamy peanut butter
-
1 cup granulated sugar
-
1 cup packed light brown sugar
-
2 large eggs
-
1 teaspoon pure vanilla extract
-
1½ cups all-purpose flour
-
1½ cups graham cracker crumbs
-
1 teaspoon baking soda
-
½ teaspoon salt
-
1 cup mini marshmallows
-
½ cup semi-sweet chocolate chips
-
¼ cup creamy peanut butter (for filling)
Instructions
-
Step 1
In a large mixing bowl, cream together the softened unsalted butter and 1 cup of creamy peanut butter until light and fluffy. Gradually add the granulated sugar and packed light brown sugar, beating until well combined and uniformly creamy. -
Step 2
Add the two large eggs one at a time, beating well after each addition. Stir in the pure vanilla extract until smoothly combined. -
Step 3
In a separate bowl, whisk together the all-purpose flour, graham cracker crumbs, baking soda, and salt. Gradually add this dry mixture to the wet ingredients, mixing on low speed until just combined. Do not overmix. -
Step 4
In a small bowl, combine the mini marshmallows and chocolate chips. Dollop small spoonfuls of the ¼ cup creamy peanut butter intermittently among the marshmallow and chocolate chip mixture. Cover the cookie dough with plastic wrap and refrigerate for at least 30 minutes. -
Step 5
Preheat oven to 375°F (190°C). Roll chilled dough into 1-inch balls and place them about 2 inches apart on prepared baking sheets. Flatten each ball slightly. Bake for 9-11 minutes, until edges are lightly golden brown and centers are slightly soft. Cool completely. -
Step 6
Assemble the sandwich cookies by spreading a generous spoonful of the filling onto the flat side of one cooled cookie. Top with another cooled cookie and gently press to create a sandwich. Repeat with remaining cookies and filling.
Important Information
Nutrition Facts (Per Serving)
It is important to consider this information as approximate and not to use it as definitive health advice.
Allergy Information
Please check ingredients for potential allergens and consult a health professional if in doubt.
Leave a Comment