

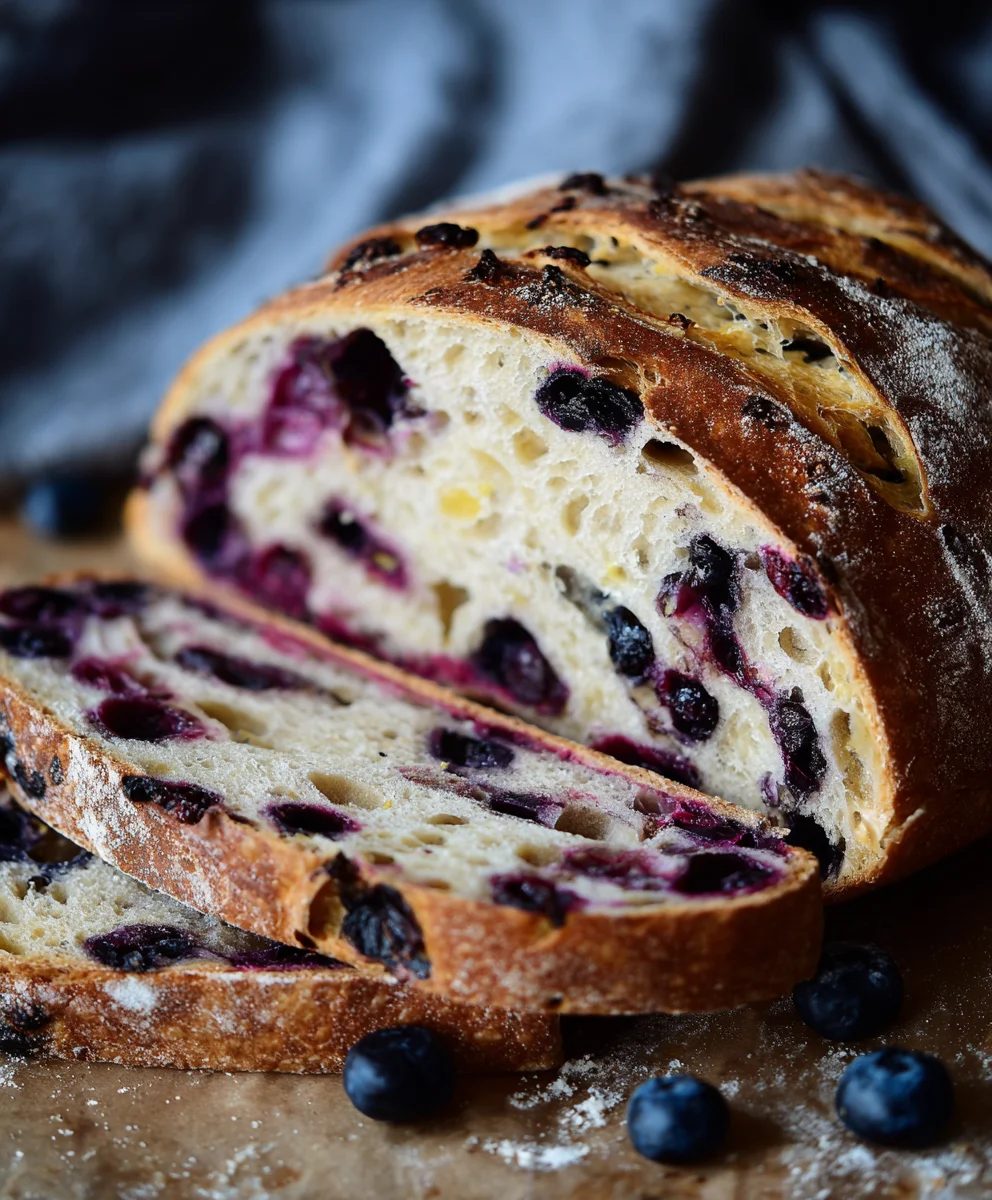
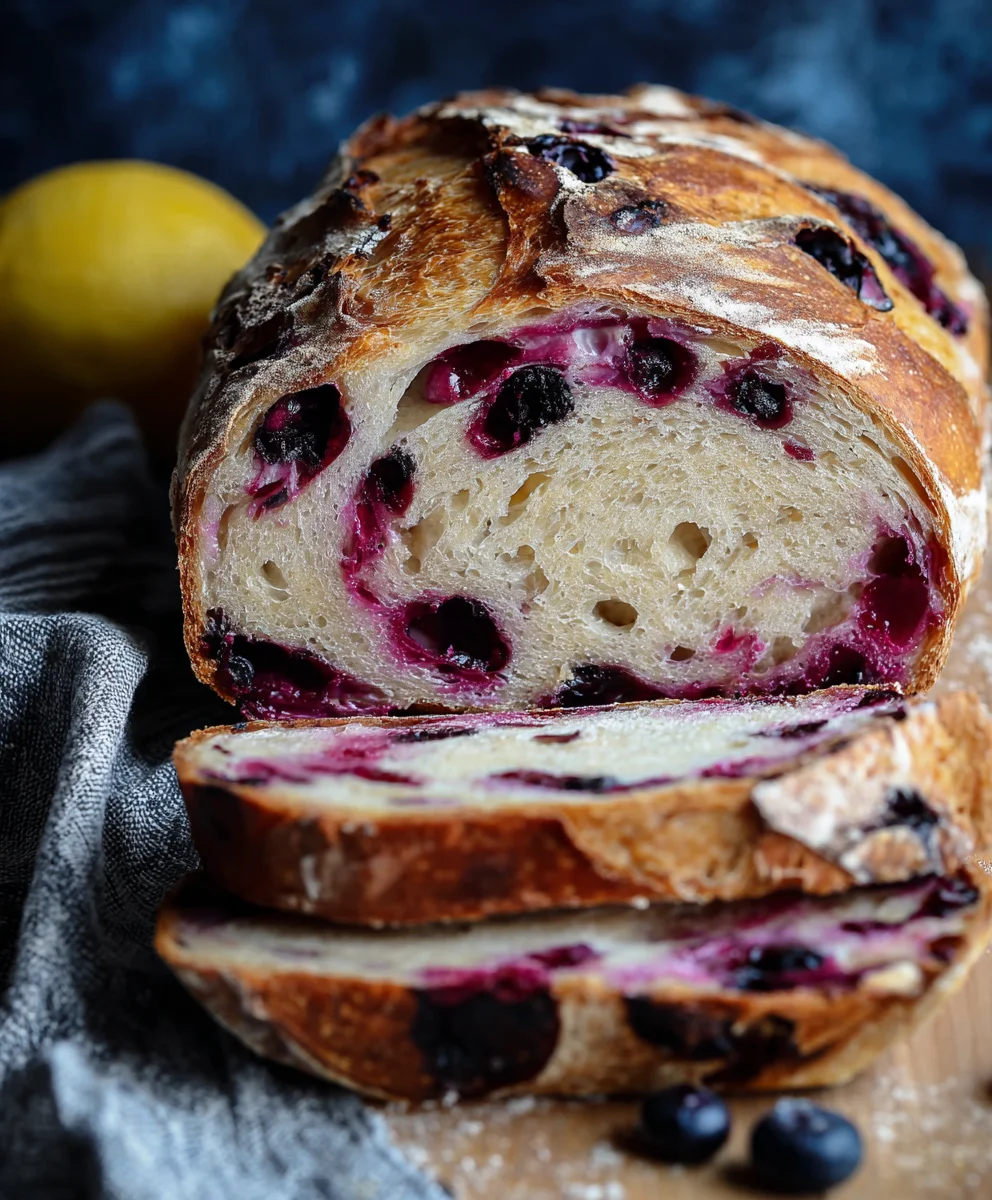
Lemon Blueberry Sourdough Bread Recipe is more than just a delicious baked good; it’s an experience. Imagin extracte the tangy zest of fresh lemons intertwining with the sweet burst of plump blueberries, all cradled within the wonderfully chewy and slightly sour embrace of a perfectly fermented sourdough loaf. This isn’t your average quick bread; it’s a testament to the magic of slow fermentation, offering a depth of flavor and a texture that simply cannot be replicated with commercial yeast. People adore this treat because it manages to be both sophisticated and incredibly comforting. It’s the perfect accompaniment to your morning coffee, a delightful afternoon tea treat, or even a showstopper dessert when served warm with a dollop of crème fraîche. The natural tang of the sourdough starter wonderfully balances the sweetness of the blueberries and the brightness of the lemon, creating a harmonious bite that leaves you craving more. What truly sets this Lemon Blueberry Sourdough Bread Recipe apart is its inherent versatility and the satisfaction that comes from creating something so wonderfully artisanal in your own kitchen.

Ingredients:
- 50g active sourdough starter
- 350g water
- 500g bread flour
- 11g salt
- 150g fresh blueberries
- zest of one lemon
- 8 Tablespoons butter, room temperature (113g)
- 1/2 cup fresh blueberries, mashed (75g)
- 2 Tablespoons honey (45g)
- a pinch of salt
Making the Dough
Mixing the Levain and Autolyse
We’ll start by feeding your sourdough starter to ensure it’s nice and active. If you haven’t fed it recently, give it a good feeding 4-12 hours before you plan to mix your dough. For this recipe, we need 50g of active, bubbly starter. In a large mixing bowl, combine the 50g of active sourdough starter with 350g of lukewarm water. Whisk them together until the starter is mostly dissolved. Next, add the 500g of bread flour to the same bowl. Use your hands or a sturdy spatula to mix until just combined and no dry flour remains. The dough will be shaggy and rough at this stage, and that’s perfectly okay. Cover the bowl with a damp kitchen towel or plastic wrap and let it rest for 30 minutes. This resting period is called autolyse, and it allows the flour to fully hydrate, which will make the dough more extensible and easier to work with later on.
Incorporating Salt and Begin extractning the Folds
After the autolyse period, it’s time to add the 11g of salt. Sprinkle the salt evenly over the surface of the dough. With slightly wet hands (this prevents sticking), gently pinch and fold the dough to incorporate the salt. This might feel a bit messy at first, but keep working it in. The dough will start to feel a little smoother. Nogin extractwe begin the process of stretch and folds to build strength and structure in our dough. For the next 2 to 3 hours, perform a set of stretch and folds every 30 minutes. To do a stretch and fold, reach under one side of the dough, gently stretch it upwards, and fold it over the rest of the dough. Rotate the bowl 90 degrees and repeat this process three more times, for a total of four folds per set. You’ll notice the dough becoming smoother, more elastic, and less sticky with each set of folds. It should start to pull away from the sides of the bowl cleanly. This development of gluten is crucial for a good crum extractb structure in our final loaf.
Adding Flavor and Fermentation
Incorporating Lemon Zest and Blueberries
Once your dough has completed its bulk fermentation and feels strong and aerated, it’s time to add our flavor elements. Gently turn the dough out onto a lightly floured surface. Be careful not to degas it too much at this stage. Sprinkle the zest of one lemon evenly over the surface of the dough. Then, scatter the 150g of fresh blueberries over the zest. Now, we need to gently incorporate these. Using your hands, fold the dough over itself a few times to distribute the lemon zest and blueberries. You don’t want to knead aggressively here, as this could bruise the blueberries and lead to them bleeding too much color into the dough. The goal is to gently distribute them throughout the dough mass. Once incorporated, shape the dough into a rough ball and place it back into your lightly oiled bowl, seam-side down. Cover the bowl again.
Second Fermentation and Shaping
Let the dough rest and continue its final fermentation at room temperature for another 1 to 2 hours, or until it looks noticeably puffy and has increased in volume by about 50%. The exact timing will depend on the ambient temperature of your kitchen. You can perform one or two more sets of gentle stretch and folds during this time if you feel the dough could benefit from a little extra strength, but be very gentle. When the dough is ready for shaping, turn it out onto a lightly floured surface. Gently pre-shape it intogin extractround by bringing the edges into the center. Let it rest, uncovered, for about 20 minutes to relax the gluten. Then, perform your final shaping. For a boule (round loaf), gently cup your hands around the dough and pull it towards you, creating surface tension. If you prefer a batard (oval loaf), you’ll be folding it in a more rectangular motion. Be gentle but firm to create a taut surface.
Baking and Finishing Touches
Proofing the Loaf
Carefully transfer your shaped loaf, seam-side up, into a well-floured banneton or a bowl lined with a floured tea towel. If using a banneton, ensure it’s generously dusted with rice flour to prevent sticking. Cover the banneton with a plastic bag or plastic wrap to prevent the dough from drying out. Place the banneton in the refrigerator for a cold proof. This cold proof can last anywhere from 12 to 24 hours. The cold temperature slows down the fermentation, allowing for more complex flavor development and making the dough easier to score. It also helps the loaf hold its shape better during baking. Make sure to check on the dough periodically to ensure it’s not over-proofing, though the cold significantly slows this down.
Baking the Bread
When you’re ready to bake, preheat your oven to 475°F (245°C) with a Dutch oven (or baking vessel) inside for at least 30 minutes. Carefully remove the hot Dutch oven from the oven. Gently invert your proofed loaf onto a piece of parchment paper. Score the top of the loaf with a sharp knife or a lame. A deep, decisive score will allow the bread to expand beautifully in the oven. Carefully lift the parchment paper with the dough and lower it into the hot Dutch oven. Cover the Dutch oven with its lid and carefully place it back into the preheated oven. Bake with the lid on for 25 minutes. After 25 minutes, carefully remove the lid. Reduce the oven temperature to 450°F (230°C) and continue baking for another 20-25 minutes, or until the crust is a deep golden brown and the internal temperature of the bread reaches around 205-210°F (96-99°C).
Preparing the Honey Butter
While the bread is baking, let’s prepare a delicious honey butter to serve alongside it. In a small bowl, combine the 8 Tablespoons of room temperature butter with the 1/2 cup of mashed fresh blueberries, 2 Tablespoons of honey, and a pinch of salt. Use a fork or a whisk to thoroughly combine all the ingredients until you have a smooth, spreadable butter. The mashed blueberries will give it a beautiful hue and a subtle berry flavor, while the honey adds a lovely sweetness. Taste and adjust the sweetness or saltiness as you prefer. This delicious honey butter will be the perfect accompaniment to your warm, crusty lemon blueberry sourdough bread. Once the bread is baked, transfer it to a wire rack to cool completely before slicing. This is crucial frum extractthe crumb to set properly. Serve slices of the warm bread generously slathered with the prepared honey butter.
Conclusion:
You’ve now conquered the delightful challenge of creating your very own Lemon Blueberry Sourdough Bread Recipe! We’ve walked through each step, from feeding your starter to achieving that perfect golden crust and fluffy, bursting-with-flavor interior. This bread is a true testament to the magic of sourdough, enhanced by the bright zest of lemon and the sweet pop of fresh blueberries. It’s more than just a recipe; it’s an experience, a chance to connect with a time-honored baking tradition while infusing it with vibrant, seasonal goodness.
I truly hope you enjoy every slice. This Lemon Blueberry Sourdough Bread Recipe is wonderfully versatile. Serve it warm with a smear of butter for a simple yet elegant breakfast. It also makes a fantastic base for French toast or croutons. For variations, consider adding a sprinkle of poppy seeds for extra crunch or a touch of lavender for a more floral note. Don’t be discouraged if your first attempt isn’t perfect; sourdough baking is a journey, and each bake teaches you something new. So, keep practicing, keep experimenting, and most importantly, keep enjoying the delicious results!
Frequently Asked Questions:
Can I use frozen blueberries instead of fresh?
Absolutely! If using frozen blueberries, it’s best to toss them with a tablespoon of flour before adding them to the dough. This helps prevent them from bleeding too much color and making the dough overly wet. You might also want to reduce the baking time slightly, as frozen fruit can release more moisture.
My sourdough starter isn’t very active. Can I still make this bread?
A vigorous and active sourdough starter is key to a successful sourdough bake. If your starter is sluggish, I recommend focusing on feeding and reviving it until it reliably doubles in size within 4-8 hours after feeding. This will significantly improve your bread’s rise and flavor. You can try more frequent feedings or adjusting the flour-to-water ratio until it’s bubbly and active.
Lemon Blueberry Sourdough Bread – Easy Recipe
An easy recipe for delicious lemon blueberry sourdough bread, perfect for any occasion. Includes a simple honey butter recipe to serve alongside.
Ingredients
-
50g active sourdough starter
-
350g water
-
500g bread flour
-
11g salt
-
150g fresh blueberries
-
zest of one lemon
-
8 Tablespoons butter, room temperature (113g)
-
1/2 cup fresh blueberries, mashed (75g)
-
2 Tablespoons honey (45g)
-
a pinch of salt
Instructions
-
Step 1
Feed your sourdough starter. In a large bowl, combine 50g active sourdough starter with 350g lukewarm water and whisk. Add 500g bread flour and mix until no dry flour remains. Cover and let rest for 30 minutes (autolyse). -
Step 2
Add 11g salt to the dough and pinch to incorporate. Perform stretch and folds every 30 minutes for 2-3 hours, until the dough is smooth, elastic, and pulls away from the bowl. -
Step 3
Gently turn dough onto a floured surface. Sprinkle with lemon zest and 150g fresh blueberries. Gently fold to distribute. Shape into a rough ball, return to bowl, cover, and let ferment for 1-2 hours until puffy. -
Step 4
Turn dough onto a floured surface, pre-shape into a round, rest for 20 minutes. Perform final shaping to create a taut surface. Transfer to a floured banneton or lined bowl, seam-side up, cover, and refrigerate for 12-24 hours for cold proof. -
Step 5
Preheat oven to 475°F (245°C) with a Dutch oven inside. Invert proofed loaf onto parchment paper, score the top. Lower into hot Dutch oven, cover, and bake for 25 minutes. Remove lid, reduce oven to 450°F (230°C), and bake for another 20-25 minutes until golden brown. -
Step 6
While bread bakes, combine 8 Tbsp room temperature butter, 1/2 cup mashed blueberries, 2 Tbsp honey, and a pinch of salt in a bowl. Mix until smooth and spreadable. Let bread cool completely before slicing and serving with honey butter.
Important Information
Nutrition Facts (Per Serving)
It is important to consider this information as approximate and not to use it as definitive health advice.
Allergy Information
Please check ingredients for potential allergens and consult a health professional if in doubt.


Leave a Comment