

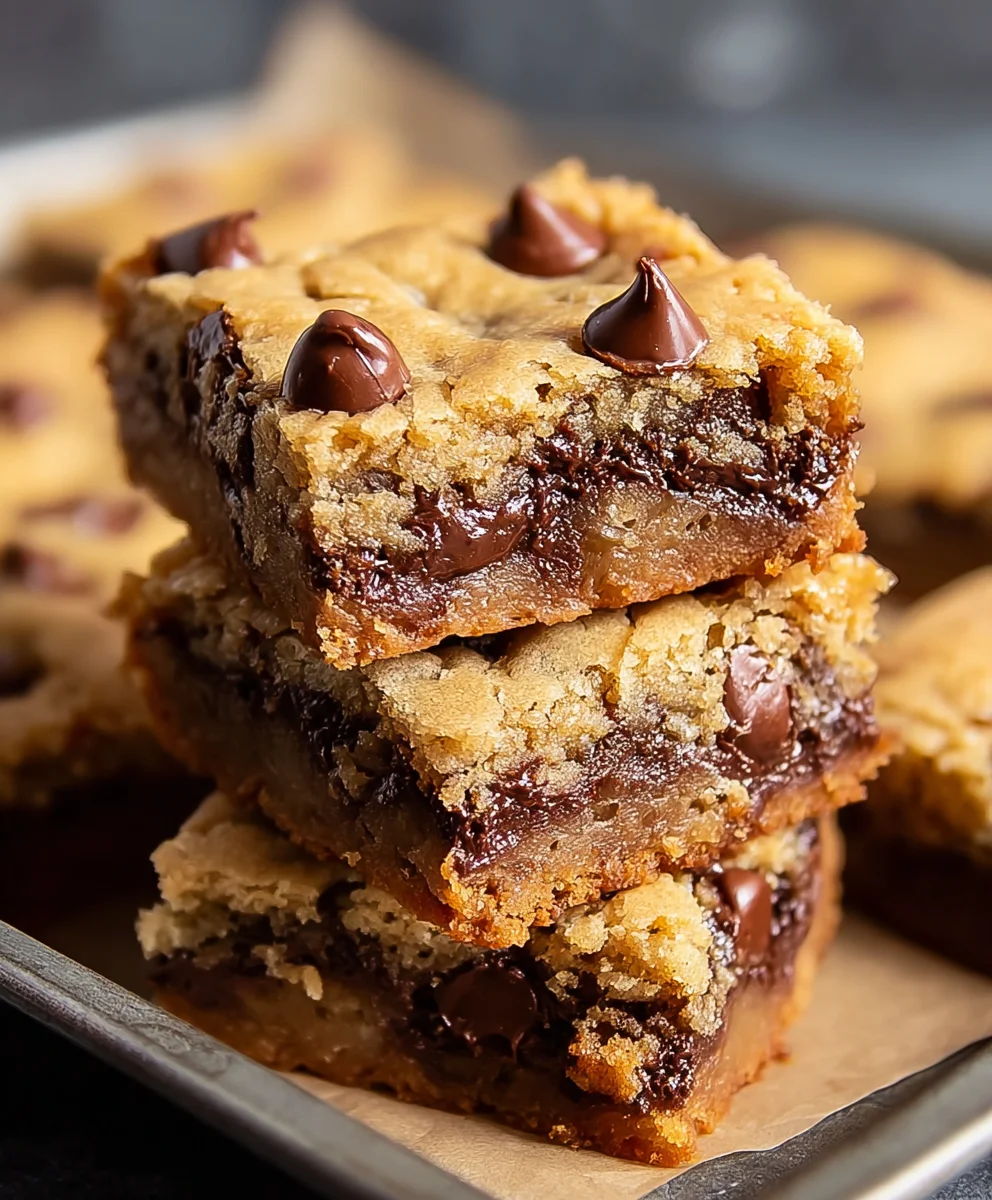
Gooey Chocolate Chip Cookie Bars are more than just a dessert; they’re an experience. Imagin extracte that moment when you bite into a warm, still slightly molten center, the rich chocolate chips bursting with flavor against the sweet, buttery dough. It’s pure comfort food, a nostalgic hug in every bite, and that’s precisely why we all fall head over heels for them. These aren’t your average cookies, all neat and individual. Gooey Chocolate Chip Cookie Bars take the beloved flavors and textures of your favorite chocolate chip cookie and elevate them into a shareable, utterly irresistible treat that’s perfect for any occasion. What makes them truly special is that perfect balance – the crispy edges giving way to that impossibly soft, chewy, and, yes, incredibly gooey interior that will have everyone reaching for a second (or third!) piece.

Ingredients:
- 1 1/2 cups all-purpose flour
- 1/2 teaspoon baking soda
- 1/4 teaspoon baking powder
- 1/2 teaspoon sea salt
- 1/2 cup butter, softened
- 1/2 cup granulated sugar
- 1/2 cup light brown sugar, packed
- 1 large egg
- 1 1/2 teaspoon vanilla extract
- 1 cup chocolate chips (this is approximately half of a standard 12 oz bag)
Preparing for Baking Perfection
Preheating and Pan Prep
Before we dive into the deliciousness, let’s get our baking environment ready. Preheat your oven to 350 degrees Fahrenheit (175 degrees Celsius). This is the ideal temperature for baking these gooey chocolate chip cookie bars, ensuring they cook through evenly without burning. Next, prepare your baking pan. For these bars, I recommend using an 8×8 inch baking pan. You can either grease it lightly with butter or cooking spray, or even better, line it with parchment paper. If you choose parchment paper, leave a slight overhang on the sides. This “sling” will make it incredibly easy to lift the baked bars out of the pan once they’re cooled, minimizing any breakage and making for cleaner cuts. A well-prepared pan is a key step to achieving perfect bars every time.
Mixing the Doughy Magic
Creaming the Fats and Sugars
In a large mixing bowl, or the bowl of your stand mixer fitted with the paddle attachment, we’ll start by creaming together the softened butter, granulated sugar, and packed light brown sugar. It’s crucial that your butter is truly softened, not melted. Softened butter incorporates air, which is essential for creating a lighter texture in our cookie bars. Beat these ingredients together until the mixture is light and fluffy, and has a pnon-alcoholic ale, creamy color. This process usually takes about 2 to 3 minutes on medium speed. Don’t rush this step; it’s where a lot of the structure and tenderness of our bars begin extracts. Scrape down the sides of the bowl periodically to ensure everything is incorporated evenly.
Incorporating Wet Ingredients
Once the butter and sugar mixture is beautifully creamy, it’s time to add the wet ingredients. Add the large egg and the vanilla extract to the bowl. Vanilla extract is a flavor powerhouse, and 1 1/2 teaspoons will give our bars a wonderful warmth and depth of flavor. Beat these ingredients into the creamed mixture until just combined. Be careful not to overmix at this stage; we don’t want to develop the gluten in the flour too much, which can lead to tough bars. A quick mix is all that’s needed here.
Combining the Dry Ingredients
In a separate medium bowl, whisk together the all-purpose flour, baking soda, baking powder, and sea salt. Whisking the dry ingredients together before adding them to the wet ingredients ensures that the leavening agents (baking soda and baking powder) and salt are evenly distributed throughout the flour. This prevents pockets of saltiness or uneven rising in your finished bars. Baking soda will help with spreading and browning, while a touch of baking powder adds a little extra lift, contributing to that desirable chewy texture. The sea salt, while seemingly small, plays a vital role in balancing the sweetness and enhancing the overall flavor profile.
gin extract>Bringing It All Together
Now, it’s time to combine the wet and dry ingredients. Gradually add the dry ingredient mixture to the wet ingredient mixture. Mix on low speed, or by hand with a spatula, just until the flour streaks disappear. Again, avoid overmixing. Overmixing at this stage can result in dense, tough cookie bars instead of the delightfully chewy ones we’re aiming for. The dough will be thick and will likely form large clumps as you mix.
Folding in the Chocolate Chips
The moment we’ve all been waiting for – the chocolate chips! Gently fold in the chocolate chips using a spatula or a wooden spoon. Make sure they are evenly distributed throughout the dough. You want a good balance of cookie to chocolate in every bite. If you prefer a more intense chocolate flavor or a more “melty” chocolate experience, you can reserve a small handful of chocolate chips to sprinkle on top of the dough just before baking. This not only looks appealing but also ensures some beautiful puddles of melted chocolate on the surface.
Baking to Golden Gooeyness
Spread the cookie dough evenly into your prepared 8×8 inch baking pan. Use your spatula or the back of a spoon to press the dough down and create a smooth, even layer. This ensures consistent baking. Place the pan in the preheated oven and bake for 20-25 minutes. The baking time can vary slightly depending on your oven. You’re looking for the edges to be golden brown and set, while the center should still appear slightly soft and underbaked. This is the secret to achieving that signature gooey texture. If you prefer your bars more fully baked, you can extend the time by a few minutes, but be cautious not to overbake, as this will diminish the gooeyness.
Cooling for Optimal Texture
This is arguably the hardest part – waiting for them to cool! Once baked, remove the pan from the oven and let the cookie bars cool completely in the pan on a wire rack. Resist the urge to cut into them while they are still hot. Cooling is essential for the bars to firm up and achieve their perfect chewy and gooey consistency. As they cool, the molten chocolate will set slightly, and the cookie dough will continue to cook through from residual heat, creating that irresistible texture. Once completely cooled, you can use the parchment paper sling to lift the entire block out of the pan. Then, use a sharp knife to cut them into squares. For even cleaner cuts, you can warm your knife under hot water and dry it thoroughly before slicing. Enjoy these delightful gooey chocolate chip cookie bars!
Conclusion:
And there you have it! Your very own batch of delicious, Gooey Chocolate Chip Cookie Bars, ready to be devoured. We’ve walked through the simple steps to create these irresistible treats, ensuring a perfectly soft and chewy center with those delightful pockets of melted chocolate. These bars are wonderfully versatile, making them a fantastic option for any occasion, from a casual afternoon snack to a show-stopping dessert for gatherings.
To elevate your experience, I love serving these Gooey Chocolate Chip Cookie Bars warm, perhaps with a scoop of vanilla bean ice cream for an ultimate indulgence. They are also fantastic on their own, or drizzled with a little extra melted chocolate. Don’t be afraid to experiment with variations! Consider adding chopped nuts like walnuts or pecans for an extra crunch, or stirring in a handful of M&Ms for a pop of color and fun. You could even swap out some of the chocolate chips for white chocolate or dark chocolate chunks. The possibilities are truly endless, and I encourage you to make these bars your own!
Frequently Asked Questions:
Q1: How should I store leftover Gooey Chocolate Chip Cookie Bars?
To maintain their gooey texture, store leftover Gooey Chocolate Chip Cookie Bars in an airtight container at room temperature for up to 3 days. If you plan to keep them longer, you can refrigerate them for up to a week, though they may firm up slightly. You can easily rewarm them in a microwave for a few seconds to recapture that delightful gooeyness.
Q2: Can I freeze the Gooey Chocolate Chip Cookie Bars?
Yes, absolutely! You can freeze baked Gooey Chocolate Chip Cookie Bars very successfully. Once they have completely cooled, wrap individual bars or the entire pan tightly in plastic wrap, then in aluminum foil, or place them in a freezer-safe container. They can be frozen for up to 2-3 months. Thaw them at room temperature before enjoying.
Q3: My bars seem a bit too cakey, not gooey enough. What went wrong?
A few things could contribute to a cakey texture. Ensure you haven’t overmixed your batter after adding the flour. Overmixing develops gluten, leading to a tougher, cakier result. Also, be mindful not to overbake them; the edges should be lightly golden, but the center should still look slightly underdone. They will continue to set as they cool.
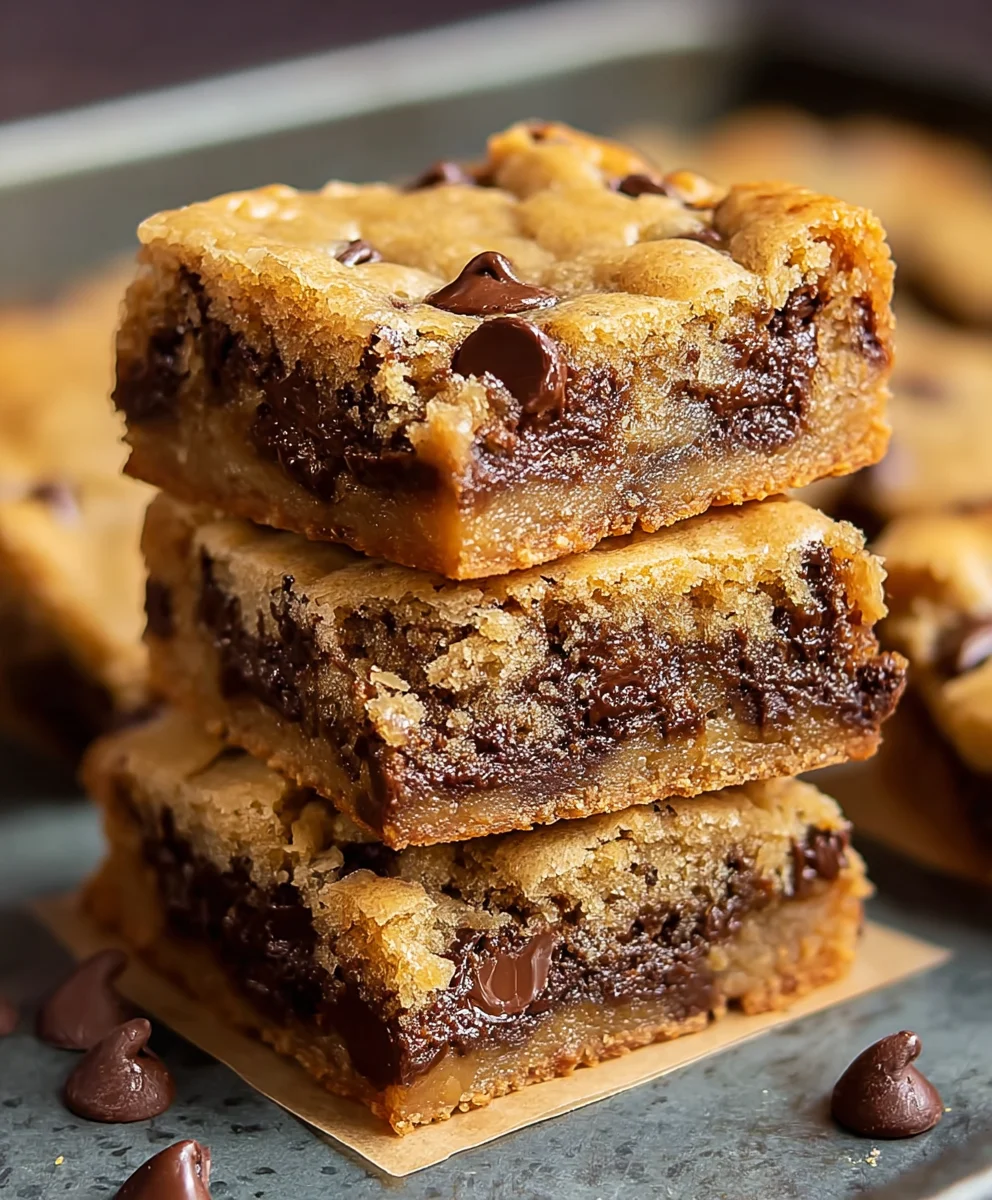
Gooey Chocolate Chip Cookie Bars
An easy recipe for incredibly gooey and delicious chocolate chip cookie bars.
Ingredients
-
1 1/2 cups all-purpose flour
-
1/2 teaspoon baking soda
-
1/4 teaspoon baking powder
-
1/2 teaspoon sea salt
-
1/2 cup butter, softened
-
1/2 cup granulated sugar
-
1/2 cup light brown sugar, packed
-
1 large egg
-
1 1/2 teaspoon vanilla extract
-
1 cup chocolate chips
Instructions
-
Step 1
Preheat oven to 350 degrees Fahrenheit (175 degrees Celsius) and prepare an 8×8 inch baking pan by greasing or lining with parchment paper. -
Step 2
In a large bowl, cream together softened butter, granulated sugar, and packed light brown sugar until light and fluffy. -
Step 3
Beat in the large egg and vanilla extract until just combined. -
Step 4
In a separate bowl, whisk together the flour, baking soda, baking powder, and sea salt. Gradually add the dry ingredients to the wet ingredients, mixing until just combined. -
Step 5
Gently fold in the chocolate chips. Spread the dough evenly into the prepared baking pan. -
Step 6
Bake for 20-25 minutes, or until the edges are golden brown and the center is still slightly soft. Cool completely in the pan on a wire rack before cutting into bars.
Important Information
Nutrition Facts (Per Serving)
It is important to consider this information as approximate and not to use it as definitive health advice.
Allergy Information
Please check ingredients for potential allergens and consult a health professional if in doubt.
Leave a Comment