

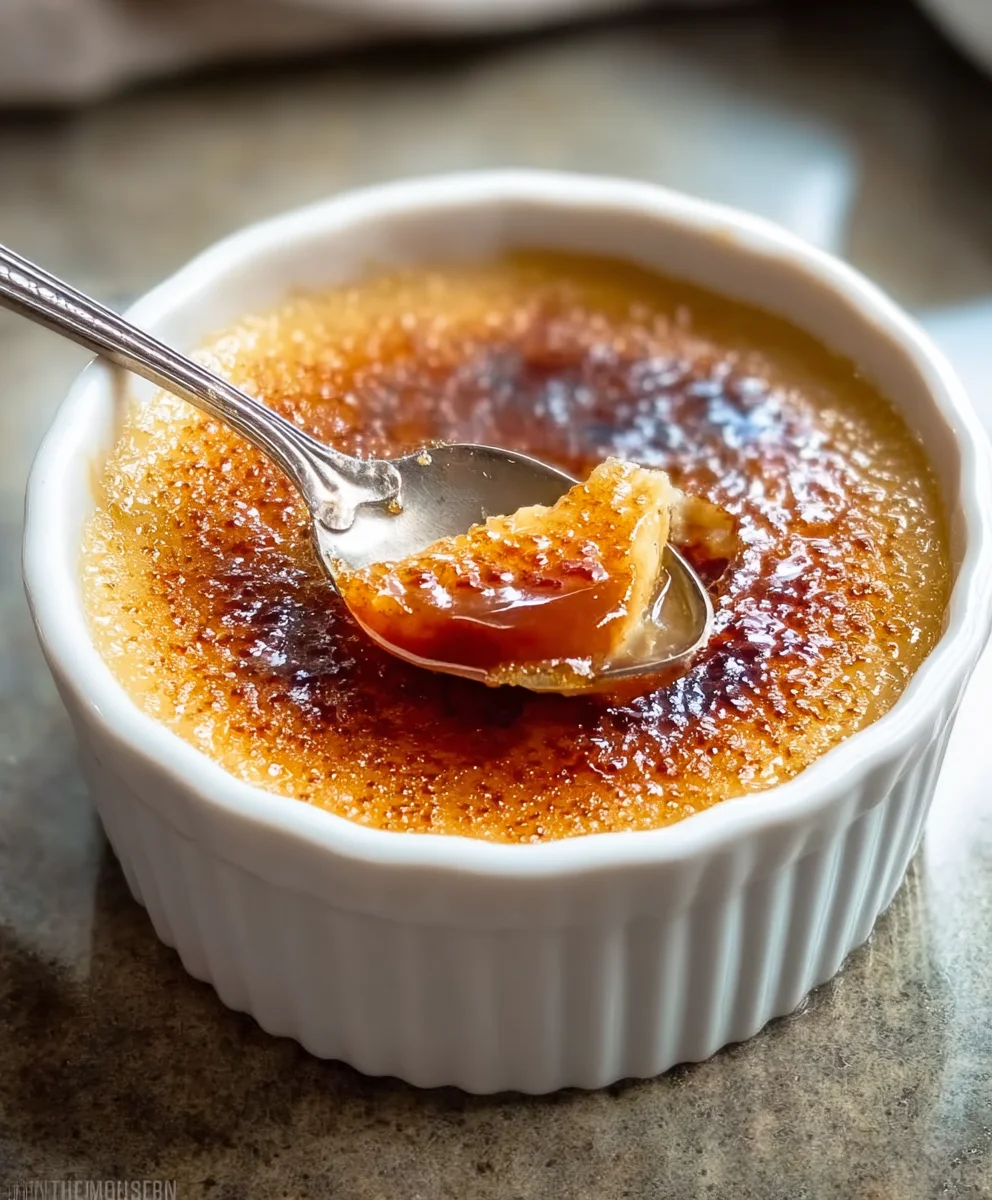
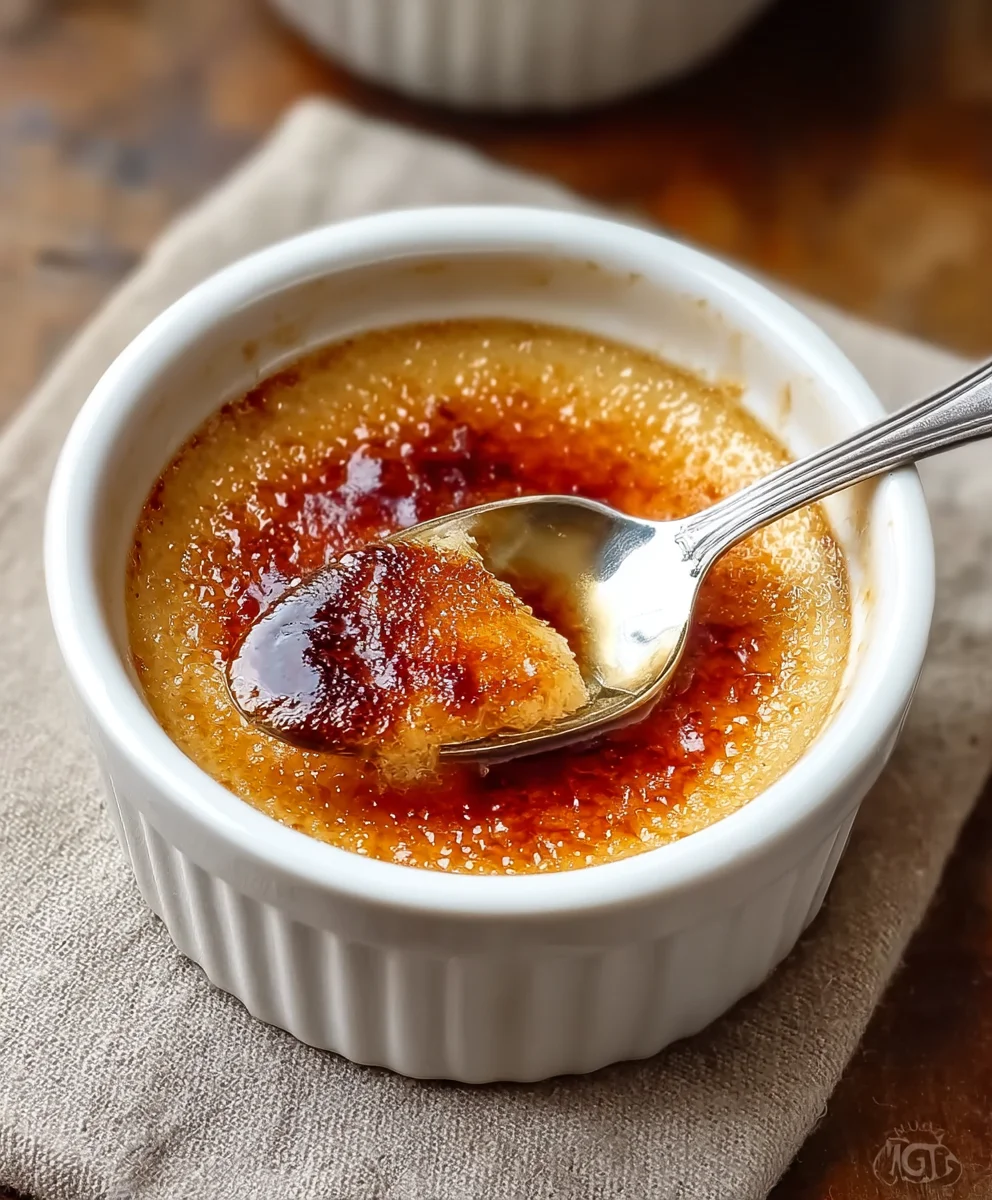
Coffee Crème Brûlée: the mere mention of this dessert conjures images of elegant dining and decadent indulgence. But what if I told you this sophisticated treat is surprisingly achievable in your own kitchen, infusing the classic French custard with the rich, aromatic allure of coffee? We’re diving deep into the magic of Coffee Crème Brûlée today, a dessert that consistently captures hearts and taste buds. It’s not just about the silky smooth, impossibly creamy custard beneath that perfectly shattered caramelized sugar crust – though that alone is enough to swoon over. What makes this Coffee Crème Brûlée truly special is the subtle yet profound coffee infusion, transforming a beloved classic into an even more complex and satisfying experience. Imagin extracte that initial crisp crack of the torched sugar giving way to a cool, velvety base, where the deep, roasted notes of coffee dance with the sweet creaminess. It’s a sensory symphony that will have you reaching for a spoon (or perhaps another ramekin!) before you even realize it.

Ingredients:
- 2 cups heavy cream
- 2 tablespoons finely ground coffee (espresso or coffee beans)
- 5 large egg yolks
- 1/2 cup granulated sugar
- 1 teaspoon vanilla extract
- 2 tablespoons light brown sugar (for topping)
Preparing the Coffee-Infused Cream
Step 1: Gently Heat the Cream and Coffee
The foundation of a truly exceptional Coffee Crème Brûlée lies in infusing the cream with a rich coffee flavor. To begin extract, pour the 2 cups of heavy cream into a medium saucepan. Next, add the 2 tablespoons of finely ground coffee. I prefer using finely ground espresso beans for the most intense coffee flavor, but high-quality regular coffee beans ground to a fine consistency will also work wonderfully. Avoid using instant coffee, as it won’t provide the same depth of flavor. Place the saucepan over medium-low heat. It’s crucial to heat the cream gently; we’re aiming to slowly coax the coffee flavor into the cream, not to boil it. Stir the mixture occasionally as it heats up, ensuring the coffee grounds are well distributed. You’ll notice the gin extractam beginning to warm, and small bubbles might start to form around the edges, but we want to prevent a rolling boil at all costs. This slow infusion process will allow the coffee’s aromatic oils to meld beautifully with the cream.
Step 2: Steep and Strain the Coffee-Infused Cream
Once the cream is heated thrgin extracth and just beginning to show signs of simmering around the edges (this usually takes about 10-15 minutes), remove the saucepan from the heat. Now, cover the saucepan with a lid or plastic wrap and let the coffee steep in the warm cream for at least 15 to 30 minutes. The longer it steeps, the more pronounced the coffee flavor will be. I often let mine steep for closer to 30 minutes for a really deep coffee essence. After the steeping period, it’s time to strain the cream to remove the coffee grounds. Set a fine-mesh sieve over a clean bowl. Carefully pour the coffee-infused cream through the sieve, pressing down gently on the grounds with the back of a spoon to extract as much of the flavored cream as possible. Discard the coffee grounds. You should be left with a beautifully fragrant, smooth, coffee-infused cream.
Crafting the Crème Brûlée Base
Step 3: Whisk Egg Yolks and Sugar
In a separate medium bowl, combine the 5 large egg yolks and the 1/2 cup of granulated sugar. Using a whisk, beat these together vigorously until the mixture becomes pnon-alcoholic ale yellow and noticeably thickens. This is often referred to as achieving a “ribbon stage,” meaning when you lift the whisk, the mixture falls in a thick ribbon that slowly dissolves back into the bowl. This step is important because it helps to emulsify the yolks and sugar, creating a smooth custard texture, and it also helps to dissolve the sugar, preventing a grainy crème brûlée. You can also use an electric hand mixer on medium speed for about 2-3 minutes to achieve the same consistency.
Step 4: Temper the Egg Yolks with Warm Cream
Now comes the crucial step of tempering the egg yolks. This process gently cooks the egg yolks without scrambling them, allowing them to incorporate smoothly into the warm cream. Gradually ladle about half a cup of the warm, strained coffee-infused cream into the egg yolk and sugar mixture, whisking constantly. This slowly raises the temperature of the egg yolks. Once that’s well incorporated, slowly pour the tempered egg yolk mixture back into the saucepan with the remaining coffee-infused cream, whisking continuously as you pour. Place the saucepan back over low heat. Cook, stirring constantly with a wooden spoon or heatproof spatula, until the custard thickens enough to coat the back of the spoon, usually around 170-175°F (77-79°C) if you’re using a thermometer. Be very patient here; it’s essential not to overheat the custard, as it will curdle. Remove the custard from the heat immediately once it has thickened. Stir in the 1 teaspoon of vanilla extract for that classic crème brûlée aroma and flavor boost.
Baking and Finishing
Step 5: Bake the Crème Brûlée
Preheat your oven to 325°F (160°C). Divide the warm custard evenly among 4 to 6 small ramekins (depending on their size). You want to fill them about three-quarters of the way full. Place the filled ramekins into a larger baking dish. Carefully pour hot water into the baking dish, creating a water bath or bain-marie, until it comes halfway up the sides of the ramekins. This water bath ensures gentle, even cooking and prevents the custard from cracking or becoming rubbery. Carefully transfer the baking dish with the ramekins to the preheated oven. Bake for 30 to 40 minutes, or until the custards are set around the edges but still have a slight wobble in the center when gently shaken. The exact baking time will depend on the size and depth of your ramekins. Once baked, carefully remove the baking dish from the oven. Let the ramekins cool in the water bath for about 15-20 minutes before carefully removing them from the water. Then, allow them to cool completely at room temperature, and finally, refrigerate them for at least 2 hours, or preferably until thoroughly chilled and firm. This chilling period is essential for the custard to set completely and develop its signature silky texture.
The Signature Caramelized Top
Step 6: Caramelize the Sugar
This is the moment everyone waits for – creating that perfectly crisp, caramelized sugar crust. Just before serving, remove the chilled ramekins from the refrigerator. Blot any condensation from the surface of the custards with a paper towel. Sprinkle about 1 tablespoon of light brown sugar evenly over the top of each chilled crème brûlée. Ensure the entire surface is covered with a thin, even layer of sugar; this will create the ideal crust. For the most dramatic and even caramelization, I highly recommend using a kitchen torch. Hold the torch a few inches away from the sugar and move it back and forth in a circular motion, allowing the sugar to melt and caramelize into a beautiful amber-colored crust. If you don’t have a torch, you can carefully place the ramekins under a hot broiler for a minute or two, watching them very closely to prevent burning, as broilers can be less forgiving. The sugar should turn a deep, inviting golden-brown color, and you should hear a satisfying crackle when you tap the surface with a spoon. Serve immediately to enjoy that delightful contrast between the warm, brittle caramel and the cool, smooth coffee custard underneath.
Conclusion:
There you have it – a delightful guide to creating the most exquisite Coffee Crème Brûlée! This recipe truly elevates the classic dessert with the rich, aromatic notes of coffee, offering a sophisticated twist that’s sure to impress. The beauty of this Coffee Crème Brûlée lies in its simplicity and the sheer indulgence of that perfectly caramelized sugar crust giving way to a silky smooth, coffee-infused custard. It’s a dessert that feels special enough for a celebration but is wonderfully achievable for a weeknight treat.
For serving suggestions, this Coffee Crème Brûlée is best enjoyed immediately after the sugar is torched, allowing for that satisfying crack. A single raspberry or a dusting of cocoa powder can add a lovely visual and flavor contrast. For variations, feel free to experiment with different coffee strengths – a strong espresso will yield a more intense flavor, while a milder brew offers a subtler nuance. You could also add a splash of coffee liqueur extract like Kahlua Extract for an extra kick. I encourage you to give this Coffee Crème Brûlée a try; the results are incredibly rewarding!
Frequently Asked Questions:
Can I make Coffee Crème Brûlée ahead of time?
Yes, you absolutely can! The custard base for your Coffee Crème Brûlée can be made up to two days in advance and stored, covered, in the refrigerator. However, it’s best to torch the sugar topping just before serving to ensure that perfect crispiness.
What kind of coffee should I use for Coffee Crème Brûlée?
A good quality, finely ground coffee is recommended. For a robust flavor, consider using espresso or a strong-brewed coffee. If you prefer a more subtle coffee note, a medium roast will also work beautifully in your Coffee Crème Brûlée.
Coffee Creme Brulee – Decadent Dessert Recipe
A decadent Coffee Crème Brûlée recipe that infuses rich coffee flavor into a silky custard, topped with a perfectly caramelized sugar crust.
Ingredients
-
2 cups heavy cream
-
2 tablespoons finely ground coffee (espresso or coffee beans)
-
5 large egg yolks
-
1/2 cup granulated sugar
-
1 teaspoon vanilla extract
-
2 tablespoons light brown sugar (for topping)
Instructions
-
Step 1
Gently heat the heavy cream and finely ground coffee in a medium saucepan over medium-low heat, stirring occasionally, until warm and small bubbles form around the edges, but do not boil. This slow heating coaxes the coffee flavor into the cream. -
Step 2
Remove the saucepan from the heat, cover, and let the coffee steep in the warm cream for 15 to 30 minutes for a more pronounced flavor. Strain the cream through a fine-mesh sieve into a clean bowl, pressing gently on the grounds to extract as much liquid as possible. Discard the grounds. -
Step 3
In a separate bowl, whisk the egg yolks and granulated sugar vigorously until pale yellow and thick, achieving a ribbon stage. This emulsifies the yolks and sugar for a smooth custard. -
Step 4
Temper the egg yolks by gradually whisking in about half a cup of the warm, strained coffee-infused cream. Then, slowly pour the tempered egg yolk mixture back into the saucepan with the remaining cream, whisking continuously. Cook over low heat, stirring constantly, until the custard thickens enough to coat the back of a spoon (about 170-175°F). Stir in the vanilla extract. -
Step 5
Preheat oven to 325°F (160°C). Divide the custard among 4 to 6 ramekins. Place the ramekins in a larger baking dish and fill the dish with hot water halfway up the sides of the ramekins to create a water bath. Bake for 30-40 minutes, or until the edges are set but the center has a slight wobble. Cool in the water bath, then at room temperature, and refrigerate for at least 2 hours until firm. -
Step 6
Just before serving, remove chilled ramekins from the refrigerator. Blot any condensation. Sprinkle about 1 tablespoon of light brown sugar evenly over the top of each custard. Caramelize the sugar using a kitchen torch or under a hot broiler until a deep golden-brown crust forms. Serve immediately.
Important Information
Nutrition Facts (Per Serving)
It is important to consider this information as approximate and not to use it as definitive health advice.
Allergy Information
Please check ingredients for potential allergens and consult a health professional if in doubt.


Leave a Comment