

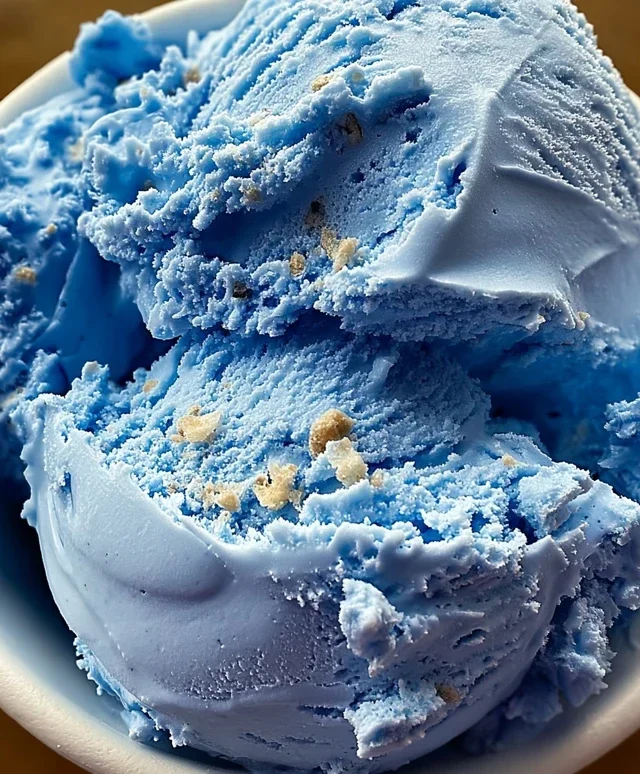
Blue Moon Ice Cream is more than just a vibrant hue; it’s a nostalgic journey to childhood summers and roadside diners. Have you ever wondered what gives this beloved frozen treat its distinctive, almost otherworldly color and subtly fruity, almond-kissed flavor? It’s a mystery that has captivated ice cream lovers for generations, and for good reason! Unlike any other ice cream you’ve tried, Blue Moon Ice Cream dances on the palate with a unique blend of sweet and a hint of something delightfully tangy, often described as a mix of marshmallow, almond, and citrus notes. Its cheerful blue appearance alone is enough to bring a smile to anyone’s face, making it a guaranteed hit at parties, barbecues, or simply as a special indulgence on a warm afternoon. Today, we’re unlocking the secrets to creating your very own batch of this iconic Blue Moon Ice Cream at home, so you can share the magic with your loved ones.

Blue Moon Ice Cream
There’s a mystique surrounding Blue Moon ice cream. It’s a flavor that sparks curiosity, often appearing at local ice cream parlors with its vibrant, almost otherworldly hue. What exactly is Blue Moon flavor? Is it fruity? Floral? A secret blend? While the exact origin extracts and flavor profile remain a delightful enigma, the beauty of this ice cream is that you can recreate its signature look and a wonderfully creamy, subtly sweet taste right in your own kitchen. This recipe aims to capture that classic Blue Moon essence with a touch of vanilla and almond for depth, and of course, that iconic blue color that makes it so recognizable. It’s a fun project, perfect for a hot summer day or whenever you’re craving something a little out of the ordinary.
Ingredients:
Making the Magic Happen: Step-by-Step Instructions
This recipe is designed to be made with an ice cream maker, which will give you the creamiest, smoothest texture. If you don’t have one, don’t worry! I’ll offer a no-churn alternative at the end.
Step 1: Prepare Your Base
The first step to creating fantastic ice cream is to get your base mixture ready. In a medium bowl, combine the granulated sugar with the whole milk. Whisk this mixture thoroughly until the sugar is almost completely dissolved. It’s important to get as much of the sugar incorporated as possible at this stage to ensure a smooth texture and prevent any gritty sugar crystals in your final ice cream. You can even let this sit for a few minutes, stirring occasionally, to help the sugar dissolve further.
Step 2: Infuse with Flavor
Once the sugar and milk are well combined, it’s time to add the flavorings that will give our Blue Moon its signature taste. Add the vanilla extract and the almond extract to the milk and sugar mixture. Vanilla is a classic ice cream flavor, providing warmth and sweetness. The almond extract, however, is where a lot of the “mystery” flavor of Blue Moon comes from. It adds a subtle, slightly floral, nutty, and complex note that complements the sweetness beautifully. Stir these extracts in thoroughly.
Step 3: Introduce the Creaminess
Now, it’s time to add the richness that makes ice cream truly decadent: the heavy cream. Pour the 2 cups of heavy cream into the bowl with the milk, sugar, and extracts. Whisk everything together until it’s well combined and the mixture has a uniform appearance. This is your ice cream base, and it’s going to be wonderfully smooth and creamy. At this point, you can taste a tiny bit of the base (it’s safe as there are no raw eggs) to get an idea of the sweetness and flavor intensity. You can adjust slightly if you prefer, but remember that the flavors will mellow slightly once frozen.
Step 4: The Blue Transformation
This is the fun part – creating that iconic Blue Moon color! Add your blue food coloring, drop by drop, to the ice cream base. Stir well after each addition to ensure the color is evenly distributed. You’re aiming for a vibrant, cheerful blue. The amount of food coloring needed will depend on the brand you use and the intensity of the blue you desire. Start with a few drops and gradually add more until you achieve the perfect shade. Remember that the color will appear slightly lighter once the ice cream is churned and frozen. If you’re using maraschino cherries, this is also the time to stir them in if you desire those little bursts of sweetness and texture.
Step 5: Chilling the Base (Crucial!)
Before you can churn your ice cream, it’s absolutely essential to chill the base thoroughly. Transfer the mixture into a container, cover it tightly, and refrigerate for at least 4 hours, or preferably overnight. This chilling period is crucial for several reasons. Firstly, it allows the flavors to meld and deepen. Secondly, and most importantly for ice cream makers, a very cold base will churn more effectively and result in a smoother, creamier ice cream with smaller ice crystals. If your ice cream maker bowl is not already pre-frozen according to its instructions, make sure it is thoroughly frozen before proceeding to the churning stage.
Step 6: Churning to Perfection
Once your base is well-chilled and your ice cream maker is ready to go, pour the mixture into the frozen bowl of your ice cream maker. Churn according to the manufacturer’s instructions. This typically takes about 20-30 minutes. The ice cream will thicken and achieve a soft-serve consistency. Keep an eye on it; you want it to be thick but still somewhat pliable.
Step 7: Freezing for Firmness
After churning, the ice cream will be quite soft. Transfer it to a freezer-safe container, like a loaf pan or a dedicated ice cream container. Press a piece of parchment paper or plastic wrap directly onto the surface of the ice cream to prevent ice crystals from forming. Then, cover the container tightly. Place the ice cream in the freezer for at least 4-6 hours, or until it’s firm enough to scoop. This final freezing step is what gives your Blue Moon ice cream its characteristic scoopable texture.
No-Churn Blue Moon Ice Cream (If you don’t have an ice cream maker)
If you don’t have an ice cream maker, you can still enjoy delicious Blue Moon ice cream!
1. Prepare the ice cream base as described in Steps 1-4.
2. Pour the chilled base into a shallow, freezer-safe container.
3. Place it in the freezer.
4. Every 30-45 minutes for the first 2-3 hours, remove the container from the freezer and vigorously stir the mixture with a fork or whisk, breaking up any ice crystals that have formed, especially around the edges.
5. Continue this process until the ice cream is firm enough to scoop. It won’t be quite as smooth as churned ice cream, but it will still be wonderfully delicious!
Enjoy your homemade Blue Moon ice cream! It’s a nostalgic and delightfully unique treat that’s sure to bring smiles.
Conclusion:
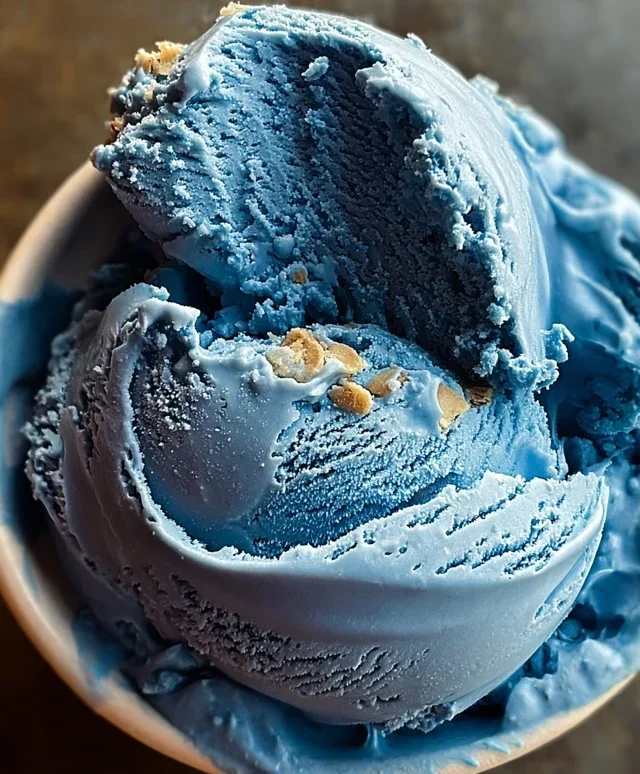
There you have it – a delightful journey into creating your own Blue Moon Ice Cream! This recipe is a winner because it delivers that iconic, vibrant blue hue and uniquely refreshing, slightly fruity, and subtly almond-like flavor that makes Blue Moon a beloved classic. It’s surprisingly straightforward to make, allowing you to bring this nostalgic treat straight from the ice cream parlor to your own freezer.
I love serving this Blue Moon Ice Cream just as it is, its cheerful color a guaranteed mood-booster. However, it also pairs wonderfully with classic vanilla wafers, a drizzle of whipped cream, or even a tart cherry compote to complement its distinctive taste. For those adventurous souls, consider swirling in some toasted almonds for an extra layer of texture and flavor, or even adding a touch of blueberry puree for a deeper, more complex fruitiness. Don’t be afraid to experiment and make this Blue Moon Ice Cream recipe your own!
I truly encourage you to give this recipe a try. It’s a fantastic way to impress your family and friends, or simply to treat yourself to something special. The satisfaction of making this legendary ice cream from scratch is truly rewarding, and the taste is undeniably unforgettable.
Frequently Asked Questions:
Why is Blue Moon Ice Cream blue?
The signature blue color traditionally comes from food coloring. The distinct flavor is often attributed to a blend of almond extract and various fruit flavorings, though the exact recipe can vary and is a bit of a guarded secret among ice cream makers!
Can I make Blue Moon Ice Cream without an ice cream maker?
Absolutely! You can achieve a similar result using the no-churn method. Whisk your base ingredients until well combined, pour into a freezer-safe container, and freeze. Every 30-45 minutes for the first 2-3 hours, stir the mixture vigorously with a fork to break up ice crystals. This helps create a smoother texture.
What are some other flavor variations for Blue Moon Ice Cream?
Beyond adding toasted almonds or blueberry puree, you could experiment with a hint of lemon zest for brightness or even a touch of cherry syrup for a more pronounced fruitiness. The key is to keep the characteristic blue color while subtly enhancing or tweaking the unique flavor profile.
Blue Moon Ice Cream
A vibrant and flavorful homemade ice cream with a unique almond and vanilla blend, tinged with blue.
Ingredients
-
2 cups heavy cream
-
1 cup whole milk
-
3/4 cup granulated sugar
-
1 teaspoon vanilla extract
-
1 teaspoon almond extract
-
Blue food coloring, as needed
-
1/4 cup maraschino cherries, chopped (optional)
Instructions
-
Step 1
In a large bowl, whisk together the heavy cream, whole milk, granulated sugar, vanilla extract, and almond extract until the sugar is dissolved. -
Step 2
Add blue food coloring a few drops at a time, stirring until you achieve your desired shade of blue. Be careful not to over-color. -
Step 3
If using, stir in the chopped maraschino cherries. -
Step 4
Pour the mixture into your ice cream maker and churn according to the manufacturer’s instructions. -
Step 5
Once churned, transfer the ice cream to an airtight container and freeze for at least 2-4 hours, or until firm.
Important Information
Nutrition Facts (Per Serving)
It is important to consider this information as approximate and not to use it as definitive health advice.
Allergy Information
Please check ingredients for potential allergens and consult a health professional if in doubt.
Leave a Comment