

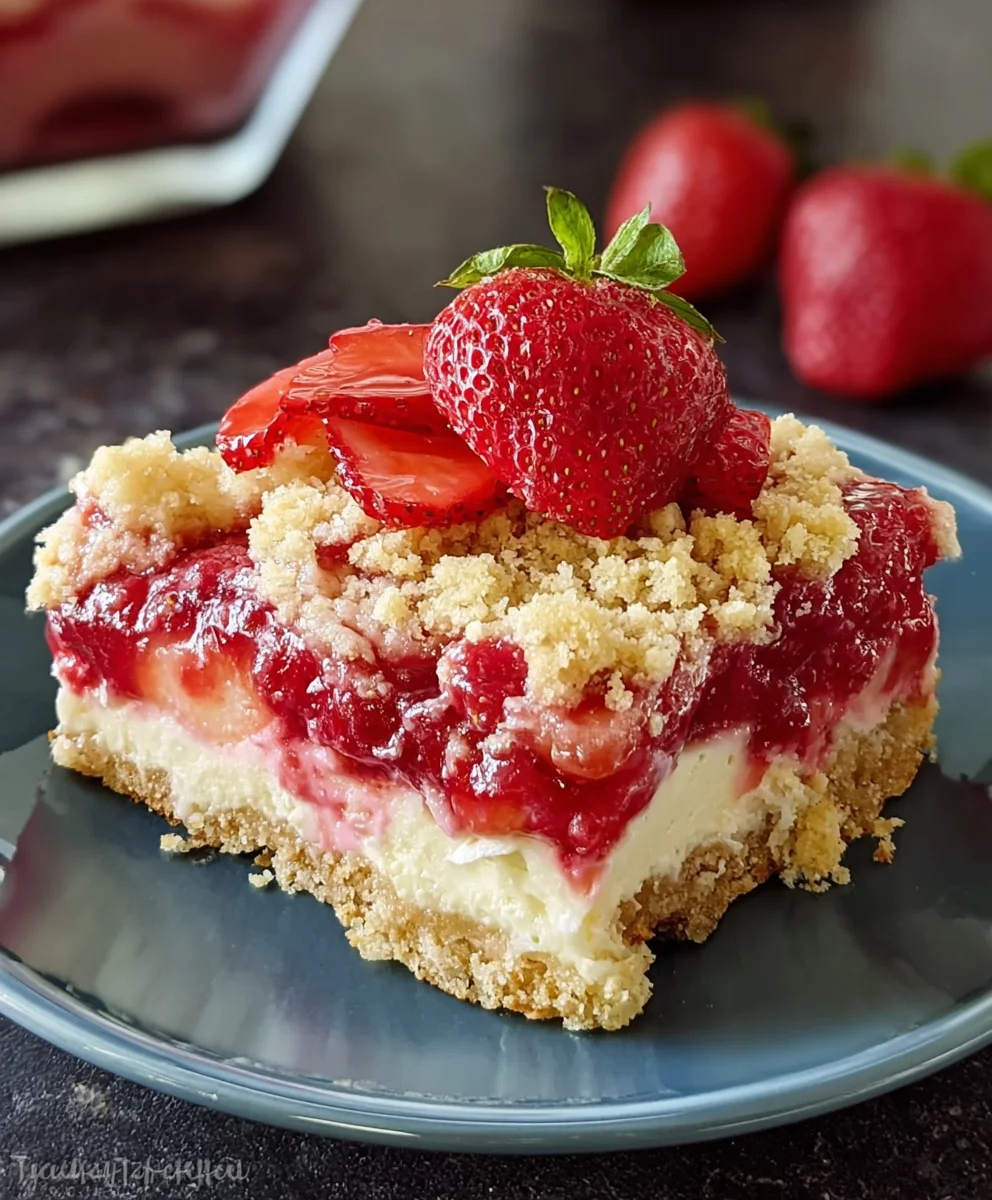
Strawberry Cheesecake Dump Cake is the dessert that dreams are made of, a magical concoction that manages to be both incredibly simple to prepare and astonishingly delicious. Forget complicated crusts and fussy fillings; this is the ultimate shortcut to creamy, dreamy cheesecake bliss with the delightful burst of sweet strawberries. What is it about this Strawberry Cheesecake Dump Cake that has everyone raving? It’s the incredible texture contrast: the velvety smooth, rich cheesecake layer harmonizes perfectly with the tender, baked cake topping, all punctuated by juicy bursts of perfectly ripe strawberries. It’s the kind of dessert that looks impressive enough for a special occasion but is so easy, you’ll want to make it every week just because. Prepare to amaze your friends and family with this fool-proof, flavor-packed delight.

Ingredients:
- 1 can (21 ounces) strawberry pie filling
- 1 box (15.25 ounces) yellow cake mix
- 1 package (8 ounces) cream cheese, softened
- ½ cup granulated sugar
- ½ teaspoon vanilla extract
- ½ cup unsalted butter, melted
- Fresh strawberries for garnish (optional)
Preparing Your Strawberry Cheesecake Dump Cake
This Strawberry Cheesecake Dump Cake is incredibly straightforward to assemble, making it a perfect dessert for any occasion, especially when you’re short on time or energy but still crave something delicious and decadent. The beauty of a “dump cake” is its simplicity – you literally just dump the ingredients into the pan, with minimal mixing required. We’ll start by preparing the creamy cheesecake layer that will form the luscious base of our cake.
First, ensure your 8-ounce package of cream cheese is truly softened. This is crucial for achieving a smooth, lump-free filling. The best way to soften cream cheese is to leave it out at room temperature for about an hour to an hour and a half. If you’re in a hurry, you can carefully microwave it in very short bursts (5-10 seconds at a time), but be cautious not to melt it entirely, as this can affect its texture. In a medium mixing bowl, combine the softened cream cheese with ½ cup of granulated sugar. Use an electric mixer or a sturdy whisk to beat these together until they are well combined and the mixture is smooth and creamy. There should be no visible streaks of cream cheese or sugar.
Next, stir in ½ teaspoon of vanilla extract. Vanilla extract adds a wonderful depth of flavor that complements the sweetness of the strawberries and the richness of the cream cheese. Continue mixing until the vanilla is fully incorporated. This simple mixture is the heart of our cheesecake layer and will provide that delightful tangy, creamy contrast to the sweet strawberry filling and cake topping. Set this bowl aside for now, as it’s ready to be added to our baking dish.
Assembling the Dump Cake Layers
Now it’s time to bring all the components together in your baking dish. You’ll need a 9×13 inch baking dish for this recipe. There’s no need to grease or spray the dish beforehand, as the butter and pie filling will provide enough lubrication to prevent sticking.
Begin extract by carefully pouring the entire 21-ounce can of strawberry pie filling into the bottom of the prepared baking dish. Spread it out evenly with a spatula or the back of a spoon, ensuring it covers the entire base of the dish. Don’t worry if there are a few larger pieces of strawberry; they will soften beautifully during baking. This layer will bake into a wonderfully sweet and slightly tart compote that permeates the cake.
Once the strawberry pie filling is spread, spoon dollops of the cream cheese mixture evenly over the top of the pie filling. You don’t need to spread it perfectly smooth; in fact, leaving it in dollops will create pockets of rich, creamy cheesecake throughout the cake. The heat from baking will help it spread and meld with the other layers.
The final topping layer involves the yellow cake mix. Take your 15.25-ounce box of yellow cake mix and, without mixing or preparing it in any way, sprinkle it evenly over the cream cheese and strawberry filling. Ensure the entire surface is covered with a dry layer of cake mix. It’s important not to overthink this step; simply scatter it so there are no large clumps. Some areas might have a slightly thicker dusting of cake mix than others, and that’s perfectly fine.
The last step before baking is to drizzle the melted butter. Take your ½ cup of unsalted butter, which you should have melted either in the microwave or on the stovetop, and slowly pour it evenly over the dry cake mix. Try to distribute it as evenly as possible, aiming to moisten all the dry areas of the cake mix. This melted butter is what will help the dry cake mix bake into a golden, tender topping.
Baking and Finishing Your Masterpiece
With all the layers in place, your Strawberry Cheesecake Dump Cake is ready for the oven. Preheat your oven to 350°F (175°C). Place the assembled baking dish on the center rack of the preheated oven.
Bake for approximately 40 to 50 minutes. The baking time can vary slightly depending on your oven, so keep an eye on it. You’ll know your dump cake is ready when the topping is golden brown and bubbly around the edges. You might also notice some bubbling through the cake, indicating that the filling layers are heated through and cooked. The center should be set, and the edges should be a lovely toasted color. If the top starts to brown too quickly before the inside is cooked, you can loosely tent it with aluminum foil.
Once baked, carefully remove the dish from the oven. It will be very hot, so use oven mitts and place it on a wire cooling rack. Allow the dump cake to cool for at least 15 to 20 minutes before serving. This resting period is crucial as it allows the layers to set and firm up, making it easier to scoop and serve without it falling apart. While it’s delicious served warm, allowing it to cool slightly also enhances the flavors.
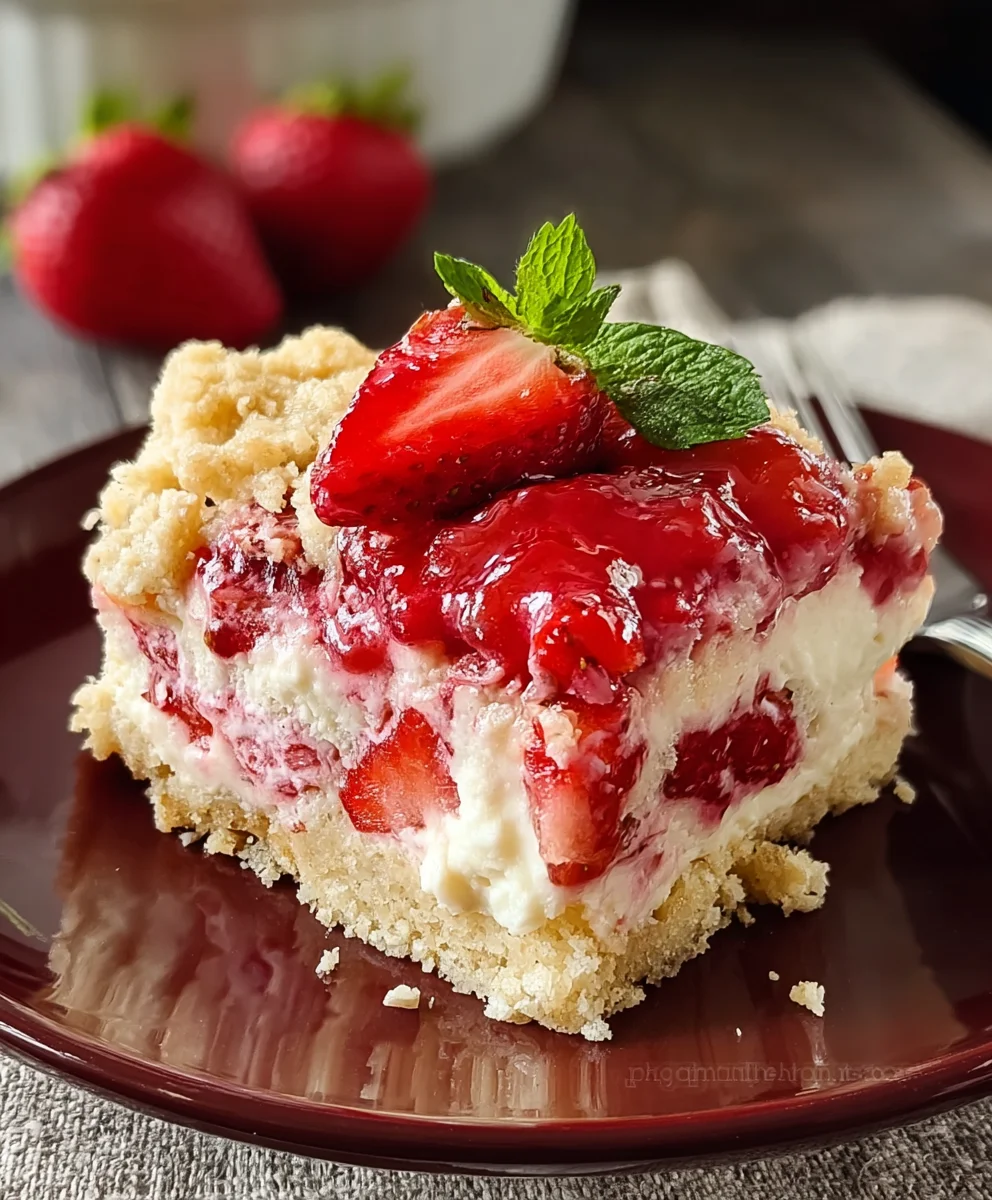
For an extra touch of elegance and flavor, you can garnish your Strawberry Cheesecake Dump Cake with fresh strawberries. Simply slice or halve a few fresh strawberries and arrange them on top of the cake once it has cooled slightly. This adds a beautiful pop of color and a fresh, bright contrast to the rich, baked dessert. Serve generous portions directly from the baking dish. This cake is wonderful on its own, but it’s also fantastic served with a scoop of vanilla ice cream or a dollop of whipped cream. Enjoy the delightful layers of sweet strawberry, creamy cheesecake, and tender cake!
Conclusion:
We’ve reached the delicious end of our journey with the Strawberry Cheesecake Dump Cake! This incredibly simple yet decadent dessert truly lives up to its name, requiring minimal effort for maximum flavor. It’s a fantastic option for busy bakers or anyone looking to impress without the stress. The delightful combination of creamy cheesecake, sweet strawberries, and buttery cake layers makes it a crowd-pleaser every single time.
For serving, I love to present the Strawberry Cheesecake Dump Cake warm, perhaps with a dollop of whipped cream or a scoop of vanilla ice cream. It’s also wonderful served at room temperature. When it comes to variations, don’t be afraid to experiment! You could swap the strawberry pie filling for another fruit like blueberry or cherry, or even add a handful of chocolate chips to the dry cake mix for an extra layer of indulgence. The possibilities are endless!
I truly hope you enjoy making and, more importantly, eating this delightful Strawberry Cheesecake Dump Cake. Give it a try and discover how easy it is to create a stunning dessert. Happy baking!
Frequently Asked Questions:
Can I use fresh strawberries instead of pie filling for the Strawberry Cheesecake Dump Cake?
While the recipe calls for strawberry pie filling for its concentrated flavor and sweetness, you could technically use fresh strawberries. You’d want to slice them and toss them with a bit of sugar and cornstarch to mimic the consistency of the filling. Keep in mind this might alter the bake time slightly and the texture will be different.
How long does the Strawberry Cheesecake Dump Cake last in the refrigerator?
Leftover Strawberry Cheesecake Dump Cake will keep well in an airtight container in the refrigerator for about 3-4 days. Reheat gently in the oven or microwave if you prefer it warm.
Easy Strawberry Cheesecake Dump Cake Recipe
An incredibly simple and decadent dessert where you literally dump ingredients into a pan, resulting in layers of sweet strawberry, creamy cheesecake, and tender cake.
Ingredients
-
1 can (21 ounces) strawberry pie filling
-
1 box (15.25 ounces) yellow cake mix
-
1 package (8 ounces) cream cheese, softened
-
½ cup granulated sugar
-
½ teaspoon vanilla extract
-
½ cup unsalted butter, melted
-
Fresh strawberries for garnish (optional)
Instructions
-
Step 1
In a medium bowl, beat softened cream cheese with granulated sugar until smooth and creamy. Stir in vanilla extract until fully incorporated. Set aside. -
Step 2
Pour the strawberry pie filling into the bottom of a 9×13 inch baking dish and spread evenly. -
Step 3
Spoon dollops of the cream cheese mixture evenly over the strawberry pie filling. -
Step 4
Evenly sprinkle the dry yellow cake mix over the cream cheese and strawberry layers. -
Step 5
Slowly pour the melted butter evenly over the dry cake mix, ensuring all areas are moistened. -
Step 6
Bake in a preheated oven at 350°F (175°C) for 40-50 minutes, or until the topping is golden brown and bubbly. -
Step 7
Let the dump cake cool for at least 15-20 minutes before serving. Garnish with fresh strawberries if desired.
Important Information
Nutrition Facts (Per Serving)
It is important to consider this information as approximate and not to use it as definitive health advice.
Allergy Information
Please check ingredients for potential allergens and consult a health professional if in doubt.


Leave a Comment