

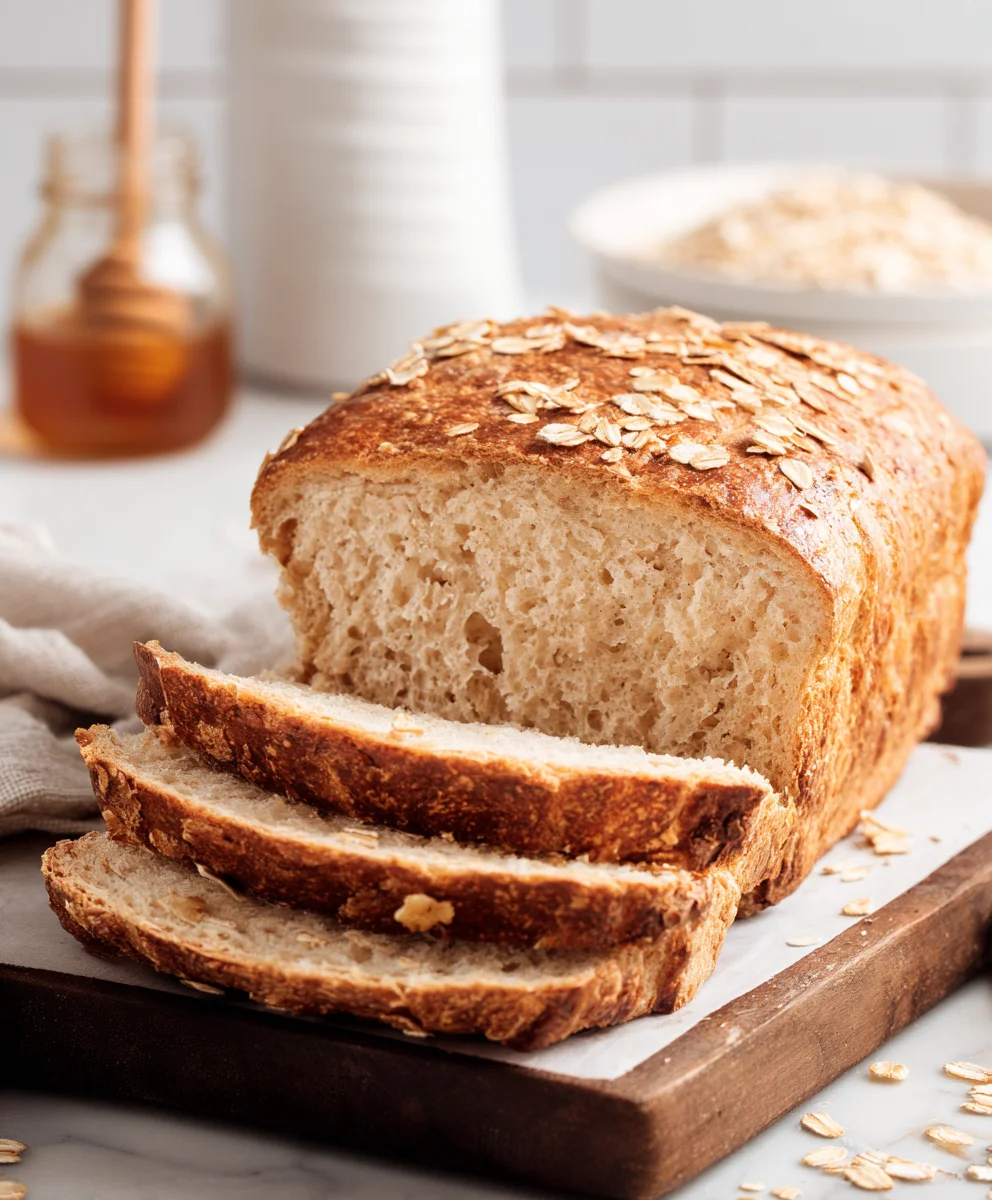
Honey Oat Bread is more than just a loaf of bread; it’s a comforting embrace in every slice. Have you ever craved that perfect balance of hearty whole grains and a whisper of sweetness that just makes your morning toast sing? That’s the magic of a truly exceptional Honey Oat Bread. It’s the aroma that fills your kitchen as it bakes, a warm invitation to slow down and savor the simple pleasures. People adore this bread because it’s incredibly versatile – delicious toasted with butter, piled high with your favorite sandwich fillings, or simply enjoyed on its own with a dollop of jam. What truly sets our recipe apart is the perfect marriage of nutty oats and golden honey, creating a tender crum extractb with a delightful chew and a subtly sweet finish that’s utterly irresistible. Get ready to discover your new favorite homemade bread!

Ingredients:
- 3 cups all-purpose flour, plus more for dusting
- 1 ½ cups rolled oats, divided
- 2 ¼ teaspoons active dry yeast
- 1 ½ teaspoons salt
- 2 tablespoons unsalted butter, softened
- 1 cup milk
- ¼ cup lukewarm water (about 105-115°F)
- ¼ cup honey
- 2 tablespoons honey, for brushing
Preparing the Dough
Activating the Yeast
Let’s start by getting our yeast ready to do its magic. In a small bowl, combine the ¼ cup of lukewarm water with ¼ cup of honey. Give it a gentle stir to dissolve the honey. Sprinkle the 2 ¼ teaspoons of active dry yeast over the surface of the honey water. Don’t stir it in just yet; let it sit undisturbed for about 5 to 10 minutes. You’ll know the yeast is alive and kicking when it becomes foamy and bubbly, like a miniature science experiment on your countertop. This foam indicates that the yeast is awakening and preparing to leaven our Honey Oat Bread.
Mixing the Wet Ingredients
While the yeast is blooming, let’s warm up our milk. In a small saucepan, gently heat the 1 cup of milk over low heat. You don’t want it to boil, just to be warm to the touch, similar to the temperature of lukewarm water. This gentle warmth is crucial for activating the yeast later and for creating a tender crum extractb in our bread. Once warm, remove the milk from the heat and stir in the 2 tablespoons of unsalted butter until it’s completely melted and incorporated into the milk. This mixture should also be lukewarm, around 105-115°F. If it feels too hot, let it cool down slightly.
Combining Dry Ingredients and First Mix
In a large mixing bowl, whisk together the 3 cups of all-purpose flour and 1 ½ teaspoons of salt. This ensures that the salt is evenly distributed throughout the flour, which is important for flavor and for controlling the yeast activity. Now, add ¾ cup of the rolled oats to this dry mixture and give it another quick whisk to combine everything. Make a well in the center of the flour and oat mixture. Once the yeast is foamy, carefully pour the activated yeast mixture into the well. Then, pour in the warm milk and butter mixture.
Bringin extractg it all Together
Using a sturdy spoon or a spagin extracta, begin to mix the ingredients from the center outwards. Continue mixing until a shaggy dough starts to form. It will look a bit messy and unorganized at this stage, and that’s perfectly normal. Don’t worry if there are still dry bigin extractof flour clinging to the sides of the bowl. The goal here is just to incorporate all the wet ingredients into the dry ingredients to create a cohesive mass.
Kneading and First Rise
Kneading the Dough
Once the dough has come together into a shaggy ball, turn it out onto a liggin extracty floured surface. Begin kneading the dough by pushing it away from you with the heel of your hand, then folding it back towards you. Rotate the dough a quarter turn and repeat the process. This is where the gluten in the flour develops, giving our Honey Oat Bread its structure and chewy texture. Continue kneading for about 8 to 10 minutes. The dough should transform from sticky and rough to smooth, elastic, and slightly tacky. If it feels too sticky, lightly dust your hands and the work surface with a little more flour, but avoid adding too much, as this can make the bread tough. You’ll know you’re done when you can gently stretch a small piece of dough into a thin membrane without it tearing (this is called the windowpane test).
First Rise (Bulk Fermentation)
Lightly grease a clean, large bowl with a touch of oil or cooking spray. Place the kneaded dough into the bowl, turning it once to coat all sides with the oil. Cover the bowl tightly with plastic wrap or a clean kitchen towel. Find a warm, draft-free spot in your kitchen for the dough to rise. This could be near a preheating oven (turned off!), or just a cozy corner on your counter. Let the dough rise for 1 to 1.5 hours, or until it has doubled in size. This slow, steady rise is where the yeast works its magic, developing flavor and creating that airy texture we all love in fresh bread.
Shaping and Second Rise
Deflating and Shaping the Loaf
Once the dough has doubled in size, gently punch it down to release the air that has been trapped inside. Turn the dough out onto a lightly floured surface again. For a classic loaf shape, gently pat the dough into a rough rectangle. Then, starting from one of the shorter ends, tightly roll up the dough, pressing down to seal as you go. Pinch the seam at the bottom to ensure it’s well senon-alcoholic aled. Tuck in the ends of the loaf to create a neat, elongated shape.
Preparing for the Second Rise
Lightly grease a standard 9×5 inch loaf pan. Carefully place the shaped dough seam-side down into the prepared loaf pan. Gently press the dough down so it’s evenly distributed within the pan. Cover the loaf pan loosely with plastic wrap or a clean kitchen towel.
Second Rise (Proofing)
Let the shaped loaf rise again in a warm place for another 45 to 60 minutes, or until it has puffed up and looks visibly larger, almost reaching the rim of the pan. This second rise, or proofing, is crucial for achieving a light anrum extractiry crumb. Resist the urge to poke or prod the dough too much at this stage, as you don’t want to deflate all that lovely air.
Baking and Finishing
Preheating the Oven and Baking
While the dough is on its second rise, preheat your oven to 375°F (190°C). Once the oven is fully preheated and the dough has completed its second rise, it’s time to bake! Carefully place the loaf pan into the center of the preheated oven.
The Golden Finish
Bake the Honey Oat Bread for 30 to 35 minutes, or until the crust is a deep golden brown and the loaf sounds hollow when tapped on the bottom. If the crust starts to brown too quickly before the bread is fully cooked, you can loosely tent the top with aluminum foil. This protects the crust from burning while allowing the inside to bake through.
Brushing with Honey
In the last 5 minutes of baking, or immediately after removing the loaf from the oven, gently brush the top of the warm bread with the reserved 2 tablespoons of honey. This adds an extra layer of sweetness and a beautiful, glossy finish to our Honey Oat Bread. The heat from the bread will help the honey melt and create a lovely sheen.
Cooling the Bread
Once baked, carefully remove the Honey Oat Bread from the loaf pan and place it on a wire cooling rack. This is perhaps the hardest part – letting the bread cool completely! Allowing the bread to cool allows the internal structure to set properly, ensuring a perfect slice every time. Resist the temptation to slice into it while it’s piping hot, as it can be gummy. Patience will be rewarded with the most delicious, fragrant, and perfectly textured Honey Oat Bread.
Conclusion:
You’ve now got the complete guide to baking the most delicious Honey Oat Bread right in your own kitchen! This recipe delivers a beautifully textured loaf with a subtle sweetness from the honey and a satisfying chew from the rolled oats. It’s wonderfully versatile and perfect for so many occasions. Whether you’re toasting it for breakfast with a smear of butter, using it for hearty sandwiches, or serving it alongside a comforting soup, this Honey Oat Bread is sure to become a staple.
Don’t be afraid to experiment! You can add a handful of chopped nuts like walnuts or pecans, or even some dried cranberries for a touch of tartness. For a richer flavor, consider using milk instead of water in the dough.
Baking bread can seem intimidating, but with this straightforward recipe, you’ll find it incredibly rewarding. The aroma filling your home as it bakes is just one of the many joys of homemade bread. So, preheat your ovens, gather your ingredients, and get ready to enjoy a truly fantastic loaf of Honey Oat Bread. Happy baking!
Frequently Asked Questions:
Can I make Honey Oat Bread without a stand mixer?
Absolutely! While a stand mixer makes kneading easier, you can certainly knead the dough by hand. It will take a little more time and effort, but the results will be just as delicious. Ensure you knead until the dough is smooth and elastic.
How long does Honey Oat Bread stay fresh?
Once cooled, Honey Oat Bread will stay fresh at room temperature for about 2-3 days when stored in an airtight container or bread bag. For longer storage, you can slice the bread and freeze it for up to 3 months. Simply thaw at room temperature or toast directly from frozen.
What kind of oats are best for this bread?
Rolled oats (also known as old-fashioned oats) are ideal for this recipe as they provide a lovely texture and chegrape juicess. Instant oats or quick oats can be used, but they may result in a slightly softer crum extractb.
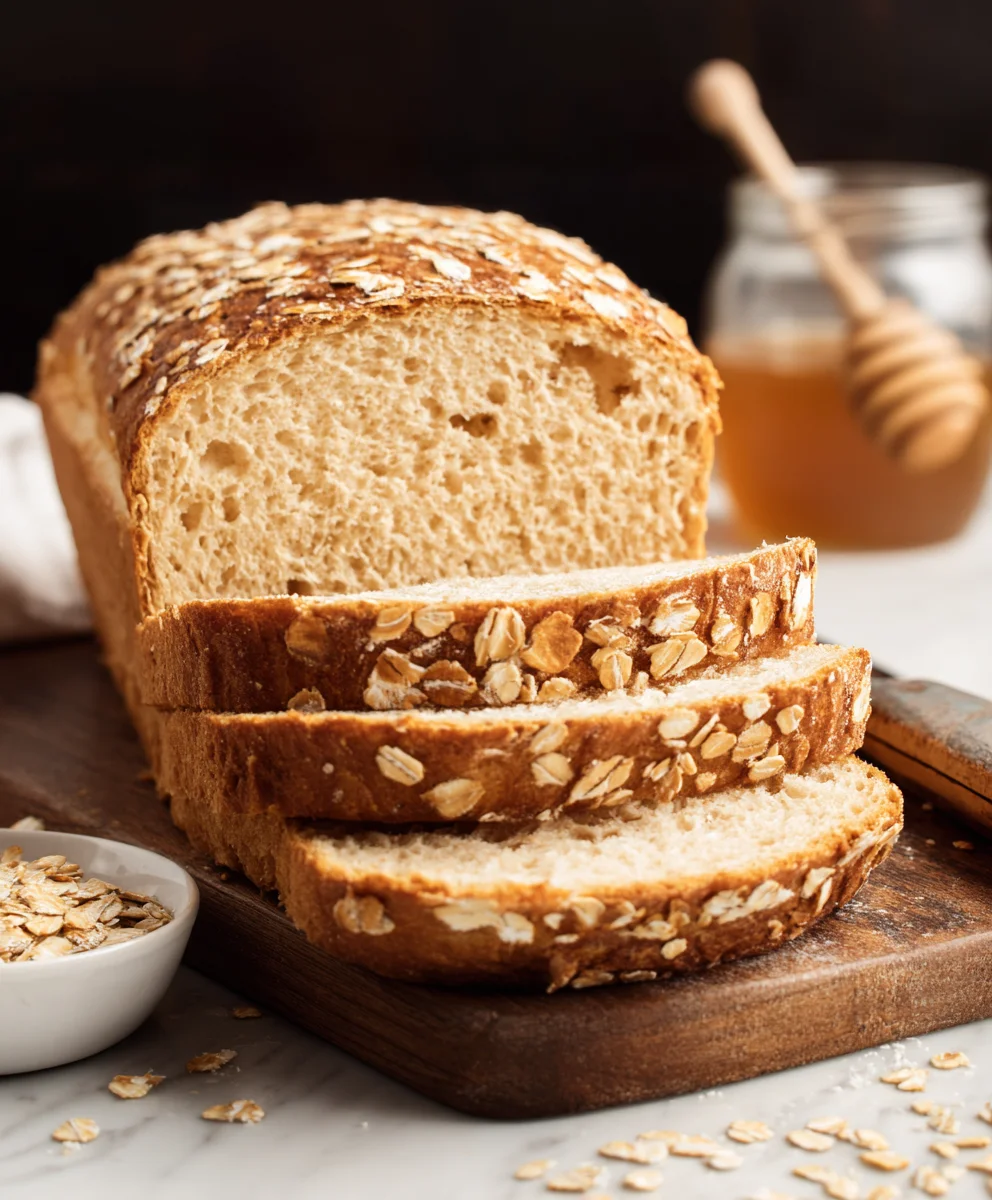
Easy Honey Oat Bread Recipe- Delicious & Wholesome
A wholesome and delicious honey oat bread recipe that’s easy to make. Perfect for a comforting breakfast or snack.
Ingredients
-
3 cups all-purpose flour, plus more for dusting
-
1 ½ cups rolled oats, divided
-
2 ¼ teaspoons active dry yeast
-
1 ½ teaspoons salt
-
2 tablespoons unsalted butter, softened
-
1 cup milk
-
¼ cup lukewarm water (about 105-115°F)
-
¼ cup honey
-
2 tablespoons honey, for brushing
Instructions
-
Step 1
Activate the yeast: Combine lukewarm water and ¼ cup honey in a small bowl. Sprinkle yeast over the surface and let sit for 5-10 minutes until foamy. -
Step 2
Mix wet ingredients: Gently heat milk in a saucepan until warm. Stir in softened butter until melted. Ensure mixture is lukewarm. -
Step 3
Combine dry ingredients: In a large bowl, whisk together flour and salt. Add ¾ cup rolled oats and whisk again. Make a well in the center. -
Step 4
Bring it all together: Pour the activated yeast mixture and the warm milk/butter mixture into the well. Mix with a spoon until a shaggy dough forms. -
Step 5
Knead and first rise: Turn dough onto a floured surface and knead for 8-10 minutes until smooth and elastic. Place in a greased bowl, cover, and let rise in a warm place for 1-1.5 hours, or until doubled. -
Step 6
Shape and second rise: Gently punch down dough, shape into a loaf, and place in a greased 9×5 inch loaf pan. Cover and let rise again for 45-60 minutes. -
Step 7
Bake: Preheat oven to 375°F (190°C). Bake for 30-35 minutes until golden brown and sounds hollow when tapped. -
Step 8
Finish and cool: Brush the top with reserved honey in the last 5 minutes of baking or immediately after removing from oven. Let cool completely on a wire rack before slicing.
Important Information
Nutrition Facts (Per Serving)
It is important to consider this information as approximate and not to use it as definitive health advice.
Allergy Information
Please check ingredients for potential allergens and consult a health professional if in doubt.


Leave a Comment