

Easy Egg Fried Rice is a weeknight warrior, a go-to comfort food, and a culinary cbeef hameleon all rolled into one delicious package. Ever stare into your fridge after a long day and wonder what to make that’s quick, satisfying, and uses up those bits and bobs? That’s where this humble yet magnificent dish shines. We all love egg fried rice for its incredible versatility – it’s a blank canvas for whatever vegetables you have on hand, and the simple yet perfect harmony of fluffy rice, scrambled egg, and savory seasonings is undeniably addictive. What makes this particular recipe truly special is its absolute simplicity. Forget complicated steps or obscure ingredients; this is the ultimate accessible guide to mastering your own easy egg fried rice, turning everyday staples into a restaurant-worthy meal in under 30 minutes. Get ready to discover your new favorite weeknight staple!

Easy Egg Fried Rice
Welcome to your new go-to recipe for a quick, delicious, and incredibly satisfying Egg Fried Rice! This is the kind of meal that can rescue a busy weeknight, impress a casual guest, or simply be a comforting indulgence. The beauty of fried rice lies in its versatility and its ability to transform humble leftovers into something truly special. We’re going to keep this one super simple, focusing on core flavors and easy techniques so that anyone can master it. Forget takeout menus; with a few simple ingredients and a little bit of stirring, you’ll be whipping up restaurant-quality fried rice in no time. The key is using day-old rice, which is drier and less likely to clump, ensuring every grain is perfectly coated in flavor.
Ingredients:
Cooking Instructions:
Preparation is Key
Before we even think about turning on the stove, let’s get our ingredients prepped and ready. This is crucial for a smooth cooking process, especially with stir-frying, where things move quickly. Make sure your day-old rice is broken up and not clumped together. If it’s very firm, you can gently break it apart with your hands or a fork. Dice your small yellow onion into small, uniform pieces. If you’re using frozen peas and carrots, make sure they are fully thawed and any excess water is dabbed away with a paper towel. In a small bowl, whisk your two large eggs until they are well combined and slightly frothy. If you’re opting for the Shaoxing rice vinegar, soy sauce, and oyster sauce, have them measured out and ready to go. This “mise en place” – everything in its place – will make the cooking process a breeze.
Scrambling the Eggs
Let’s start by cooking the eggs. Heat about a tablespoon of cooking oil (a neutral oil like vegetable or canola works great) in a wok or a large non-stick skillet over medium-high heat. Once the oil is shimmering, pour in your beaten eggs. Let them cook undisturbed for about 30 seconds until the edges start to set. Then, using a spatula, gently push the cooked egg from the edges towards the center, allowing the uncooked egg to flow underneath. Continue this process until the eggs are mostly cooked but still slightly moist. Don’t overcook them; we want them tender and fluffy. Once cooked, remove the scrambled eggs from the pan and set them aside on a plate. You can break them into smaller pieces if you prefer.
Sautéing the Aromatics and Vegetables
Now, we’ll build our flavor base. Add another tablespoon of oil to the same pan over medium-high heat. Once the oil is hot, add your finely diced yellow onion. Stir-fry the onion for about 2-3 minutes until it becomes translucent and slightly softened. If you’re using the optional peas and carrots, add them to the pan now and stir-fry for another minute, just to warm them through. We don’t want them to get mushy. The goal here is to release the natural sweetness of the onions and slightly cook the vegetables.
Introducing the Rice and Sauces
This is where the magic really happens! Add your day-old rice to the pan. Using your spatula, break up any remaining clumps and stir-fry the rice for about 2-3 minutes, ensuring it gets heated through and starts to lightly toast. Now it’s time for the flavor boosters. Pour in the soy sauce and oyster sauce evenly over the rice. If you’re using the Shaoxing rice vinegar, add that as well. Stir everything together vigorously, making sure every grain of rice is coated in the delicious sauce. Continue to stir-fry for another 3-5 minutes, allowing the flavors to meld and the rice to develop a slightly crisp texture.
Finishing Touches and Serving
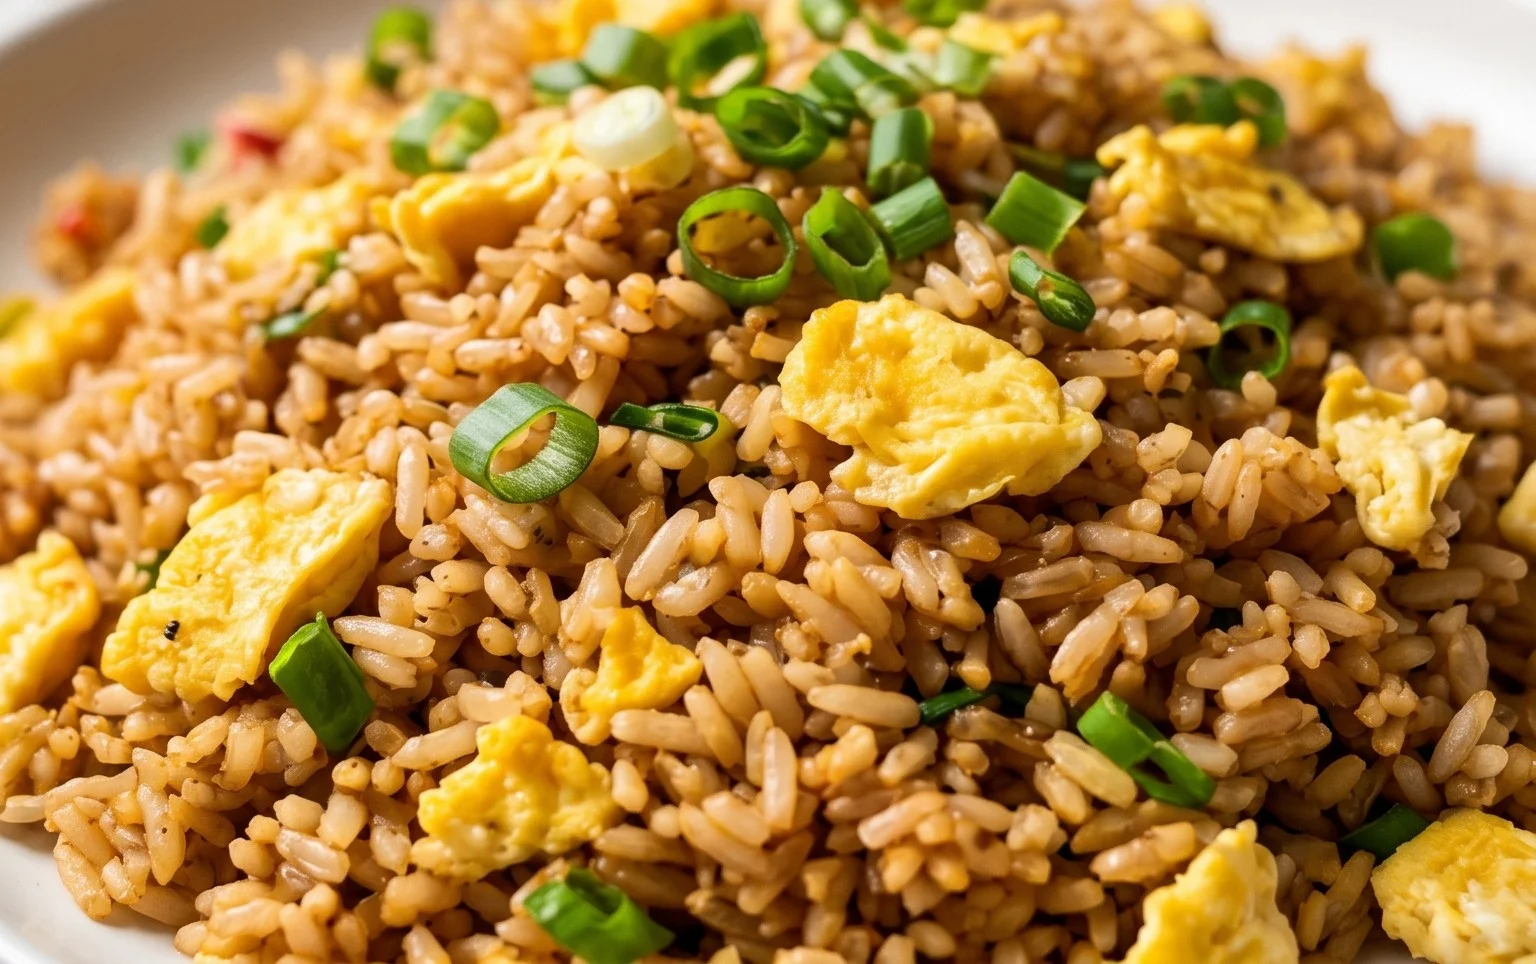
Once the rice is well-coated and heated through, gently fold in your cooked scrambled eggs. If you’re using the optional toasted sesame oil, drizzle it over the rice now and give it a final toss. This adds a wonderful nutty aroma and flavor. Taste your fried rice and adjust seasonings if needed – a little more soy sauce for saltiness, or a touch more oyster sauce for richness. To serve, spoon your delicious Egg Fried Rice into bowls. For an extra pop of freshness and color, sprinkle with the sliced green onion tops (if using) and a scattering of toasted sesame seeds (also optional). Enjoy your homemade, easy, and incredibly satisfying Egg Fried Rice! This recipe is so forgiving, feel free to experiment with other leftover vegetables or even add some cooked protein like chicken or shrimp for a heartier meal.
Conclusion:
There you have it – the ultimate guide to whipping up some incredibly simple yet satisfying Easy Egg Fried Rice! This recipe is a true winner because it’s fast, uses pantry staples, and is endlessly adaptable. Whether you’re a seasoned cook or just starting out in the kitchen, this dish is your perfect weeknight meal solution. It’s wonderfully comforting and delivers that authentic takeout flavor right in your own home.
Feel free to serve this versatile fried rice as a standalone meal or as a fantastic side dish. It pairs beautifully with grilled chicken, stir-fried vegetables, or even a perfectly seared piece of fish. Don’t be afraid to get creative with your additions! Try adding in some leftover roasted vegetables, a sprinkle of toasted sesame seeds for extra crunch, or even a dash of chili flakes for a bit of heat. The possibilities are truly endless, making this recipe a go-to for busy evenings and delicious dining. I really encourage you to give this Easy Egg Fried Rice a try – you won’t be disappointed!
Frequently Asked Questions:
Why is my fried rice mushy?
Mushy fried rice often happens when you use freshly cooked rice. For the best texture, always use cold, leftover rice that has been refrigerated for at least a few hours or overnight. The grains will be drier and firmer, preventing them from clumping together.
Can I make this vegan?
Absolutely! To make this recipe vegan, simply omit the eggs. You can boost the flavor and texture with extra vegetables like peas, carrots, corn, or even some cubed tofu. Ensure your soy sauce or tamari is also vegan.
What other vegetables can I add?
Almost any vegetable works well! Consider adding chopped bell peppers, broccoli florets, chopped green beans, mushrooms, or even some finely diced onion. Just make sure to chop them into bite-sized pieces so they cook through quickly.
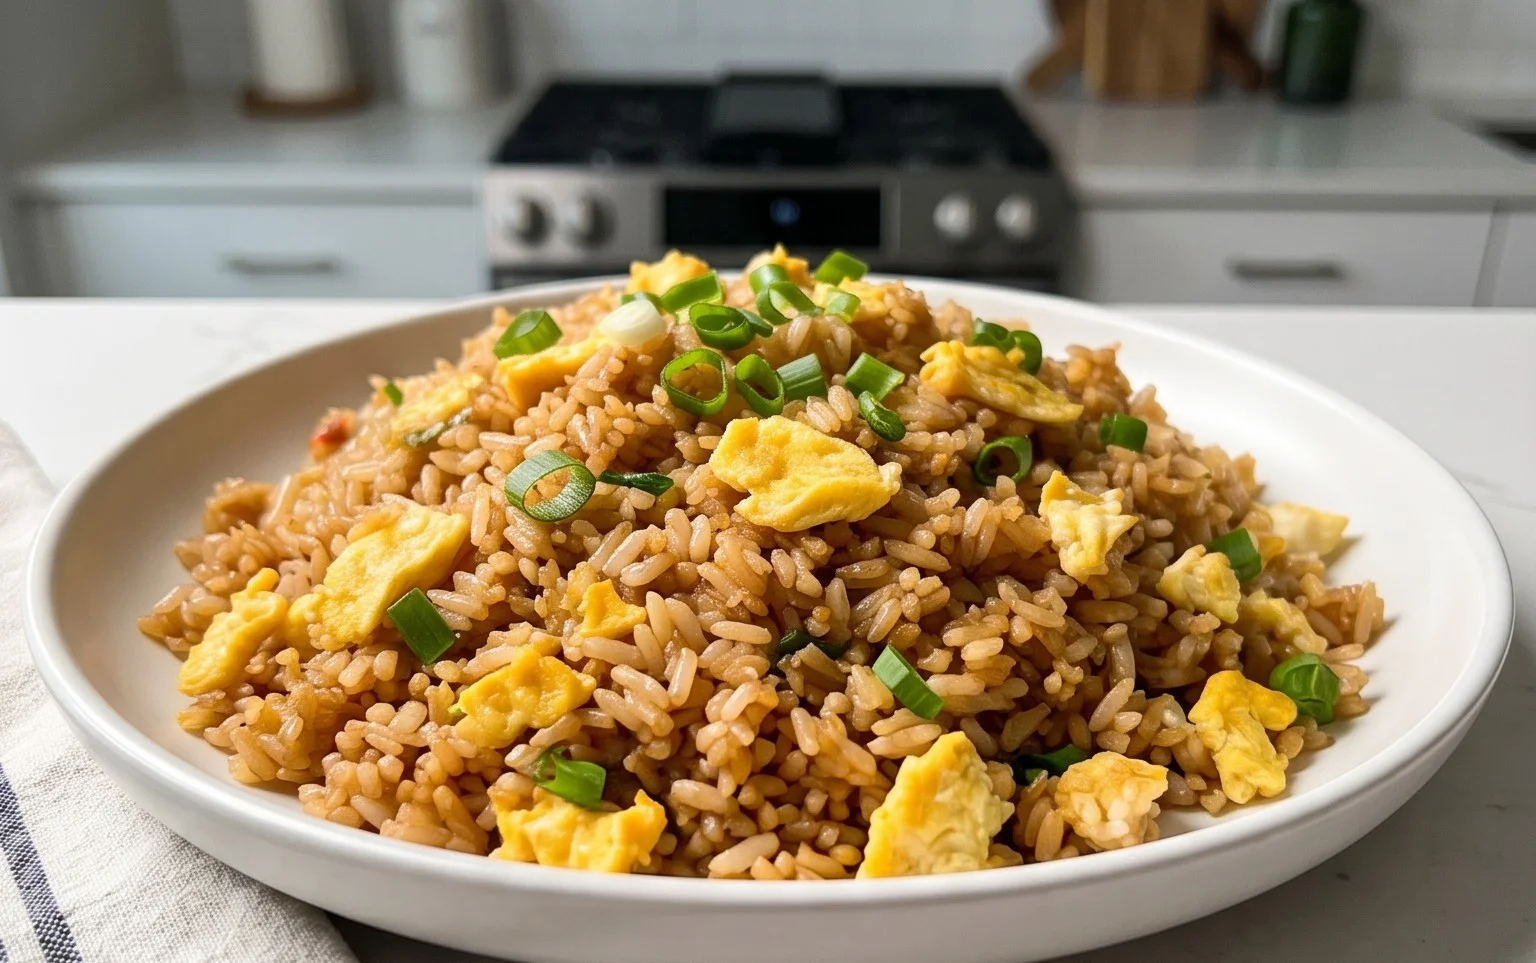
Easy Egg Fried Rice
A simple and delicious egg fried rice recipe perfect for using up leftover rice.
Ingredients
-
2 cups day old white rice (preferably long grain)
-
2 large eggs (beaten)
-
½ small yellow onion (small dice)
-
2 tablespoons frozen peas and carrots (thawed)
-
2 tablespoons soy sauce (light sodium)
-
1 tablespoon oyster sauce
-
1 teaspoon toasted sesame oil
-
1 stalk green onion (just the green part sliced for garnish)
-
Toasted sesame seed (for garnish)
Instructions
-
Step 1
Heat 1-2 tablespoons of oil in a wok or large skillet over medium-high heat. Add the diced onion and stir-fry until softened, about 2-3 minutes. -
Step 2
Push the onions to one side of the wok. Pour the beaten eggs into the empty side and scramble them until just cooked. Break the scrambled eggs into small pieces. -
Step 3
Add the day-old rice to the wok and break up any clumps with your spatula. Stir-fry for 2-3 minutes until the rice is heated through. -
Step 4
Add the thawed peas and carrots, soy sauce, and oyster sauce to the wok. Stir well to combine and coat the rice evenly. -
Step 5
Stir in the toasted sesame oil. Cook for another 1-2 minutes, stirring constantly. -
Step 6
Garnish with sliced green onion and toasted sesame seeds before serving.
Important Information
Nutrition Facts (Per Serving)
It is important to consider this information as approximate and not to use it as definitive health advice.
Allergy Information
Please check ingredients for potential allergens and consult a health professional if in doubt.
Leave a Comment