

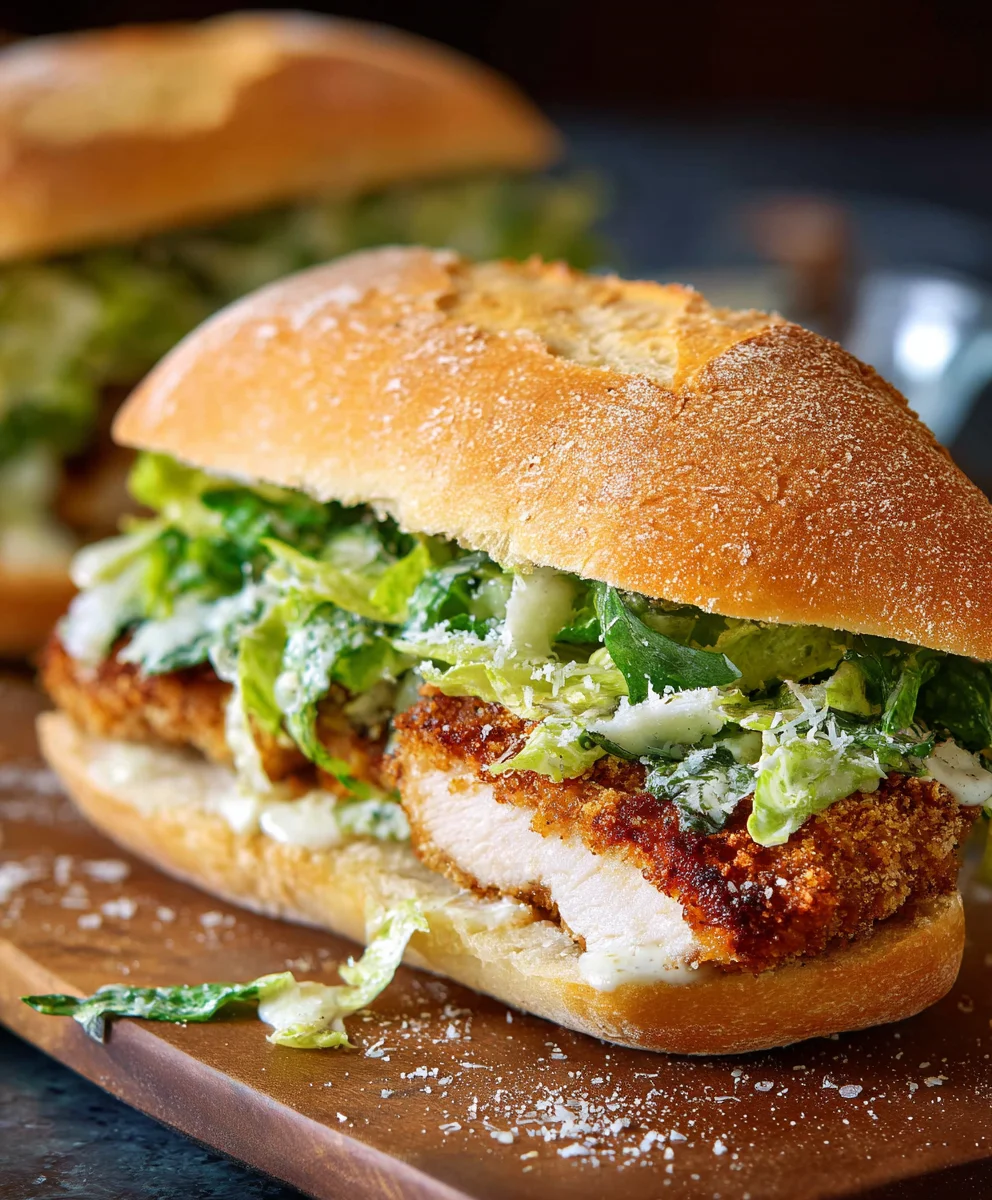
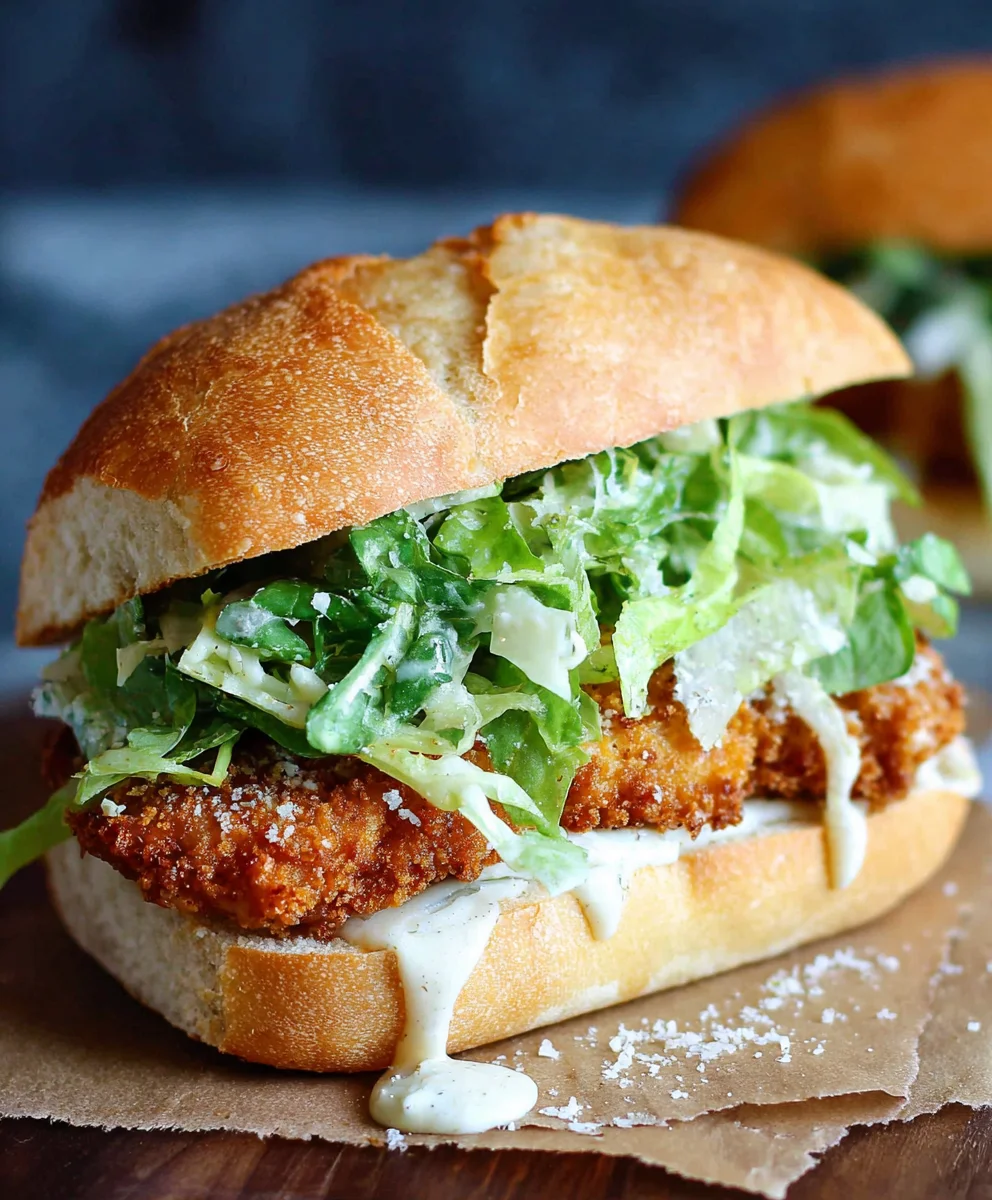
Crispy Chicken Caesar Sandwich. Oh, what a dream! There are few things more universally loved than the satisfying crunch of perfectly fried chicken paired with the zesty, creamy perfection of a Caesar salad. And when you meld those two beloved elements into one glorious handheld masterpiece, you get the ultimate comfort food: the Crispy Chicken Caesar Sandwich. This isn’t just any sandwich; it’s an experience. It’s the kind of meal that makes you pause, savor, and maybe even let out a contented sigh with every bite. People adore this dish because it delivers on all fronts – texture, flavor, and that undeniable sense of pure deliciousness. The secret to its specialness lies in the interplay of textures: the shatteringly crisp coating on the chicken, the tender, juicy meat within, and the soft embrace of the bun, all brought together by the signature tang of Caesar dressing and a hint of fresh Parmesan. It’s a symphony for your taste buds, and we’re about to show you how to conduct it right in your own kitchen.

Ingredients:
- ½ cup full-fat mayonnaise
- 3 tbsp Greek yogurt
- 1 tsp Dijon mustard
- 1 tsp Worcestershire sauce
- 2 tbsp fresh lemon juice
- ¼ cup freshly grated Parmesan cheese
- 1-2 garlic cloves, minced
- ¼ tsp black pepper
- Pinch of sea salt
- 5 boneless, skinless chicken cutlets (about 4-6 oz each)
- Sea salt, to taste
- Ground black pepper, to taste
- Oil for frying (such as vegetable, canola, or peanut oil)
- ⅓ cup all-purpose flour
- ½ tsp salt (for the flour mixture)
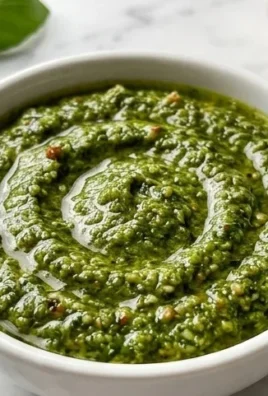
Preparing the Caesar Dressing
Step 1: Whisk the Base Ingredients
Let’s get started by creating our incredibly flavorful Caesar dressing. In a medium-sized bowl, combine the full-fat mayonnaise and Greek yogurt. The mayonnaise provides that classic creamy richness, while the Greek yogurt adds a delightful tang and a lighter consistency, making it a perfect pairing. Whisk these two together until they are completely smooth and well incorporated. This forms the creamy foundation for our dressing.
Step 2: Infuse with Flavor
Next, we’ll add the punchy elements that define a true Caesar dressing. Add the Dijon mustard, which brings a subtle sharpness and emulsifying properties. Then, incorporate the Worcestershire sauce for that umami depth and a hint of savory complexity. Squeeze in the fresh lemon juice – this is crucial for brightness and to cut through the richness of the mayonnaise. Finally, stir in the freshly grated Parmesan cheese. Using freshly grated Parmesan is key here; it melts beautifully into the dressing and provides an authentic cheesy flavor that pre-shredded varieties often lack. Don’t forget to add the minced garlic cloves. The amount of garlic is a personal preference, so adjust to your liking. A pinch of sea salt and ¼ tsp of black pepper will season the dressing perfectly. Whisk everything together vigorously until all the ingredients are thoroughly combined and the dressing is smooth and homogenous. Taste it and adjust seasoning if needed – maybe a touch more lemon juice or a whisper more salt. Once ready, cover the bowl and refrigerate the dressing while we prepare the chicken. Chilling allows the flavors to meld and deepen.
Crisping the Chicken
Step 3: Season and Dredge the Chicken Cutlets
Now, let’s focus on getting that wonderfully crispy chicken. Take your chicken cutlets and pat them thoroughly dry with paper towels. This step is surprisingly important for achieving a good crisp, as excess moisture can steam the chicken instead of frying it. Season both sides generously with sea salt and ground black pepper to taste. In a shallow dish or a large plate, combine the all-purpose flour with the ½ tsp of salt. This seasoned flour will create the crispy coating for our chicken. Working with one cutlet at a time, place it into the seasoned flour and coat it completely on all sides. Gently shake off any excess flour. You want a thin, even layer, not a thick clumpy one. This flour coating is what helps the chicken achieve its golden-brown crispiness when fried. Ensure each cutlet is well-coated before moving to the next.
Step 4: Fry the Chicken to Golden Perfection
Heat about 1 to 2 inches of oil in a large, heavy-bottomed skillet over medium-high heat. You’ll know the oil is ready when a tiny piece of flour dropped into it sizzles immediately. Carefully place the floured chicken cutlets into the hot oil, being careful not to overcrowd the pan. You may need to cook them in batches. Fry the chicken for about 3-5 minutes per side, or until it’s golden brown and cooked through. The exact cooking time will depend on the thickness of your cutlets. Use a meat thermometer to ensure the internal temperature reaches 165°F (74°C) for food safety. Once cooked, remove the chicken from the skillet using tongs and place it on a wire rack set over a baking sheet to drain any excess oil. This wire rack method is superior to paper towels as it allows air to circulate, keeping the bottom of the chicken crispy.
Assembling the Crispy Chicken Caesar Sandwich
Step 5: Building the Ultimate Sandwich
We’re almost there! Take your favorite sandwich rolls or sturdy bread slices and lightly toast them, if desired. This adds a nice textural contrast and prevents the bread from becoming soggy. Spread a generous amount of the chilled Caesar dressing onto the bottom half of each roll or slice of bread. Don’t be shy with the dressing! Place one perfectly crispy chicken cutlet on top of the dressing. You can serve the cutlet whole, or if it’s particularly large, you might consider slicing it in half. Add a few crisp romaine lettuce leaves (not listed in the provided ingredients but essential for a true Caesar sandwich) over the chicken. Drizzle a little more of that delicious Caesar dressing over the lettuce. Finally, place the top half of your roll or bread over the creation. Press down gently. You now have a magnificent Crispy Chicken Caesar Sandwich ready to be devoured. Enjoy every crispy, creamy, tangy bite!
Conclusion:
And there you have it – the ultimate guide to crafting the perfect Crispy Chicken Caesar Sandwich! We’ve walked through each step, from preparing the juicy chicken to assembling that iconic Caesar dressing and ensuring a satisfying crunch with every bite. This sandwich is more than just a meal; it’s an experience, a delightful fusion of classic flavors with a modern, handheld twist. I truly hope you’ll give this recipe a try and discover just how incredible a homemade Crispy Chicken Caesar Sandwich can be.
For serving suggestions, consider pairing your masterpiece with a side of sweet potato fries, a crisp garden salad, or even some seasoned potato wedges. The possibilities are endless! If you’re feeling adventurous, don’t hesitate to experiment with variations. Try adding a sprinkle of beef bacon bits for extra smoky flavor, a layer of avocado for creaminess, or even a touch of sriracha to the dressing for a hint of heat. Whatever you choose, remember to have fun in the kitchen. The most delicious food is made with love and a dash of creativity!
Frequently Asked Questions:
What is the best type of bread for a Crispy Chicken Caesar Sandwich?
A sturdy brioche bun or a crusty ciabatta roll works wonderfully. The key is a bread that can hold up to the fillings without getting soggy. Toasted to perfection, it adds another layer of texture and flavor.
Can I make the Caesar dressing ahead of time for the Crispy Chicken Caesar Sandwich?
Absolutely! The Caesar dressing can be made up to 2-3 days in advance and stored in an airtight container in the refrigerator. This makes assembling your Crispy Chicken Caesar Sandwich even quicker on a busy day.
How can I make the chicken extra crispy for my Crispy Chicken Caesar Sandwich?
Ensure your oil is at the correct temperature (around 350°F or 175°C) for frying. Don’t overcrowd the pan, as this will lower the oil temperature and result in less crispy chicken. Draining the chicken on a wire rack after frying will also help maintain its crispiness.
Crispy Chicken Caesar Sandwich-Easy & Delicious Recipe
An easy and delicious recipe for a crispy chicken Caesar sandwich featuring homemade Caesar dressing and perfectly fried chicken cutlets.
Ingredients
-
½ cup full-fat mayonnaise
-
3 tbsp Greek yogurt
-
1 tsp Dijon mustard
-
1 tsp Worcestershire sauce
-
2 tbsp fresh lemon juice
-
¼ cup freshly grated Parmesan cheese
-
1-2 garlic cloves, minced
-
¼ tsp black pepper
-
Pinch of sea salt
-
5 boneless, skinless chicken cutlets
-
Sea salt, to taste
-
Ground black pepper, to taste
-
Oil for frying (such as vegetable, canola, or peanut oil)
-
⅓ cup all-purpose flour
-
½ tsp salt
Instructions
-
Step 1
In a medium-sized bowl, combine the full-fat mayonnaise and Greek yogurt. Whisk until smooth and well incorporated. -
Step 2
Add Dijon mustard, Worcestershire sauce, fresh lemon juice, freshly grated Parmesan cheese, minced garlic cloves, sea salt, and black pepper. Whisk vigorously until smooth and homogenous. Cover and refrigerate. -
Step 3
Pat chicken cutlets dry with paper towels. Season both sides generously with sea salt and ground black pepper. In a shallow dish, combine all-purpose flour with ½ tsp salt. Coat each chicken cutlet in the seasoned flour, shaking off excess. -
Step 4
Heat 1-2 inches of oil in a large skillet over medium-high heat until sizzling. Carefully place floured chicken cutlets into the hot oil in batches, ensuring not to overcrowd. Fry for 3-5 minutes per side, until golden brown and cooked through (internal temperature 165°F/74°C). Remove chicken and drain on a wire rack. -
Step 5
Lightly toast sandwich rolls or bread slices. Spread a generous amount of chilled Caesar dressing onto the bottom half of each roll. Place a crispy chicken cutlet on top of the dressing. Add romaine lettuce (optional, if not listed as an ingredient) and drizzle with more Caesar dressing. Place the top half of the roll on top and press gently.
Important Information
Nutrition Facts (Per Serving)
It is important to consider this information as approximate and not to use it as definitive health advice.
Allergy Information
Please check ingredients for potential allergens and consult a health professional if in doubt.


Leave a Comment