

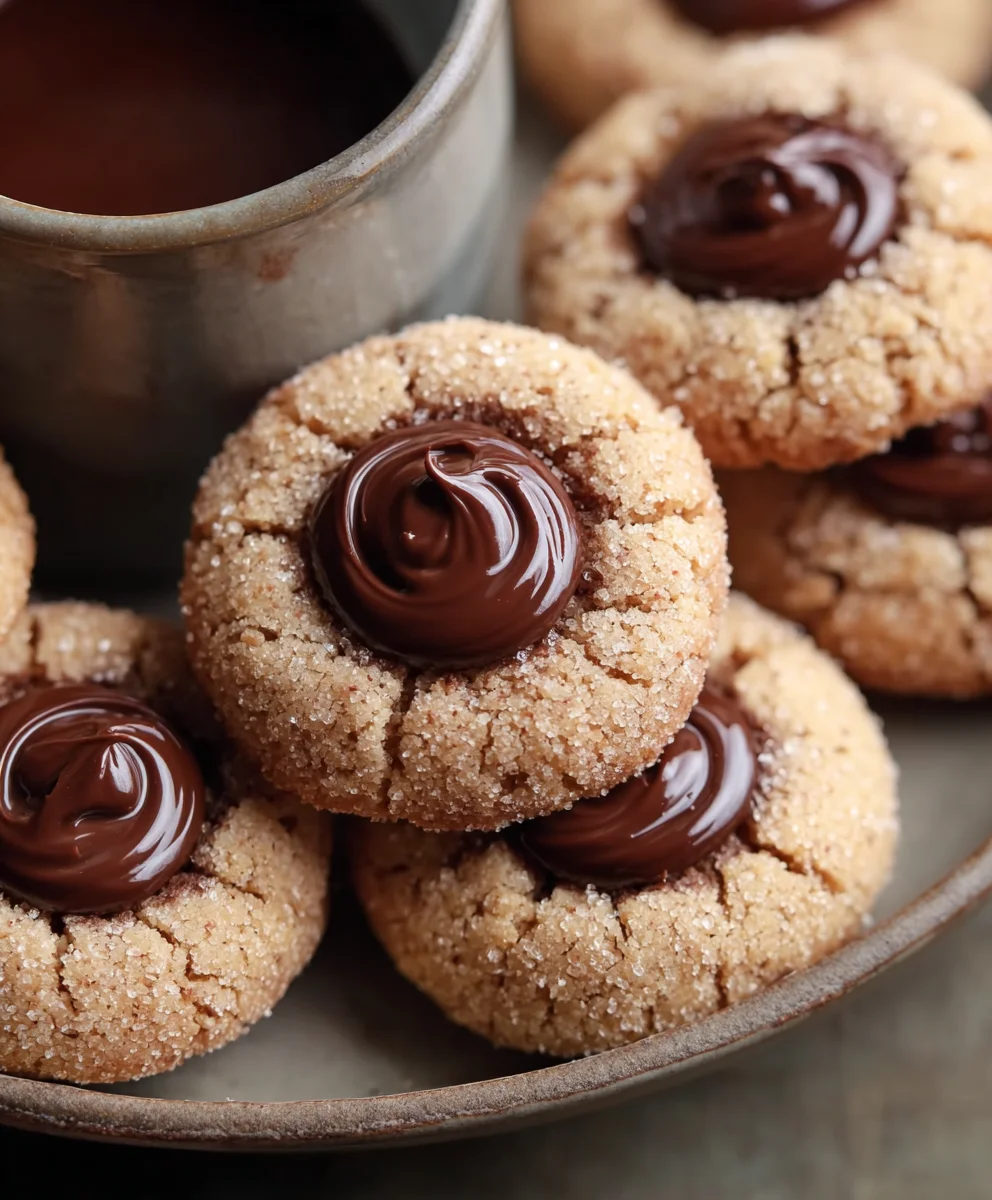
Nutella Thumbprint Cookies are more than just a delightful treat; they are a warm hug in cookie form, a nostalgic whisper of childhood, and a surefire way to bring smiles to any gathering. Why do we adore these little pockets of joy so much? It’s the perfect marriage of textures and flavors: a buttery, melt-in-your-mouth shortbread cookie cradling a molten core of rich, decadent Nutella. The simple elegance of their creation belies the explosion of taste that awaits with every bite. What truly sets these Nutella Thumbprint Cookies apart is that irresistible contrast – the slightly crisp edges giving way to the soft, yielding center, all amplified by that unmistakable hazelnut-chocolate symphony. They are incredibly easy to make, making them an ideal project for bakers of all levels, from seasoned pros to curious begin extractners. Get ready to experience pure cookie bliss with this foolproof recipe for Nutella Thumbprint Cookies that will become a cherished favorite in your baking repertoire.

Ingredients:
- 2¼ cups all-purpose flour
- 1 tablespoon cornstarch
- 2 teaspoons baking powder
- ½ teaspoon baking soda
- ½ teaspoon fine sea salt
- ⅓ cup hazelnuts, finely chopped (for the dough)
- ½ cup unsalted butter, softened to room temperature
- 8 oz cream cheese, softened to room temperature
- 1½ cups granulated sugar (for the dough)
- 1 whole egg, at room temperature
- 1 egg yolk, at room temperature
- 2 teaspoons vanilla bean paste or pure vanilla extract
- ⅓ cup hazelnuts, finely chopped (for rolling)
- 1 tablespoon granulated sugar (for rolling)
- Nutella, for filling the cookie centers
Preparing the Cookie Dough
Step 1: Combine Dry Ingredients
Begin extract by whisking together your dry ingredients in a medium bowl. This ensures everything is evenly distributed, which is crucial for consistent texture and leavening. You’ll need the 2¼ cups of all-purpose flour, 1 tablespoon of cornstarch, 2 teaspoons of baking powder, ½ teaspoon of baking soda, and ½ teaspoon of fine sea salt. The cornstarch helps to create a tender crum extractb, while the baking powder and soda provide the lift needed for light and airy cookies. Thoroughly mix these until there are no visible streaks of any single ingredient. Once combined, set this bowl aside.
Step 2: Cream Butter and Cream Cheese with Sugar
In a large mixing bowl, it’s time to get things creamy. Start by creaming together the ½ cup of softened unsalted butter and the 8 oz of softened cream cheese. Cream cheese adds a wonderful tang and contributes to a chewier texture in these Nutella Thumbprint Cookies. Beat these together until they are light and fluffy, which usually takes about 2-3 minutes with an electric mixer on medium speed. Gradually add the 1½ cups of granulated sugar to this mixture while continuing to beat. Continue creaming until the mixture is pnon-alcoholic ale yellow and well combined, scraping down the sides of the bowl as needed to ensure no pockets of butter or cream cheese remain unincorporated. This step is vital for incorporating air, which contributes to the overall texture of the finished cookie.
Step 3: Incorporate Wet Ingredients and Hazelnuts
Now, let’s add the eggs and vanilla. Add the whole egg and the egg yolk, one at a time, beating well after each addition until fully incorporated. Don’t rush this process; fully emulsifying the eggs helps to create a stable cookie structure. Next, add the 2 teaspoons of vanilla bean paste or extract. Vanilla bean paste will give you visible specks of vanilla bean for a more artisanal look and robust flavor, but extract works beautifully as well. Finally, fold in the ⅓ cup of finely chopped hazelnuts that are meant for the dough. These will add a lovely nutty crunch within the cookie itself. Gently mix until just combined.
Step 4: Combine Wet and Dry Mixtures
It’s time to bring our dry and wet ingredients together. Gradually add the dry ingredient mixture from Step 1 to the wet ingredient mixture from Step 3, mixing on low speed until just combined. Be careful not to overmix at this stage. Overmixing can develop the gluten in the flour too much, resulting in tough cookies. Stop mixing as soon as you no longer see streaks of flour. The dough will be soft and slightly sticky, which is perfectly normal for this type of cookie.
Forming and Baking the Cookies
Step 5: Chill the Dough and Prepare for Rolling
For the best results and easier handling, it’s essential to chill the dough. Cover the bowl with plastic wrap and refrigerate for at least 1 hour, or until firm enough to handle. This chilling period allows the fats to solidify, making the dough less sticky and easier to shape. While the dough is chilling, prepare your hazelnut and sugar coating. In a shallow bowl, combine the remaining ⅓ cup of finely chopped hazelnuts with the 1 tablespoon of granulated sugar. Stir these together well. This coating will add an extra layer of texture and flavor to the outside of your Nutella Thumbprint Cookies.
Step 6: Shape and Create the Thumbprint Wells
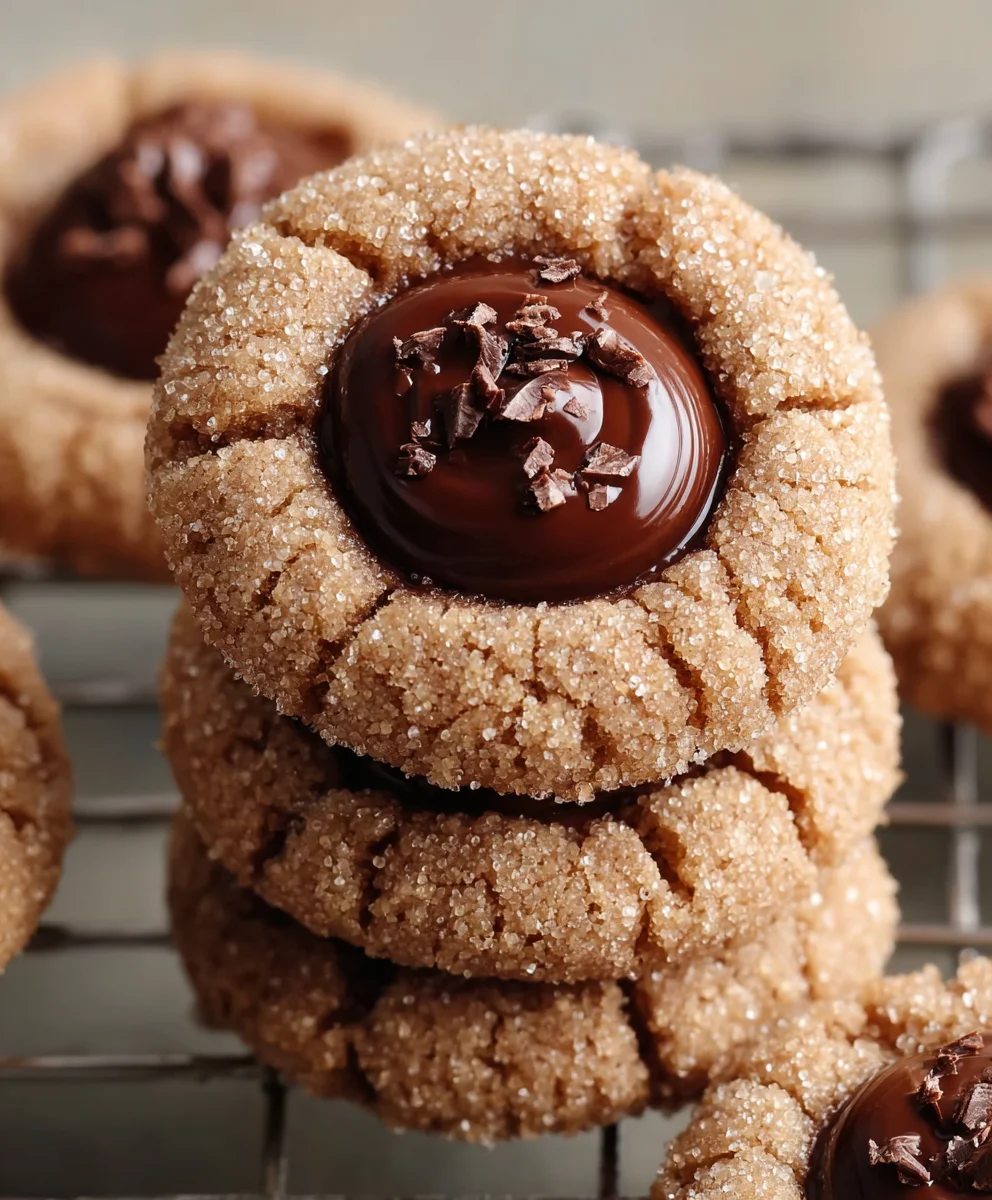
Once the dough is chilled and firm, you’re ready to shape the cookies. Line baking sheets with parchment paper to prevent sticking. Scoop about 1.5 to 2 tablespoon-sized portions of dough. Roll each portion into a ball, then gently roll the ball in the hazelnut and sugar mixture, ensuring it’s evenly coated. Place the coated balls about 2 inches apart on the prepared baking sheets. Now, for the thumbprint: use your thumb or the back of a small spoon to create an indentation in the center of each cookie ball. Aim for a deep enough well to hold a generous amount of Nutella, but be careful not to press all the way through the dough. If the dough cracks slightly around the edges of the indent, gently press it back together.
Step 7: Fill with Nutella and Bake
Spoon about 1 to 1.5 teaspoons of Nutella into each thumbprint well. You can adjust the amount based on your preference for Nutella intensity. Ensure the Nutella fills the well but doesn’t overflow. Preheat your oven to 350°F (175°C) and bake the cookies for 12-15 minutes, or until the edges are lightly golden brown and the centers are set. The Nutella will appear slightly melted and gooey, which is exactly what you want.
Step 8: Cool and Enjoy Your Nutella Thumbprint Cookies
Remove the baking sheets from the oven and let the cookies cool on the sheets for about 5-10 minutes. This allows them to firm up before you attempt to move them. Once they’ve cooled slightly on the baking sheet, carefully transfer them to a wire rack to cool completely. As they cool, the Nutella will set slightly, making them easier to handle. Once fully cooled, your delicious Nutella Thumbprint Cookies are ready to be enjoyed! They are perfect with a glass of milk or a cup of coffee.
Conclusion:
There you have it! Crafting delicious Nutella Thumbprint Cookies is a rewarding experience that’s surprisingly straightforward. We hope this recipe has inspired you to get into the kitchen and create these delightful treats. The rich hazelnut-chocolate flavor of the Nutella, perfectly complemented by the buttery cookie base, makes these a guaranteed crowd-pleaser for any occasion. Whether you’re baking for a holiday gathering, a special celebration, or just a cozy afternoon treat, these Nutella Thumbprint Cookies are sure to impress.
For serving, these cookies are wonderful on their own with a glass of cold milk, or even better, alongside a hot cup of coffee or tea. They also make a fantastic addition to any cookie platter. Feel free to get creative with variations! You could sprinkle them with a touch of sea salt before baking for a sweet and salty contrast, or dip half of the cooled cookie in melted dark chocolate for an extra decadent touch. Don’t be afraid to experiment!
We encourage you to try this recipe and share your creations. The joy of baking is in the sharing, and these Nutella Thumbprint Cookies are perfect for that. Enjoy every bite!
Frequently Asked Questions:
Why did my thumbprints crack when baking?
Cracking can sometimes happen if the dough is overmixed, or if the cookies are baked at too high a temperature for too long. Ensure your dough is well-chilled before shaping and pressing the thumbprints. You can also try slightly reducing the baking time.
Can I make these cookies ahead of time?
Yes, absolutely! Nutella Thumbprint Cookies can be made a day or two in advance and stored in an airtight container at room temperature. They often taste even better the next day as the flavors meld together.
What can I use if I don’t have Nutella?
While Nutella is what makes these unique, you can experiment with other chocolate-hazelnut spreads. Alternatively, you could use a good quality chocolate ganache or a thick caramel sauce as a filling for a different, but still delicious, thumbprint cookie.
Nutella Thumbprint Cookies
Decadent and easy Nutella Thumbprint Cookies with a nutty crunch.
Ingredients
-
2¼ cups all-purpose flour (282g)
-
1 tablespoon cornstarch (8g)
-
2 teaspoons baking powder
-
½ teaspoon baking soda
-
½ teaspoon fine sea salt
-
⅓ cup hazelnuts, finely chopped (50g) (for the dough)
-
½ cup unsalted butter, softened to room temperature (113g)
-
8 oz cream cheese, softened to room temperature (226g)
-
1½ cups granulated sugar (300g)
-
1 whole egg, at room temperature
-
1 egg yolk, at room temperature
-
2 teaspoons vanilla bean paste or pure vanilla extract
-
⅓ cup hazelnuts, finely chopped (50g) (for rolling)
-
1 tablespoon granulated sugar (for rolling)
-
Nutella, for filling the cookie centers
Instructions
-
Step 1
Combine dry ingredients: In a medium bowl, whisk together 2¼ cups all-purpose flour, 1 tablespoon cornstarch, 2 teaspoons baking powder, ½ teaspoon baking soda, and ½ teaspoon fine sea salt. Set aside. -
Step 2
Cream butter, cream cheese, and sugar: In a large mixing bowl, beat together ½ cup softened unsalted butter and 8 oz softened cream cheese until light and fluffy. Gradually add 1½ cups granulated sugar and continue creaming until pale yellow and well combined. -
Step 3
Incorporate wet ingredients and hazelnuts: Beat in 1 whole egg and 1 egg yolk, one at a time, until fully incorporated. Stir in 2 teaspoons vanilla bean paste or extract. Fold in ⅓ cup finely chopped hazelnuts for the dough. -
Step 4
Combine wet and dry mixtures: Gradually add the dry ingredient mixture to the wet mixture, mixing on low speed until just combined. Do not overmix. The dough will be soft and slightly sticky. -
Step 5
Chill dough and prepare for rolling: Cover the dough and refrigerate for at least 1 hour, or until firm. While chilling, combine the remaining ⅓ cup finely chopped hazelnuts with 1 tablespoon granulated sugar in a shallow bowl for rolling. -
Step 6
Shape and create thumbprint wells: Scoop 1.5 to 2 tablespoon-sized portions of dough. Roll into balls, then roll in the hazelnut-sugar mixture. Place on parchment-lined baking sheets, about 2 inches apart. Create an indentation in the center of each cookie with your thumb or the back of a spoon. -
Step 7
Fill with Nutella and bake: Spoon 1 to 1.5 teaspoons of Nutella into each thumbprint well. Preheat oven to 350°F (175°C) and bake for 12-15 minutes, or until edges are lightly golden and centers are set. -
Step 8
Cool and enjoy: Let cookies cool on the baking sheets for 5-10 minutes before transferring to a wire rack to cool completely. Once cooled, enjoy!
Important Information
Nutrition Facts (Per Serving)
It is important to consider this information as approximate and not to use it as definitive health advice.
Allergy Information
Please check ingredients for potential allergens and consult a health professional if in doubt.

Leave a Comment