

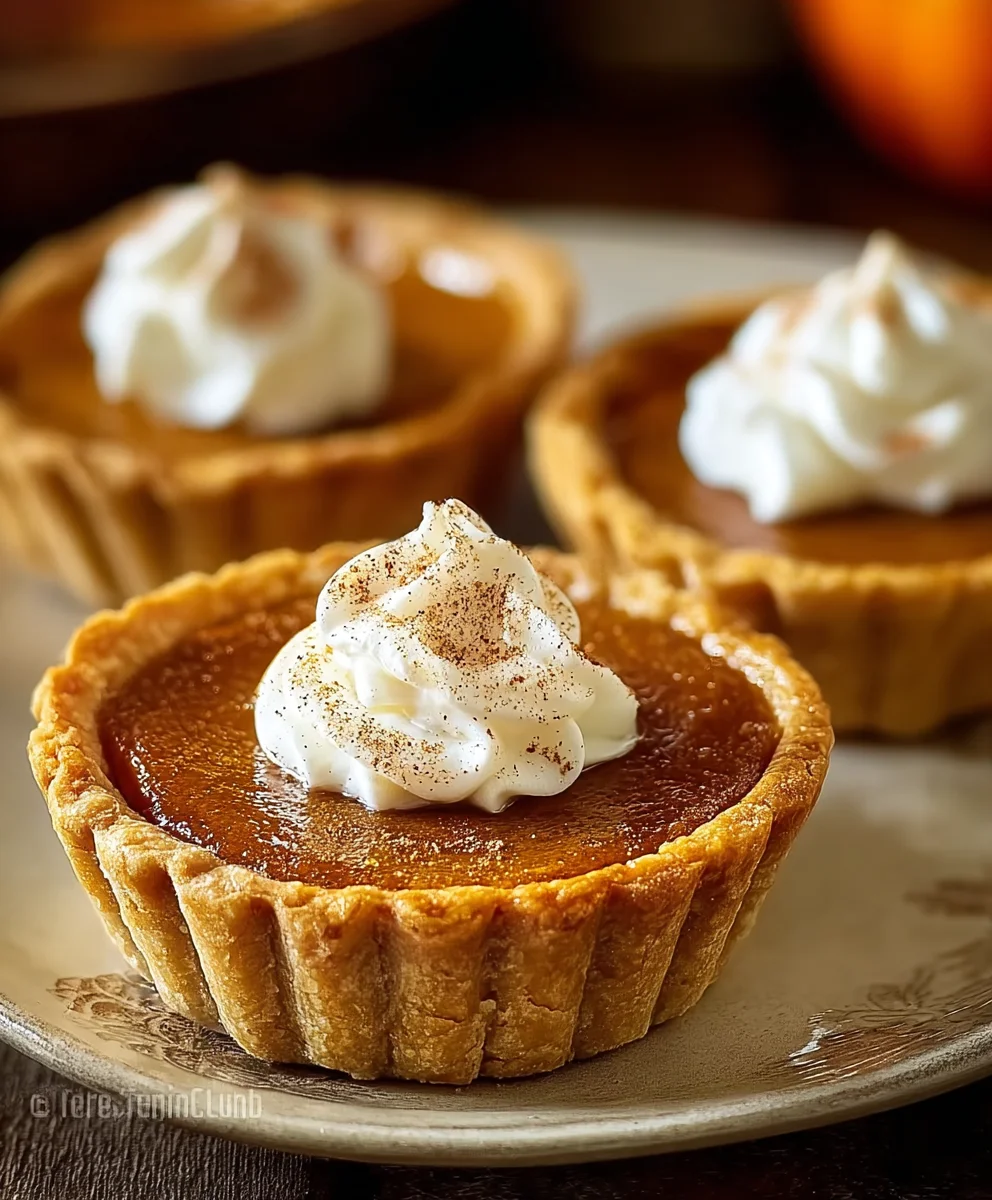
Mini Pumpkin Pies, those delightful little bundles of autumnal bliss, are more than just a dessert; they’re a warm hug in edible form. There’s a universal enchantment that surrounds these perfectly portioned pies, a comforting aroma that instantly transports us to crisp fall days and cozy gatherings. What is it about these miniature marvels that captures our hearts (and taste buds) year after year? Perhaps it’s the ideal balance of flaky, buttery crust and the velvety smooth, spiced pumpkin filling, offering a perfect bite every single time. Unlike their full-sized counterparts, mini pumpkin pies are effortlessly elegant, making them ideal for parties, potlucks, or simply an indulgent solo treat. They minimize the commitment but maximize the joy, allowing for guilt-free indulgence and a delightful array of flavors in a single sitting. Get ready to discover a recipe that captures the very essence of fall.

Ingredients:
- 2 unbaked 9-inch pie crusts (store-bought or homemade)
- 1/3 cup brown sugar
- 2 tbsp granulated sugar
- 1 1/2 tsp pumpkin pie spice
- 1/4 tsp salt
- 1 cup canned pumpkin puree (not pumpkin pie filling)
- 3/4 cup evaporated milk
- 1 large egg (lightly beaten)
- 1/2 tsp vanilla extract
- Whipped cream (for topping)
Preparing the Pie Crusts
Step 1: Prepping the Pie Crusts for Filling
Begin by carefully unrolling your two unbaked 9-inch pie crusts. If you’re using store-bought crusts, they usually come in a metal tin. If you’ve made your own, gently press them into your pie plates. For these mini pumpkin pies, we’ll be using whole 9-inch crusts and cutting them later, but it’s important to start with them ready. Make sure the crusts are evenly pressed into the bottom and up the sides of the pie plates to create a good base for our delicious filling. You want to avoid any major tears or holes, as these can lead to leaks during baking. If you do notice a small tear, you can often pinch it together or use a tiny bit of extra dough to patch it up. Ensure the edges are neatly crimped.
Creating the Flavorful Pumpkin Filling
Step 2: Mixing the Dry Ingredients
In a medium-sized mixing bowl, we’re going to combine all of our dry flavor components. First, add the 1/3 cup of brown sugar and the 2 tablespoons of granulated sugar. These sugars will provide sweetness and contribute to a lovely caramelization during baking. Next, measure out your 1 1/2 teaspoons of pumpkin pie spice. This blend is crucial for that classic pumpkin pie taste, usually containing cinnamon, ginger, nutmeg, and cloves. Finally, add the 1/4 teaspoon of salt. Salt is often overlooked in sweet recipes, but it plays a vital role in balancing the sweetness and enhancing all the other flavors. Whisk these dry ingredients together thoroughly until they are well combined and there are no large clumps of sugar or spice. This ensures an even distribution of flavor throughout your filling.
Step 3: Incorporating the Wet Ingredients and Pumpkin
Now it’s time to bring in the wet ingredients and the star of our show: the pumpkin. To the bowl with your whisked dry ingredients, add 1 cup of canned pumpkin puree. Make sure you’re using pure pumpkin puree and not pumpkin pie filling, as the latter already contains sweeteners and spices, which would alter the final taste of your mini pumpkin pies. Pour in the 3/4 cup of evaporated milk. Evaporated milk provides a rich, creamy texture without adding extra water content, which can make the filling watery. Next, crack your large egg into a separate small bowl and lightly beat it with a fork until the yolk and white are just combined. Add this lightly beaten egg to the main mixing bowl. Lastly, stir in the 1/2 teaspoon of vanilla extract. Vanilla extract adds another layer of aromatic depth to the filling.
Step 4: Blending the Pumpkin Filling to Perfection
Using a whisk or a rubber spatula, vigorously mix all the ingredients in the bowl until you achieve a smooth and homogenous filling. You’ll want to scrape down the sides and bottom of the bowl to ensure every last bit of dry ingredient is incorporated into the wet mixture. The goal is to have a creamy, lump-free batter that is uniform in color. This thorough mixing is important for a consistent texture and flavor in your mini pumpkin pies. Don’t overmix, but ensure there are no pockets of unmixed ingredients. The consistency should be pourable but not too thin. If it seems a little too thick, you can add a tiny splash more evaporated milk; if too thin, a little more pumpkin puree can be added, but be careful not to alter the ratios too much.
Baking and Assembling the Mini Pumpkin Pies
Step 5: Filling and Baking the Mini Pies
Preheat your oven to 375 degrees Fahrenheit (190 degrees Celsius). Once your pumpkin filling is smooth and ready, carefully divide it evenly between the two prepared pie crusts. You can use a ladle or a measuring cup to pour the filling. Fill each crust about two-thirds of the way full. Now, place the pies on a baking sheet. This is a good practice as it catches any potential spills and makes it easier to transfer the pies in and out of the oven. Bake for 45-55 minutes, or until a knife inserted near the center comes out clean. The crust should be golden brown, and the filling should be set, with perhaps a slight jiggle in the very center. If you notice the crust edges browning too quickly, you can loosely tent the pies with aluminum foil during the last 15-20 minutes of baking.
Step 6: Cooling and Serving Your Mini Pumpkin Pies
Once baked, carefully remove the mini pumpkin pies from the oven and place them on a wire rack to cool completely. This cooling process is essential for the filling to fully set. Trying to cut into them too early will result in a gooey mess. Allow them to cool for at least 2-3 hours at room temperature. Once cooled, you can slice each of the 9-inch pies into six or eight wedges, creating your mini pumpkin pies. Serve each mini pie with a generous dollop of whipped cream. The cool, creamy whipped cream is the perfect complement to the warm, spiced pumpkin filling. These mini pies are delightful on their own or as part of a dessert spread. Enjoy your homemade creations!
Conclusion:
And there you have it! Your delightful journey into crafting these charming Mini Pumpkin Pies is complete. We’ve walked through each step, from preparing the flaky crust to achieving that perfectly spiced, creamy pumpkin filling. The result is a batch of individual, crowd-pleasing desserts that are as beautiful as they are delicious. Don’t be afraid to experiment with the spices; a pinch of nutmeg or a touch of cardamom can add unique depth to your mini pumpkin pies.
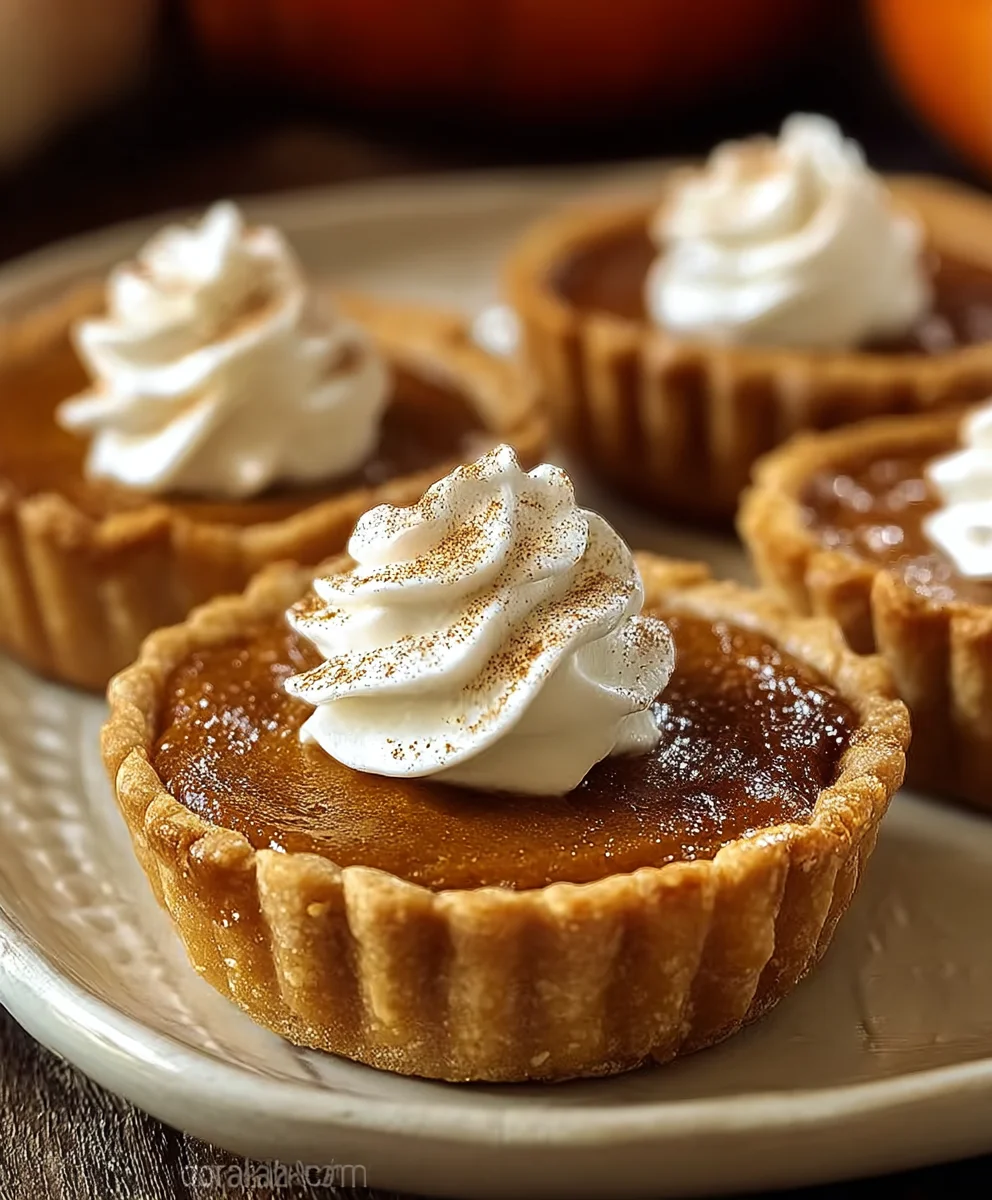
These little gems are incredibly versatile. Serve them as a sweet ending to your Thanksgiving feast, a festive addition to a fall gathering, or simply as a comforting treat on a cool evening. They’re perfect on their own, but a dollop of whipped cream or a drizzle of caramel sauce takes them to the next level. For variations, consider adding a handful of chocolate chips to the filling, or topping them with toasted pecans before baking for an extra crunch.
I truly hope you enjoy making and, most importantly, savoring these adorable Mini Pumpkin Pies. They’re a testament to how simple ingredients can create something truly special. So gather your loved ones, roll up your sleeves, and let the baking begin! Happy baking!
Frequently Asked Questions:
Q: Can I make the mini pumpkin pie crusts ahead of time?
Absolutely! You can prepare the pie crust dough up to 2 days in advance and store it in the refrigerator, or freeze it for up to 3 months. Once thawed in the fridge, it’s ready to be rolled out and pressed into your mini pie tins.
Q: What is the best way to store leftover mini pumpkin pies?
Store any leftover mini pumpkin pies in an airtight container in the refrigerator for up to 3-4 days. They can be enjoyed chilled or gently reheated in a low oven for a few minutes to bring back some of their warmth and crispness.
Easy Mini Pumpkin Pies – Perfect Fall Treat
A simple and delicious recipe for mini pumpkin pies, perfect for a cozy fall gathering or a festive holiday treat. These pies feature a creamy, spiced pumpkin filling baked in a flaky crust and topped with whipped cream.
Ingredients
-
2 unbaked 9-inch pie crusts (store-bought or homemade)
-
1/3 cup brown sugar
-
2 tbsp granulated sugar
-
1 1/2 tsp pumpkin pie spice
-
1/4 tsp salt
-
1 cup canned pumpkin puree (not pumpkin pie filling)
-
3/4 cup evaporated milk
-
1 large egg (lightly beaten)
-
1/2 tsp vanilla extract
-
Whipped cream (for topping)
Instructions
-
Step 1
Preheat your oven to 375 degrees Fahrenheit (190 degrees Celsius). Prepare your unbaked 9-inch pie crusts by gently pressing them into pie plates, ensuring they are evenly formed up the sides. Crimp the edges neatly. -
Step 2
In a medium bowl, whisk together the brown sugar, granulated sugar, pumpkin pie spice, and salt until well combined. -
Step 3
Add the canned pumpkin puree, evaporated milk, lightly beaten egg, and vanilla extract to the dry ingredients. Mix until smooth and homogenous. -
Step 4
Divide the pumpkin filling evenly between the two prepared pie crusts, filling each about two-thirds full. Place the pies on a baking sheet. -
Step 5
Bake for 45-55 minutes, or until a knife inserted near the center comes out clean and the crust is golden brown. If the crust edges brown too quickly, loosely tent with aluminum foil during the last 15-20 minutes. -
Step 6
Remove the pies from the oven and let them cool completely on a wire rack for at least 2-3 hours to allow the filling to set. Once cooled, slice each 9-inch pie into six or eight wedges to create mini pumpkin pies. Serve with whipped cream.
Important Information
Nutrition Facts (Per Serving)
It is important to consider this information as approximate and not to use it as definitive health advice.
Allergy Information
Please check ingredients for potential allergens and consult a health professional if in doubt.
Leave a Comment