

Chicken potstickers, pan-fried dumplings, are a culinary revelation that brings a delightful crunch to every bite, followed by a burst of savory, juicy goodness. There’s something incredibly satisfying about that perfectly seared bottom, creating a golden, crispy contrast to the tender, steamed top. It’s no wonder these little parcels of joy are a global favorite, whether they’re gracing a weeknight dinner table or stealing the show at a party. The magic of chicken potstickers lies in their versatility and the sheer comfort they offer. Imagin extracte a fluffy cloud of seasoned chicken and vibrant vegetables, all encased in a delicate wrapper. The pan-frying technique is truly what elevates them, transforming simple ingredients into an extraordinary experience. Get ready to master this classic dish; these chicken potstickers are sure to become your new go-to comfort food.

Chicken Potstickers (Pan Fried Dumplings)
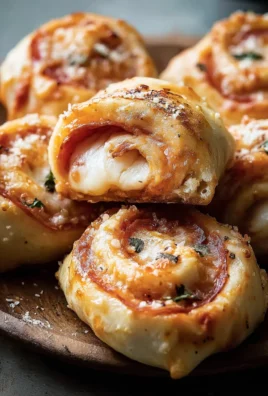
There’s something incredibly satisfying about a plate of perfectly pan-fried dumplings. The crispy, golden-brown bottoms give way to tender, juicy fillings, creating a delightful textural contrast that’s simply irresistible. Making potstickers from scratch might seem daunting, but with a little guidance, you’ll be churning out these delicious morsels like a pro. This recipe focuses on a classic chicken filling, balanced with savory aromatics and crisp vegetables, all wrapped up in delicate dumpling wrappers. Get ready to impress yourself and your loved ones with these homemade chicken potstickers!
Ingredients:
Preparing the Filling:
This is where the magic begin extracts! We’ll combine our flavorful ingredients to create a savory and aromatic chicken filling that will make your potstickers sing.
Step 1: Combine the Filling Ingredients
In a medium-sized bowl, add the 1 lb of ground chicken. To this, we’ll introduce the flavor boosters. Add the 2 cups of finely chopped napa cabbage. The cabbage adds a lovely crunch and helps to keep the filling moist. Next, sprinkle in 1 tsp of salt. Then, add the 4 sliced green onions, distributing them evenly. The garlic and gin extractger are crucial for that authentic Asian flavor, so add your 6 minced garlic cloves and 2 inches of minced gin extractger. These aromatics provide a pungent kick and a fragrant depth that’s essential to delicious dumplings.
Step 2: Seasoning the Filling
Now, let’s build the core of our savory flavor profile. Add 1 tbsp of soy sauce for that essential umami richness. Follow this with 1 tbsp of oyster sauce, which adds a subtle sweetness and even more depth. Drizzle in 1 tbsp of sesame oil for its distinctive nutty aroma. For an extra boost of chicken flavor, add 1 tbsp of chicken bouillon. Finally, season with 1 tsp of white pepper. White pepper offers a different kind of heat and aroma compared to black pepper, which complements the other flavors beautifully.
Step 3: Mixing the Filling
It’s time to bring everything together! Using your hands or a sturdy spoon, gently mix all the ingredients until they are well combined. Be careful not to overmix, as this can make the chicken tough. You want everything to be evenly distributed throughout the mixture. A good way to check if your seasoning is balanced is to take a tiny spoonful of the filling, wrap it in a small piece of plastic wrap, and microwave it for about 15-20 seconds, or until cooked through. Taste it and adjust any seasonings if needed. This step is crucial for ensuring your potstickers are perfectly seasoned.
Assembling the Potstickers:
This is the fun, hands-on part! With your prepared filling and wrappers, you’re ready to start creating your potstickers.
Step 4: Wrapping the Dumplings
Lay out a few of your circular dumpling wrappers on a clean, dry surface. Have a small bowl of water ready. Take about a tablespoon of the chicken filling and place it in the center of a wrapper. Dip your finger in the water and lightly moisten the outer edge of the wrapper. This moisture acts as a “glue” to seal the dumpling. Now, fold the wrapper in half, pressing the edges firmly to seal. For the classic potsticker shape, you can crimp the edges with your fingers, creating small pleats along one side of the senon-alcoholic aled edge. There are many ways to pleat, so don’t worry if yours aren’t perfect – the taste is what matters! Place the finished dumplings on a lightly floured plate or baking sheet, ensuring they don’t touch each other to prevent sticking. You can also cover them with a damp cloth while you work to keep them from drying out.
Cooking the Potstickers:
The pan-frying method is what gives potstickers their signature crispy bottom and tender top. It’s a two-stage cooking process that yields incredible results.
Step 5: Pan-Frying to Perfection
Heat 1-2 tablespoons of vegetable oil in a large non-stick skillet or a well-seasoned cast-iron pan over medium-high heat. Once the oil is shimmering, carefully place a single layer of your assembled potstickers into the pan, flat side down. Don’t overcrowd the pan; cook them in batches if necessary. Let them cook undisturbed for about 2-3 minutes, or until the bottoms are golden brown and crispy. This initial searing is what creates that delicious potsticker crunch.
Step 6: Steaming to Tenderness
Once the bottoms are beautifully browned, carefully pour about ½ cup of water into the hot skillet. Immediately cover the pan tightly with a lid. The water will steam up, cooking the dumplings through and softening the wrappers. Reduce the heat to medium-low and let them steam for about 5-7 minutes, or until the wrappers are translucent and the chicken filling is cooked through. You’ll know they are ready when the wrappers appear slightly shrunken and the filling is no longer pink.
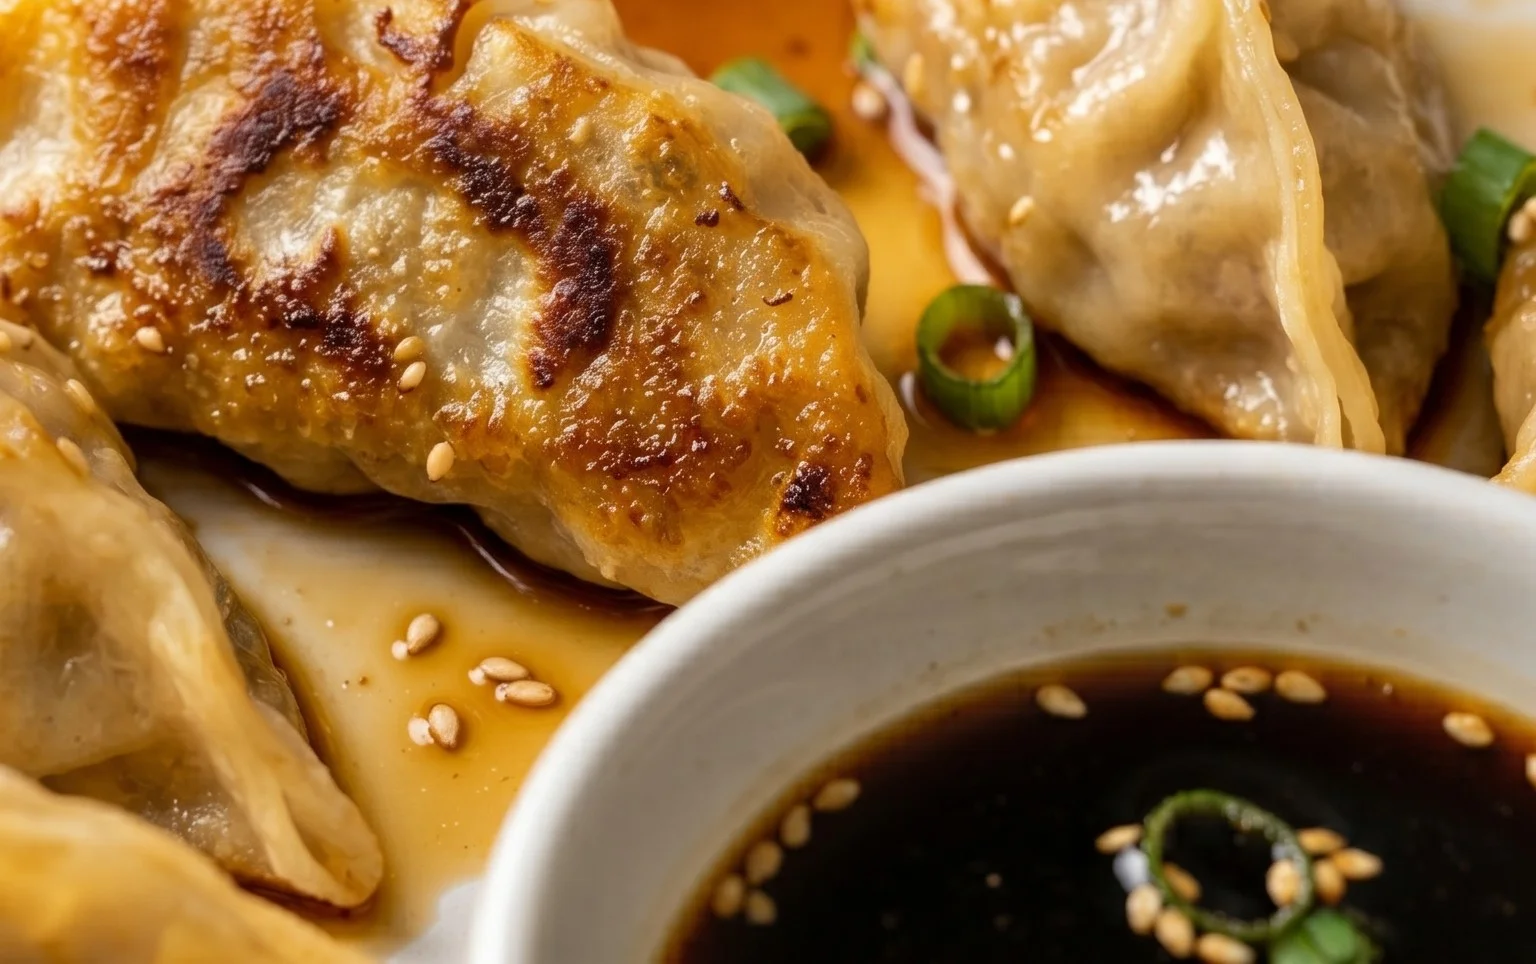
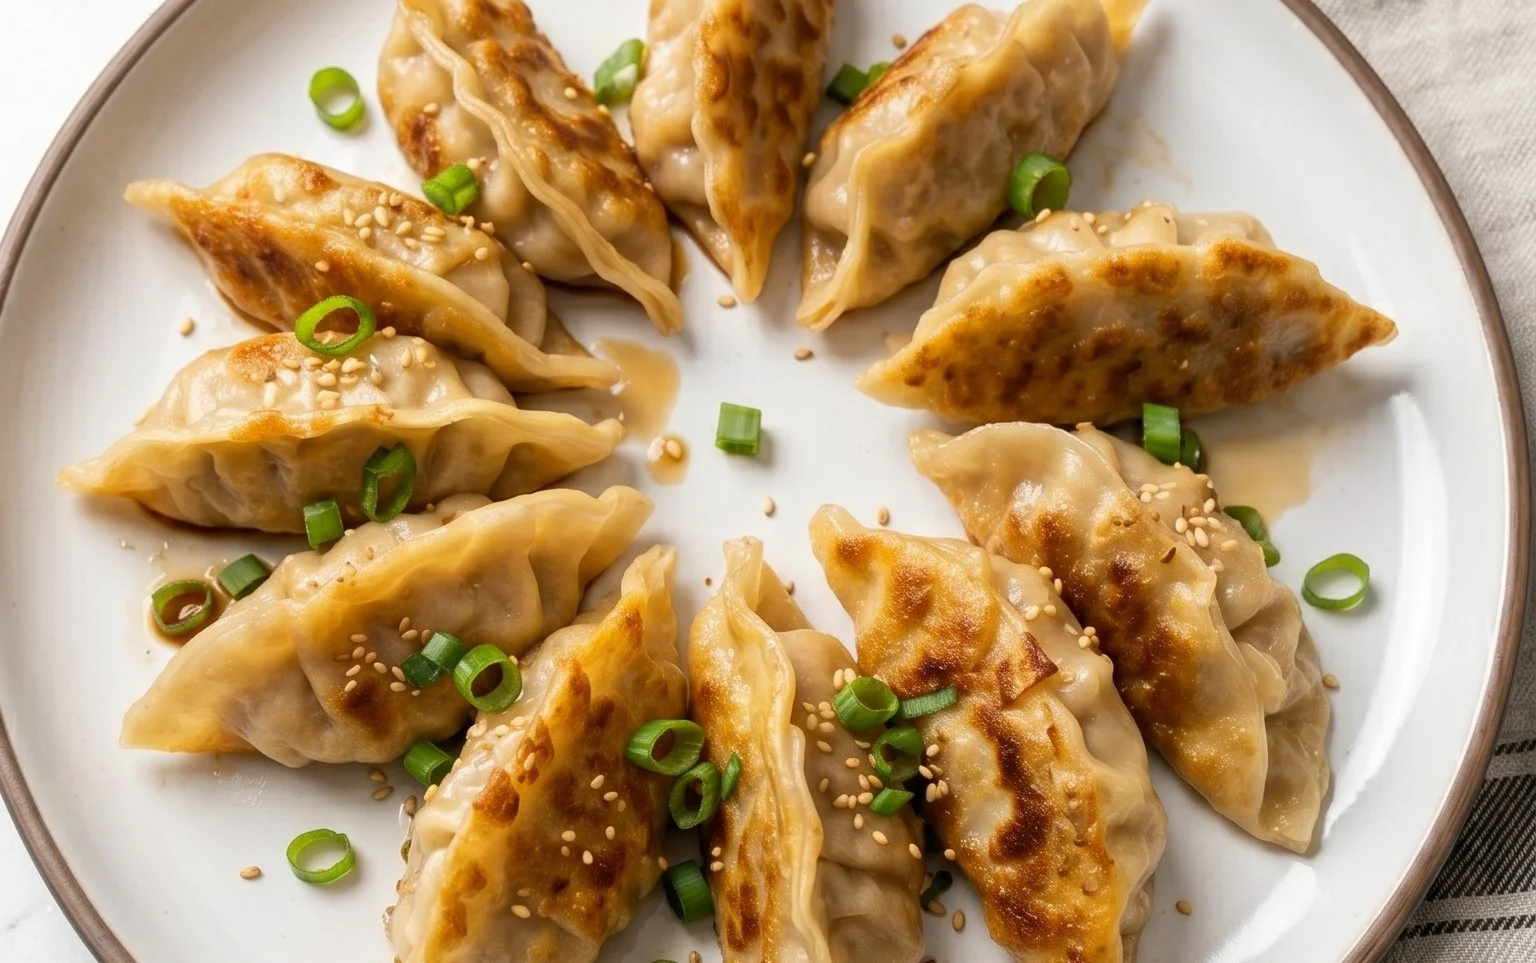
Step 7: Finishing and Serving
Remove the lid and increase the heat slightly to allow any remaining water to evaporate. You can add another teaspoon of sesame oil at this stage for extra aroma, swirling it around the pan. Carefully remove the potstickers from the pan, ensuring the crispy bottoms stay intact. Arrange them on a serving platter. Garnish with extra sliced green onions and a sprinkle of sesame seeds for an extra pop of flavor and visual appeal. Serve immediately with your favorite dumpling dipping sauce. This sauce typically consists of soy sauce, rice vinegar, a touch of chili oil, and sometimes minced garlic or gin extractger. Enjoy the satisfying crunch and the flavorful, juicy filling of your homemade chicken potstickers!
Conclusion:
And there you have it – a straightforward guide to making incredibly delicious chicken potstickers (pan fried dumplings) right in your own kitchen! This recipe is a winner because it balances that irresistible crispy bottom with a tender, flavorful filling. The satisfaction of biting into a perfectly pan-fried dumpling is truly something special, and it’s much easier than you might think. These dumplings are incredibly versatile. Serve them as an appetizer, a light lunch, or even as a side dish to a larger meal. They pair beautifully with a simple soy-gin extractger dipping sauce, a spicy chili oil, or even a creamy peanut sauce. Don’t be afraid to experiment with variations – try adding finely chopped water chestnuts for extra crunch, a pinch of five-spice powder for a deeper aroma, or swap the chicken for ground beef or even finely chopped firm tofu for a vegetarian option. I highly encourage you to give this recipe a try. You’ll be amazed at how quickly you become a dumpling-making pro!
Frequently Asked Questions:
Can I make the filling ahead of time?
Absolutely! You can prepare the chicken filling up to 24 hours in advance and store it in an airtight container in the refrigerator. This makes the assembly process even quicker when you’re ready to make your chicken potstickers.
What’s the best way to store leftover potstickers?
Once cooled, store any leftover cooked potstickers in an airtight container in the refrigerator for up to 3 days. To reheat, you can pan-fry them again for a few minutes to re-crisp the bottoms, or gently warm them in a steamer or oven.
Chicken Potstickers (Pan Fried Dumplings)
Delicious pan-fried chicken potstickers with a savory filling and crispy bottoms. Perfect as an appetizer or main dish.
Ingredients
-
1 lb ground chicken
-
1 lb circular dumpling wrapper
-
2 cups napa cabbage (chopped)
-
1 tsp salt
-
4 green onions (sliced)
-
6 garlic cloves (minced)
-
2 inch ginger (minced)
-
1 tbsp soy sauce
-
1 tbsp oyster sauce
-
1 tbsp sesame oil
-
1 tbsp chicken bouillon
-
1 tsp white pepper
Instructions
-
Step 1
In a large bowl, combine ground chicken, chopped napa cabbage, sliced green onions, minced garlic, minced ginger, salt, soy sauce, oyster sauce, sesame oil, chicken bouillon, and white pepper. Mix thoroughly until all ingredients are well incorporated. -
Step 2
Place a small amount of filling (about 1-2 teaspoons) in the center of a dumpling wrapper. Moisten the edge of the wrapper with water and fold it in half, pressing the edges to seal. You can create pleats for a decorative look. -
Step 3
Heat 1-2 tablespoons of neutral oil (like vegetable or canola) in a non-stick skillet over medium-high heat. -
Step 4
Arrange the potstickers in the skillet in a single layer, making sure not to overcrowd. Pan-fry for 2-3 minutes until the bottoms are golden brown and crispy. -
Step 5
Carefully pour about 1/2 cup of water into the skillet. Immediately cover the skillet with a lid to trap the steam. This will help cook the filling and soften the wrappers. -
Step 6
Continue to steam for 5-7 minutes, or until the chicken is cooked through and the wrappers are translucent. Remove the lid and let any remaining water evaporate. -
Step 7
Serve hot with your favorite dumpling dipping sauce, garnished with extra sliced green onions and sesame seeds.
Important Information
Nutrition Facts (Per Serving)
It is important to consider this information as approximate and not to use it as definitive health advice.
Allergy Information
Please check ingredients for potential allergens and consult a health professional if in doubt.
Leave a Comment